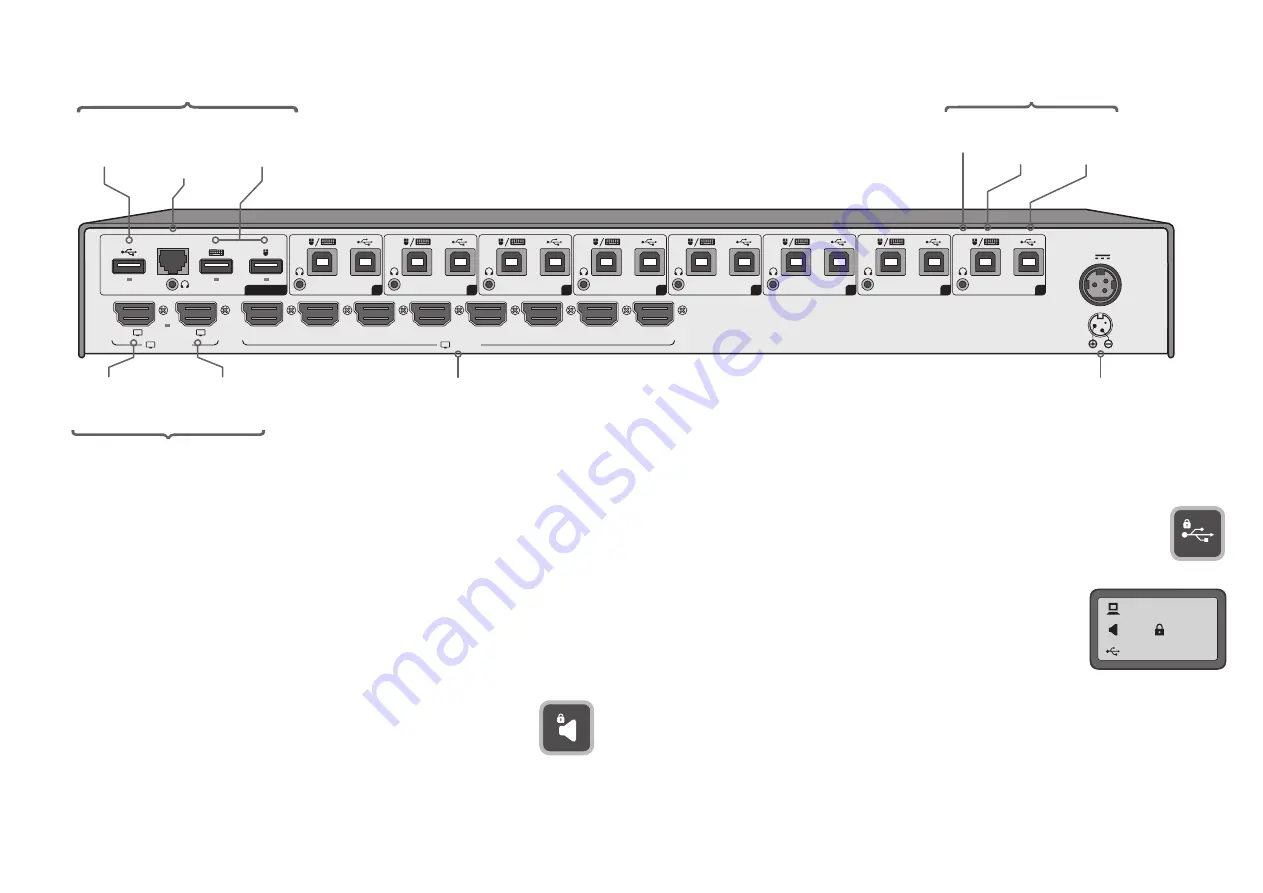
Connections
Operation
Connect all peripherals and computers to the ADDERView CCS-MV unit. Ensure that the video
display(s) are switched on before powering on the ADDERView CCS-MV.
Switching between computers
You can switch your common peripherals (keyboard, mouse, microphone and speakers) between the
connected computers in two ways:
•
Press the front panel button (1 to 8) for the required computer.
•
Use the Free-Flow feature to automatically switch between computers as your mouse crosses a
boundary from one video screen to another.
Audio Hold
The Audio Hold button prevents switching the audio port when changing the other
console peripherals (keyboard, mouse, video) to another computer channel. This function
is useful when you need to listen to the audio from one computer while working on
another.
Using the front panel computer channel buttons, first connect the console peripherals to
the computer from where the audio feed is required. Press the Audio Hold button on the front panel.
Then press the channel button for the computer that is required for the other peripherals. The audio
association will be signalled by the right indicator on each channel’s front panel push button.
To release the audio from hold status, press the Audio Hold button again.
Note: Ensure that all peripherals and computers are
switched OFF prior to connecting them to the product.
1
2
1
LONDON
USB Hold
The USB Hold button prevents switching the Hi-Speed USB port when changing the
other console peripherals (keyboard, mouse, video, audio) to another computer channel.
This button functions in the same manner as the Audio Hold button described above.
Status display
The status display shows which channel numbers are currently selected to
provide the video, audio and USB connections.
The padlock symbols indicate that either Audio or USB Hold buttons are
active.
Power on self-test
When the ADDERView CCS-MV unit powers up it performs a self-test procedure. If the self-test fails
for any reason, including a jammed button, the unit will become inoperable. The front panel indicators
will show an abnormal display. Contact technical support and avoid using the product.
RCU
1
2
12V
5A
8
7
6
5
4
3
2
1
CONSOLE
8
7
6
5
4
3
2
1
Console
Inputs
Primary
console DP/HDMI
display
Power in
Console peripherals
Comp. port
8
as per port 1
Secondary
console DP/HDMI
display
Remote
control
link + speaker
port
Console peripherals
Keyboard
and mouse
ports
USB 2.0
Hi-Speed
link
Audio
link
Computer port
1
USB
keyboard &
mouse link
USB 2.0
Hi-Speed
port
DP/HDMI video
inputs for all eight
computer ports
Comp. port
7
as per port 1
Comp. port
6
as per port 1
Comp. port
5
as per port 1
Comp. port
4
as per port 1
Comp. port
3
as per port 1
Comp. port
2
as per port 1
Note: Units are shipped with a blanking plug inserted into each combined video port, leaving only the HDMI
connections open. If you need to use DisplayPort connections, simply remove the blanking plugs from the
required ports.


