


AcuBrite™
Manual
User’s Manual
Introduction
Welcome to enjoy the fantastic sightseeing world. This new
technology will bring you the whole new feeling about the
“monitor”. We show here some of the major advantages of the
Acubrite™ touch screen LCD monitor.
Hardware Installation
This section will guide you through the correct installation
procedures of the monitor.
Unpacking
After you unpack your LCD Monitor, please make sure that the
following items are included in the carton and in good condition.
If you find that any of these items are damaged or missing,
please contact your dealer immediately.
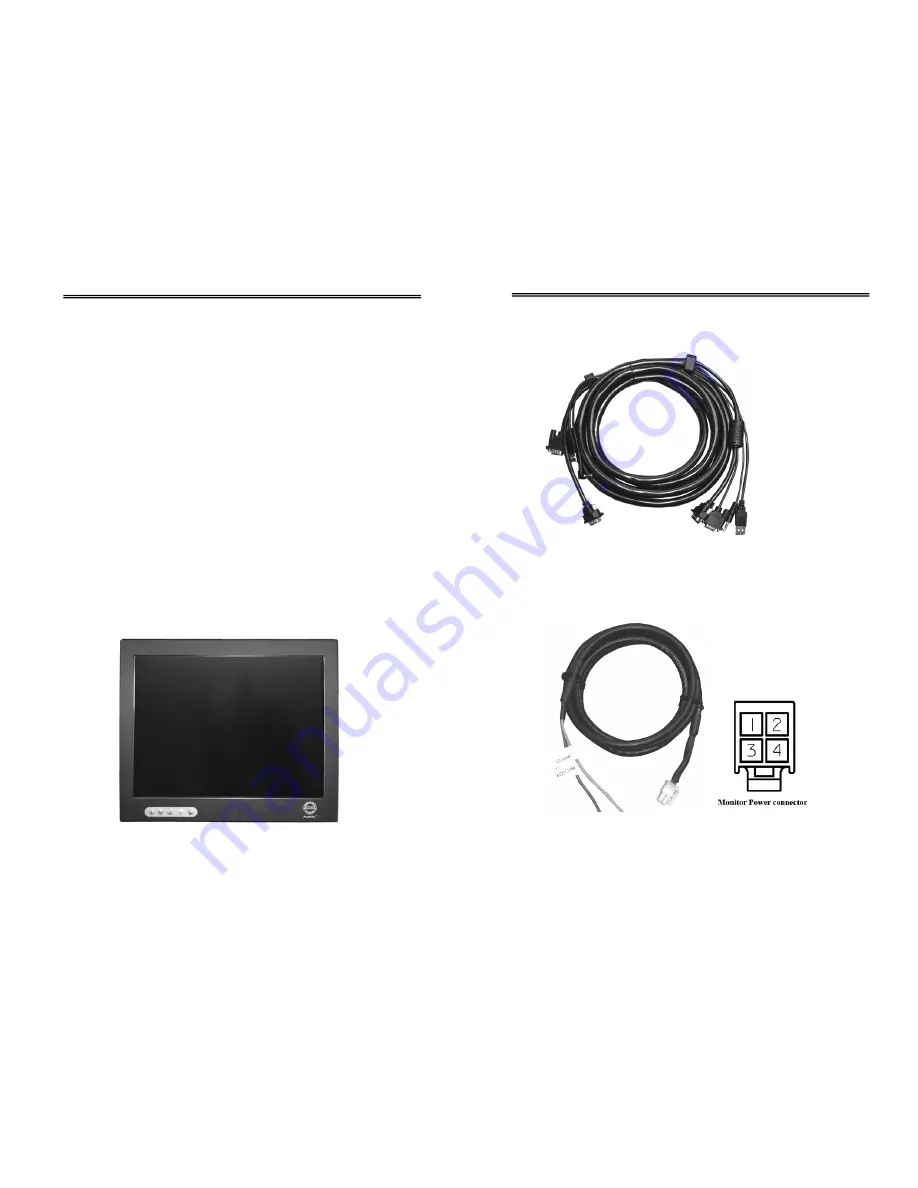
Acubrite™ touch screen LCD monitor
Page 1
Cable (VGA, USB, Serial, Audio)
Power
cable
Pin 1& pin 3 --- Power
Pin 2 --- Ground
Pin 4 --- Ignition
Page 2


