6
Quick Installation Guide
MOUNT THE ENR
4
Before you start, plan the installation. Determine how many cables will be
connected to the mainboard and where the cables will be routed.
There are three (3) alloted cable holes on the bottom of the ENR, and one on the
top.
After installing the hard disk drive, prepare to mount the ENR to the wall.
NOTE:
Make sure the wall is strong enough to withstand the weight of the ENR and other connected
cables.
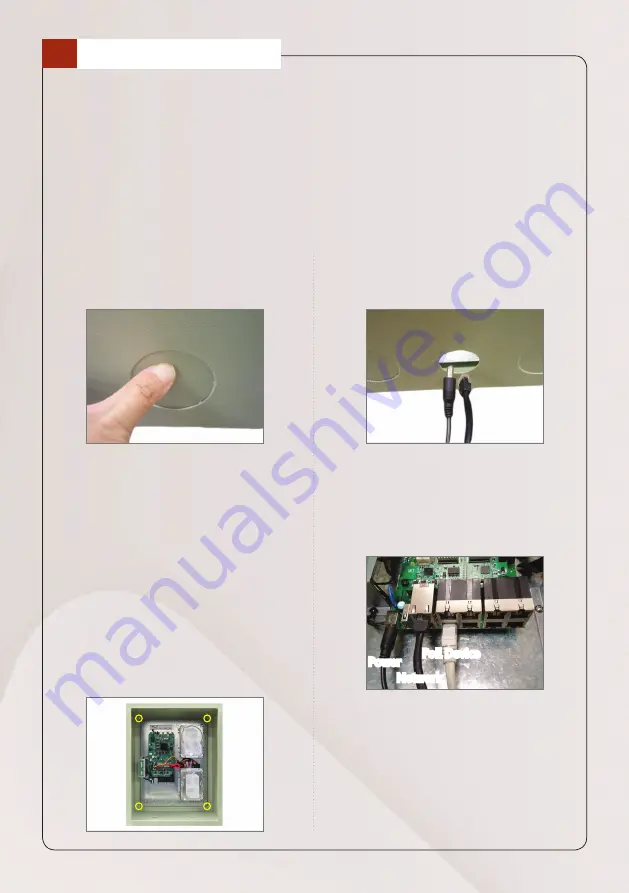
Step 1
Push to remove the temporary covers
of the cable holes, as needed.
Step 2
Align the ENR to the wall and mark
the position of the four (4) screw
holes.
Step 3
Install the ENR to the wall using four
(4) screws.
NOTE:
The wall screws are not included in the
package. Use appropriate screws according
to the wall material where the ENR will be
installed.
Step 4
Route the cables through the cable
holes of the ENR.
Step 5
Connect the cables to the connectors
on the mainboard accordingly
(see “
CONNECTIONS
” on the next
page for more details).
Power
Network
PoE Device


