


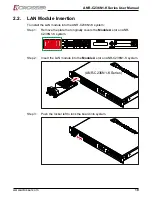
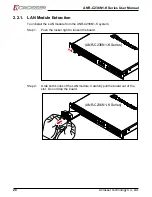
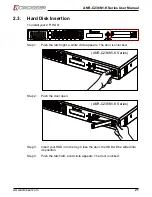


ANR-C236N1-K Series User Manual
17
www.acrosser.com
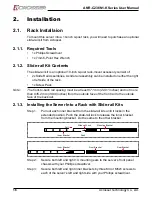
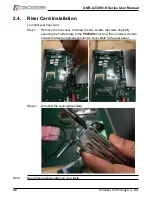
Step 4: Determine which rack hole numbers to use.
(a) If your rack has threaded mounting holes in the rack posts, determine
whether the threads are metric or standard. Select the appropriate screws
from the package included in the mounting kit.
(b) If your rack does not have threaded mounting holes, the mounting
screws are secured with caged nuts.
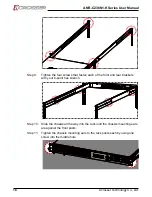
Step 5: Loosely attach the front slide-rail to the front right rack-post using two
screws into the upper and lower holes. Do not tighten the screws yet.
Step 6: Adjust the length of the slide-rail by sliding the rear bracket flange to reach
the outside edge of the rear rack-post. Loosely attach the rear bracket to
the rear right rack-post with two screws.
Step 7: Attach the second slide-rail to the left rack-post in a similar manner. Again,
do not tighten the screws.
Step 8: Fully extend the front and rear brackets to where it reaches the rack-post.
Now tighten the screws to lock the ends of the rails in place with your
Phillips screwdriver.


