


Transferring the system to a new disk
18
Copyright © Acronis, Inc., 2000–2004
Depending on the selected combination, you will proceed to either the old disk
partitioning window, or the disk partition layout window (see below).
Partitioning the old disk
If you selected Create a new partition layout earlier in the process, it is now
time to repartition your old disk.
During this step, you will see the current disk partition layout. Initially, the disk has
unallocated space only. This will change when you create new partitions.
Having completed the required steps, you will add a new partition. To create
another one, simply repeat those steps.
If you make a mistake, click Back to redo.
After you create the necessary partitions, uncheck the Create new partition in
unallocated space box and click Next.
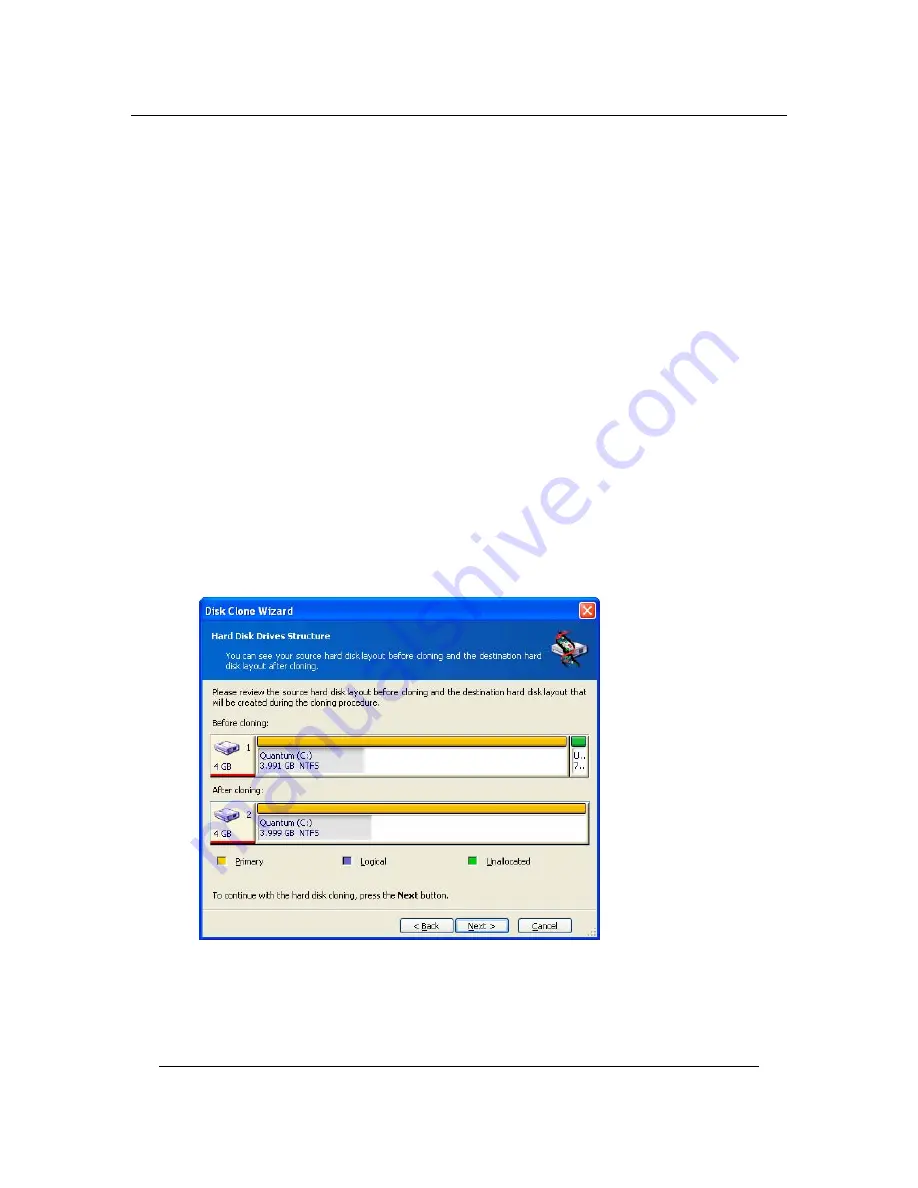
Old and new disk partition layouts
In the next window, you will see rectangles indicating the source hard disk,
including its partitions and unallocated space, as well as the new disk layout.
Along with the hard disk number, you will also see partition number, volume label
(e.g. SYSTEM), file system (e.g. FAT16 or FAT32), partition size in megabytes (MB).
Different partition types, including primary, logical and unallocated space are
marked with different colors.


