1. POWER SWITCH WITH LED
: DC power switch with LED
2. LED
: Represents status of operation
3. MENU
: Used when changing the menu of SYSTEM SETUP
4. ENTER
: Selects items in the menu
5. PLAY
: Starts playback
6. PAUSE
: Pauses display screen in playback
7. SPEED
: Assigns playback speed
10.Remote controller sensor input window
3. Unit description
Notice : If input window is covered by some object, the remote controller may not work.
3
Notice : If several buttons are simultaneously or incorrectly pressed, the system may
not function correctly.
MENU
PLAY
P/T
MARK
SPEED
ENTER
8
7
6
5
4
3
10
1
POWER
OVERWRITE
RECORD
PLAY
SETUP
2
PAUSE
9
11
3
1
2
4
1) Front panel
ALL ABOUT IMAGE RECOGNITION & PROCESSING
1 channel stand-alone DVMR
3. Unit description
MARK IMAGE SETUP
6
1) While you see pictures replayed, press [MARK] button. You will see
“
PAUSE
”
and
“
SPD
”
displayed.
2) Using button, move as many as you want to mark, and then press [MARK] button.
3) Pictures between 1st [MARK] button and 2nd [MARK] button are all marked and stored separately on HDD.
If HDD space assigned for marked image is full,
“
FULL
”
is displayed and [MARK] button doen not work.
5) To play marked images, select PLAY IMAGE, and to delete marked images slect DELETE IMAGE.
Notice :
HDD CLEAR command does not clear marked images, and DELETE MARK IMAGE command
just delete marked images.
(HDD space for marked imaged : The system arranges automatically, and it corresponds to space
for recording 10 minutes in maximum recording rate.)
MARK IMAGE function is very useful, because it protects marked images from being overwritten.
During palyback, you can mark images to store them on HDD safely free from being overwritten after HDD
starts to overwrite.
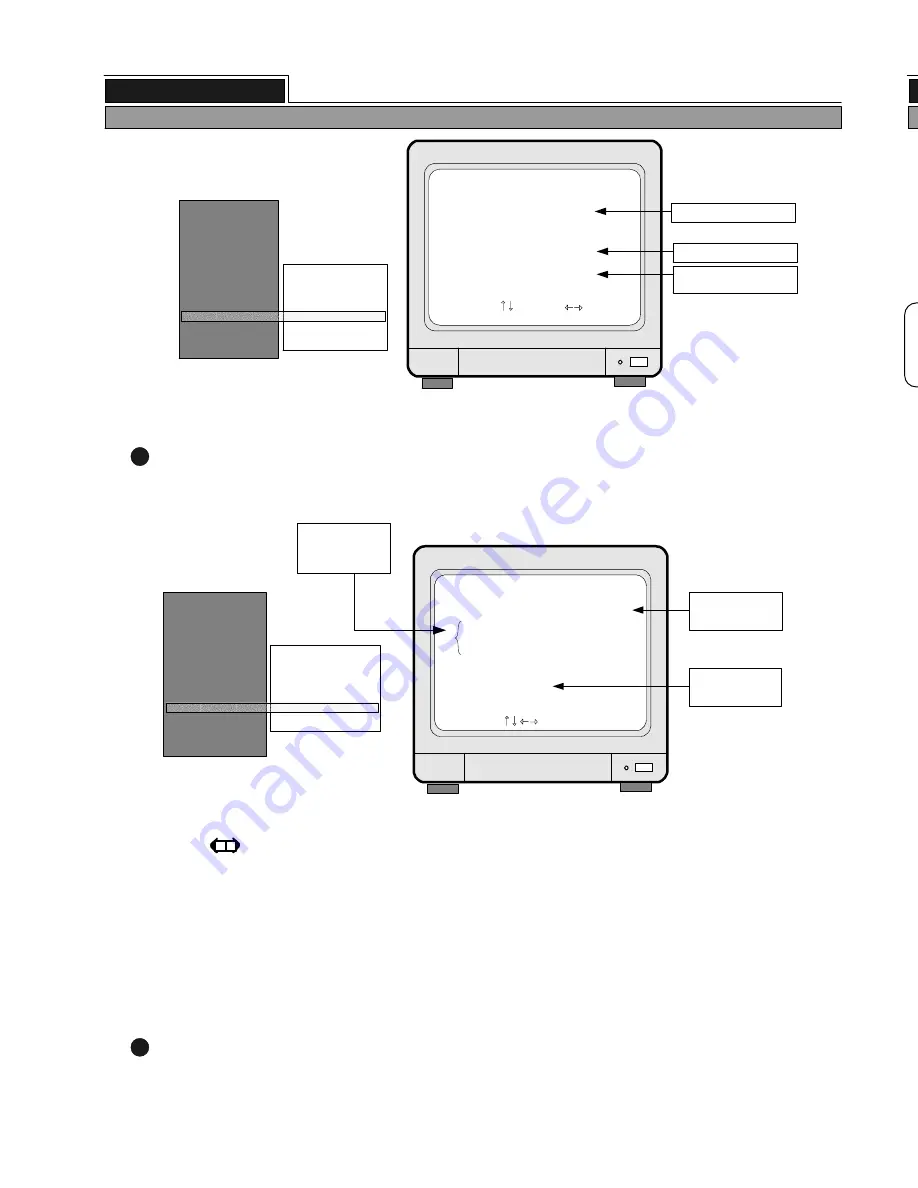
PRODUCT ID : Serial number of product. Necessary for manufacturer to know manufacturing date,
program version number, and others.
7
2) HDD AUTO DETECT : Allows to detect HDD just in case first HDD search after purchase failed
MARK IMAGE SETUP
SELECT , PRESS ENTER
TOTAL FRAME 0
START TIME
/ / : :
END TIME
/ / : :
PLAY IMAGE
DELETE IMAGE
SYSTEM SETUP
DISPLAY SETUP
CAMERA TITLE
TIME/DATE SETUP
ALARM/MOTION SETUP
RECORD SETUP
TCP/IP SETUP
MISCELLANEOUS
FACTORY DEFAULT
BUZZER SETUP
ID/PW SETUP
SCHEDULE REC SETUP
PANTILT CMD SETUP
HDD INFORMATION
MARK IMAGE SETUP
PRODUCT ID
Numbers of images
on HDD
Delete or play only
marked images
HDD DATA LIST
SELECT , PRESS
SIZE
TYPE
FRAME
START
END
POS
NUM
Display of HDD DATA LIST
SYSTEM SETUP
DISPLAY SETUP
CAMERA TITLE
TIME/DATE SETUP
ALARM/MOTION SETUP
RECORD SETUP
TCP/IP SETUP
MISCELLANEOUS
FACTORY DEFAULT
BUZZER SETUP
ID/PW SETUP
SCHEDULE REC SETUP
PANTILT CMD SETUP
HDD INFORMATION
MARK IMAGE SETUP
PRODUCT ID
: 61.4GB , 53.9GB
: NORMAL
: 398947
: 02/04/07 07:40:38
: 02/04/07 14:11:56
: IN-DVR
: 1ST MASTER
Start and end of recording
Number and location of
HDD
>
26
ALL ABOUT IMAGE RECOGNITION & PROCESSING
1 channel stand-alone DVR
5. Operation
HDD space. Used space
Start and end of
data recorded
Display of MARK IMAGE
SETUP
4) If you mark many images, instead of choosing image by image, cancel PAUSE by pressing
[PAUSE] button in step 1). Images are replayed in normal speed. Then press [MARK] button to end mark images.
9. P/T : Control PAN/TILT/ZOOM camera
11. Direction buttons : To move in the SETUP menu selection, change direction of playback
or play a role of number keys from 1 to 4 when entering password
8.MARK
: Mark images in playback mode to protect marked images from being overwritten


