102
Chapter 5
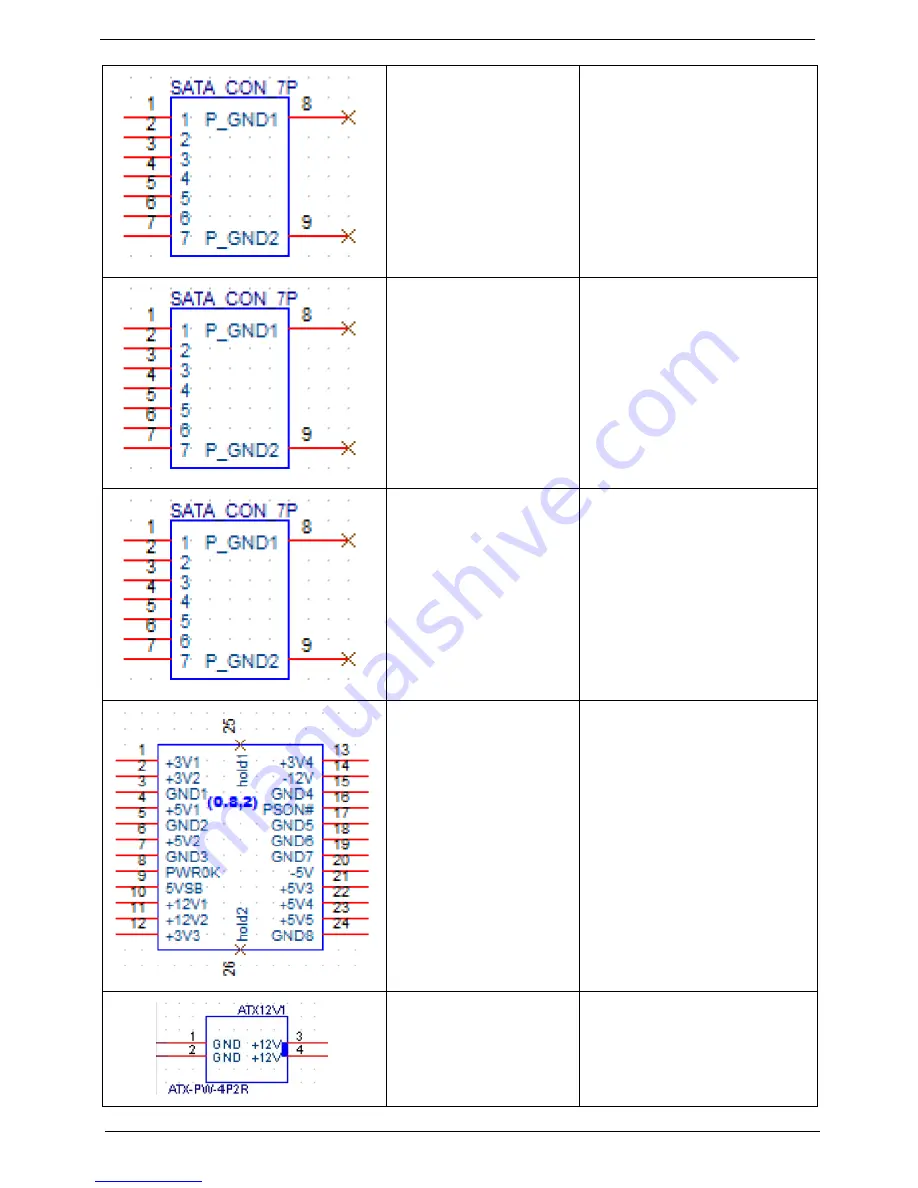
SATA CONN(BLACK)
1: GND
2: SATA_TXP1_C
3: SATA_TXN1_C
4: GND
5: SATA_RXN1_C
6: SATA_RXP1_C
7: GND
8:NC
9:NC
SATA CONN(BLACK)
1: GND
2: SATA_TXP2_C
3: SATA_TXN2_C
4: GND
5: SATA_RXN2_C
6: SATA_RXP2_C
7: GND
8:NC
9:NC
SATA CONN(BLACK)
1: GND
2: SATA_TXP3_C
3: SATA_TXN3_C
4: GND
5: SATA_RXN3_C
6: SATA_RXP3_C
7: GND
8:NC
9:NC
ATX_POWER CONN
1:+3P3V 14:-12V
2: +3P3V 15:GND
3: GND 16: ATX_PSO
4:+5V 17:GND
5:GND 18:GND
6:+5V 19:GND
7:GND 20:-5V
8: ATX_PWRGD_PWRCORD
9:+5VA 21:+5V
10:+12V 22:+5V
11:+12V 23:+5V
12:+3P3V 24:GND
13:+3P3V
ATX12V CONN
1: GND
2: GND
3: +12V_CPU
4: +12V_CPU
Содержание Predator G3620
Страница 1: ...Acer Predator G3620 Service Guide PRINTED IN TAIWAN ...
Страница 13: ...Chapter 1 5 Block Diagram ...
Страница 48: ...40 Chapter 3 b Slide the HDD out of the cage c Use the same way to slide other HDD out of the cage ...
Страница 51: ...Chapter 3 43 4 Pull the slave ODD from the chassis 5 Use the same method to take out master ODD ...
Страница 55: ...Chapter 3 47 7 Lift the power supply module out of the chassis ...
Страница 57: ...Chapter 3 49 3 Lift the board from the chassis 4 Punching in IO Shield then you can remove it ...
Страница 69: ...Chapter 3 61 Reinstalling the Power Supply 1 Install the power supply to chassis 2 Fix the four screws ...
Страница 70: ...62 Chapter 3 Reinstalling the I O Shielding 1 Install I O shielding into chassis ...
Страница 79: ...Chapter 3 71 6 Connect the other end of the data cable to the main board ...
Страница 85: ...Chapter 3 77 3 Connect the cooler cable to the main board connector ...
Страница 89: ...Chapter 3 81 3 Close the PCI Latch fix the three screws ...
Страница 91: ...Chapter 3 83 Reinstalling the Side Panel 1 Install the side Panel then fix two screws ...
Страница 99: ...91 Chapter 4 b Select Proceed with flash update and Press Enter ...
Страница 115: ...107 Chapter 6 Predator G3620 Exploded Diagram NOTE This section will be updated when more information becomes available ...


