


102
Chapter 4
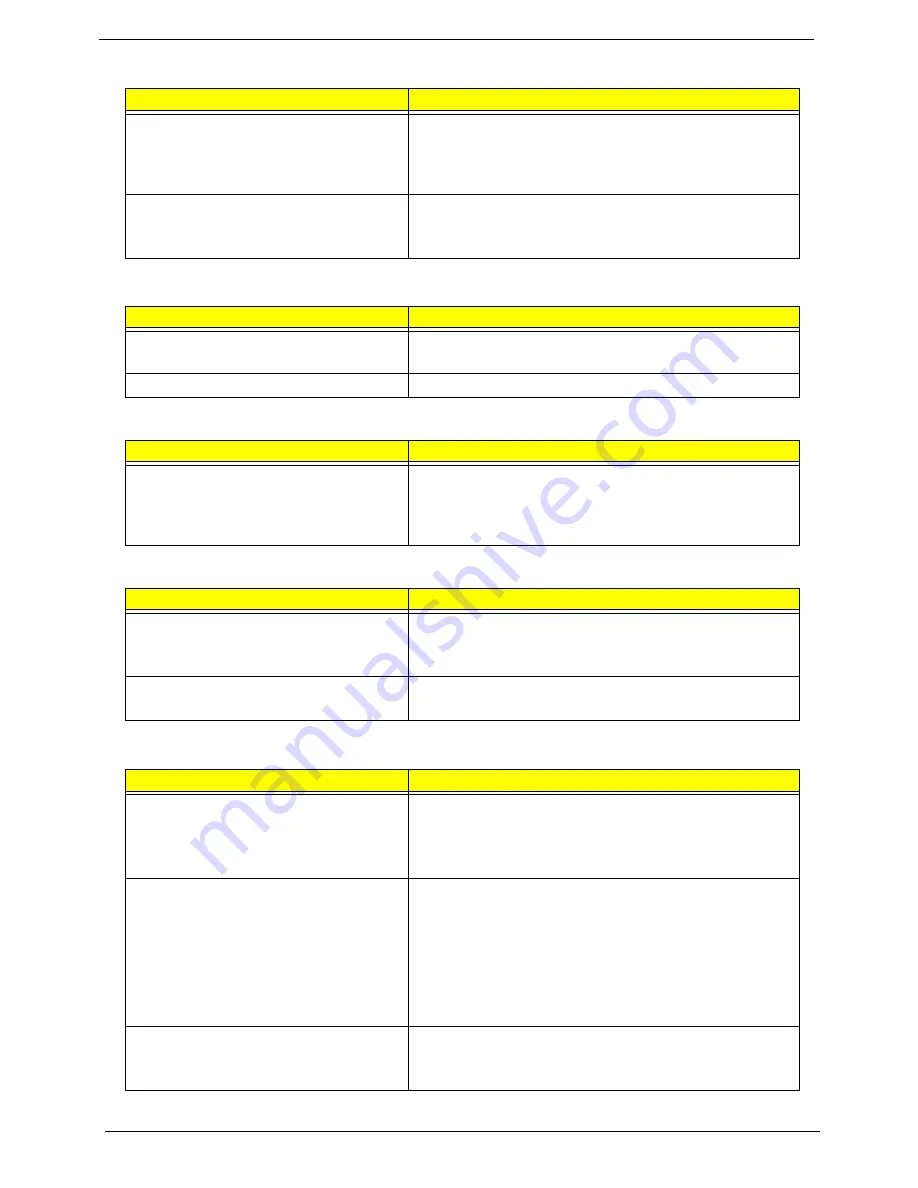
The system doesn’t power-off.
Power source (battery pack and power adapter). See “Power
System Check” on page 91.
Hold and press the power switch for more than 4 seconds.
System board
Battery can’t be charged
See “Check the Battery Pack” on page 92.
Battery pack
System board
PCMCIA-Related Symptoms
Symptom / Error
Action in Sequence
System cannot detect the PC Card
(PCMCIA)
PCMCIA slot assembly
System board
PCMCIA slot pin is damaged.
PCMCIA slot assembly
Memory-Related Symptoms
Symptom / Error
Action in Sequence
Memory count (size) appears different from
actual size.
Enter BIOS Setup Utility to execute “Load Default Settings,
then reboot system.
DIMM
System board
Speaker-Related Symptoms
Symptom / Error
Action in Sequence
In Windows, multimedia programs, no
sound comes from the computer.
Audio driver
Speaker
System board
Internal speakers make noise or emit no
sound.
Speaker
System board
Power Management-Related Symptoms
Symptom / Error
Action in Sequence
The system will not enter hibernation
See “Save to Disk (S4)” on page 21.
Keyboard (if control is from the keyboard)
Hard disk drive
System board
The system doesn't enter hibernation mode
and four short beeps every minute.
Press Fn+
o
and see if the computer enters hibernation
mode.
Touchpad
Keyboard
Hard disk connection board
Hard disk drive
System board
The system doesn’t enter standby mode
after closing the LCD
See “Save to Disk (S4)” on page 21.
LCD cover switch
System board
Power-Related Symptoms
Symptom / Error
Action in Sequence
Содержание Aspire 7740 Series
Страница 6: ...VI ...
Страница 12: ...4 Chapter 1 System Block Diagram ...
Страница 30: ...22 Chapter 1 ...
Страница 42: ...34 Chapter 2 ...
Страница 53: ...Chapter 3 47 4 Remove the DIMM module s ...
Страница 58: ...52 Chapter 3 NOTE When installing the CPU make sure to install the CPU with Pin 1 at the corner as shown ...
Страница 60: ...54 Chapter 3 3 Release the keyboard from the latches and turn it over on the palmrest area ...
Страница 75: ...Chapter 3 69 15 Remove the USB board module from the lower case ...
Страница 89: ...Chapter 3 83 10 Remove the LCD panel with brackets from the back cover ...
Страница 118: ...112 Chapter 5 ...
Страница 120: ...114 Chapter 6 Exploded Diagram ...
Страница 130: ...124 Chapter 6 ...
Страница 131: ...Appendix A 125 Model Definition and Configuration Appendix A ...
Страница 156: ...150 Appendix B ...
Страница 158: ...152 Appendix C ...


