


32
Chapter 3
Changing a Password
1.
Use the
↑
and
↓
keys to highlight the Set Supervisor Password parameter and press the
Enter
key. The Set
Password box appears.
2.
Type the current password in the Enter Current Password field and press
Enter
.
3.
Type a password in the Enter New Password field. Retype the password in the Confirm New Password field.
4.
Press
Enter
. After setting the password, the computer sets the User Password parameter to “Set”.
5.
If desired, you can enable the Password on boot parameter.
6.
When you are done, press
F10
to save the changes and exit the BIOS Setup Utility.
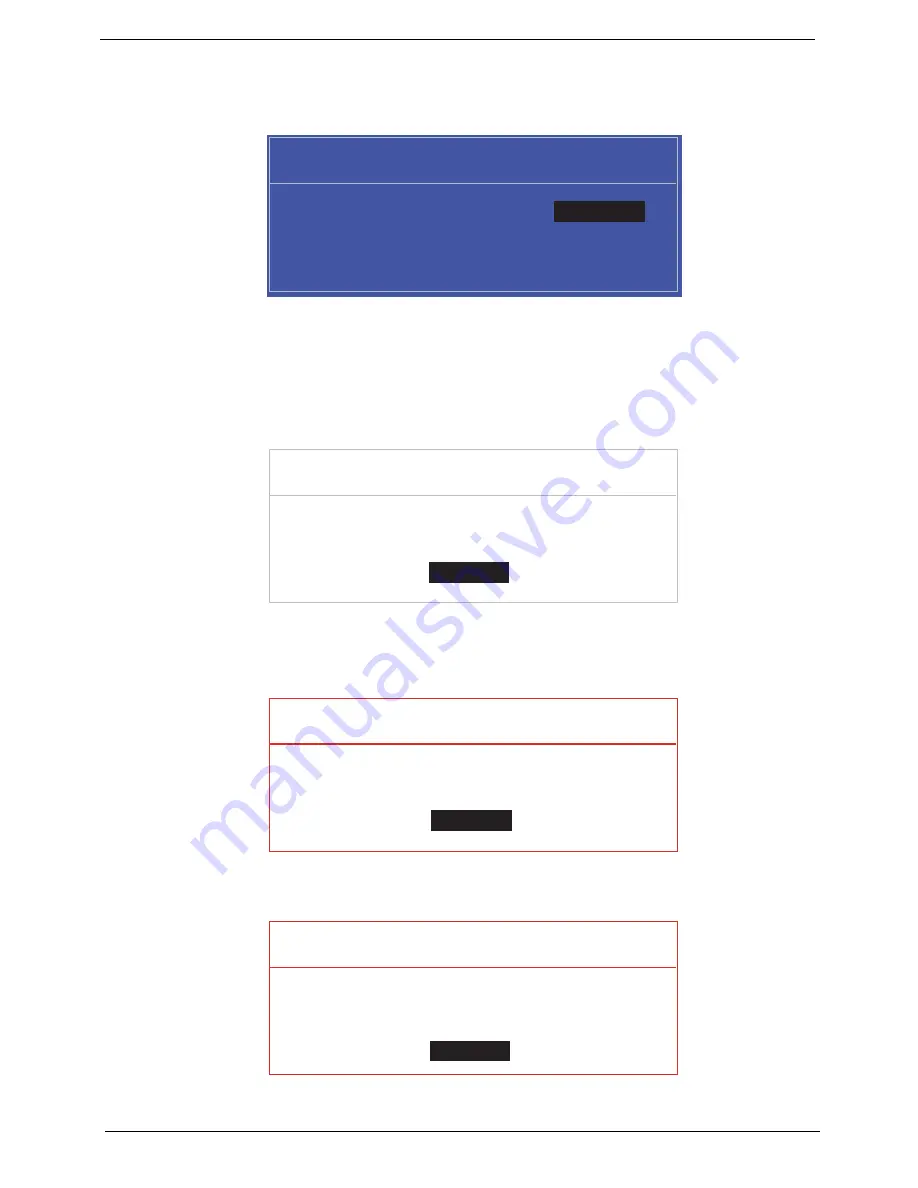
If the verification is OK, the screen will display as following.
The password setting is complete after the user presses
Enter
.
If the current password entered does not match the actual current password, the screen will show you the
Setup Warning.
If the new password and confirm new password strings do not match, the screen displays the following
message.
S e t S u p e r v i s o r P a s s w o r d
E n t e r C u r r e n t P a s s w o r d [ ]
[ ]
E n t e r N e w P a s s w o r d [ ]
C o n f i r m N e w P a s s w o r d [ ]
[ ]
S e t u p N o t i c e
C h a n g e s h a v e b e e n s a v e d .
[ C o n t i n u e ]
[
C o n t i n u e
]
S e t u p W a r n i n g
I n v a l i d P a s s w o r d .
[ C o n t i n u e ]
[
C o n t i n u e
]
S e t u p W a r n i n g
P a s s w o r d s d o n o t m a t c h .
R e - e n t e r p a s s w o r d .
[ C o n t i n u e ]
[
C o n t i n u e
]
Содержание Aspire 5739 Series
Страница 6: ...VI ...
Страница 10: ...X Table of Contents ...
Страница 36: ...26 Chapter 1 ...
Страница 55: ...Chapter 3 45 ...
Страница 56: ...46 Chapter 3 ...
Страница 116: ...106 Chapter 3 2 Connect the cable to the Bluetooth module ...
Страница 120: ...110 Chapter 3 6 Starting with the sides press down all around the perimeter of the cover to secure it in place ...
Страница 131: ...Chapter 3 121 2 Replace the two securing screws and caps Step Size Quantity Screw Type Hinge Covers M2 5 4 2 ...
Страница 137: ...Chapter 3 127 shown 1 Insert the DIMM Module flush with the connector and press down to lock in place ...
Страница 142: ...132 Chapter 3 ...
Страница 172: ...162 Chapter 3 ...
Страница 178: ...168 Chapter 3 ...
Страница 190: ...180 Chapter 3 ...
Страница 218: ...208 Chapter 3 ...
Страница 226: ...216 Chapter 3 ...
Страница 229: ...Chapter 3 219 volume hotkeys 7 W Windows 2000 Environment Test 210 Wireless Function Failure 150 ...
Страница 230: ...220 Chapter 3 ...


