Chapter 2
47
Power
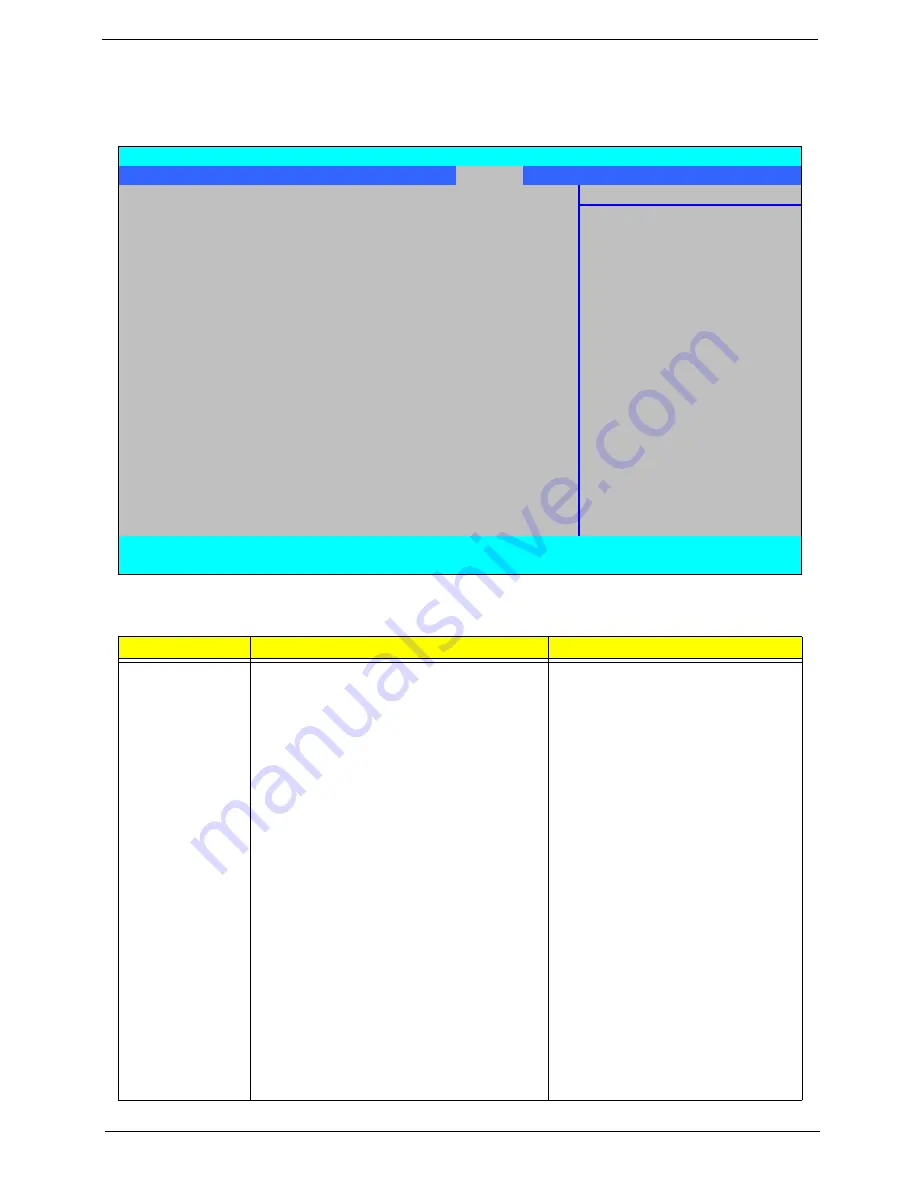
The Power screen allows the user to configure various CPU and power management options and device
wakeup behavior.
The table below describes the items, menus, and submenus in this screen. Settings in
boldface
are the default
and suggested parameter settings.
Parameter
Description
Submenu Items
Advanced CPU
Control
Enter the Advanced CPU Control menu.
•
P-States (IST)
•
Boot performance mode
•
Thermal Mode
•
CMP Support
•
Use XD capability
•
VT Support
•
C-States
•
Enhanced C-States
•
C-State Pop Up Mode
•
C-State Pop Down Mode
•
C4 Exit Timing Mode
•
DeepC4
•
Hard C4E
•
Enable C6
•
EMTTM
•
Bi-directional PROCHOT#
•
Dynamic FSB Switching
•
Turbo Mode
•
ACPI 3.0 T-States
•
DTS
•
DTS Calibration
•
Thermal Trip Points Setting (Fan
On Temp., Throttle On Temp.)
InsydeH20 Setup Utility
Rev. 3.5
Information Main Advanced
Security
Power
Boot
Exit
Item Specific Help
X
Advanced CPU Control
These items control
X
Platform Power Management
various CPU parameters.
ACPI S3:
[Enabled]
Wake on PME
[Enabled]
Wake on Modem Ring
[Enabled]
Auto wake on S5
[Disabled]
Quickly S4 Resume
[Disabled]
F1
Help
↑↓
Select Item
F5/F6
Change Item
F9
Setup Default
ESC
Exit
←→
Select Menu
Enter
Select
X
Submenu
F10
Save and Exit
Содержание Aspire 4930 Series
Страница 6: ...VI ...
Страница 10: ...X Table of Contents ...
Страница 14: ...4 Chapter 1 System Block Diagram ...
Страница 48: ...38 Chapter 1 ...
Страница 63: ...Chapter 2 53 ...
Страница 65: ...Chapter 2 55 ...
Страница 66: ...56 Chapter 2 ...
Страница 74: ...64 Chapter 3 6 Remove the HDD cover as shown 7 Remove the WLAN cover as shown ...
Страница 79: ...Chapter 3 69 5 Remove the HDD from the carrier ...
Страница 88: ...78 Chapter 3 Removing the Antenna 1 Remove the Antenna Cables from the securing pins as shown ...
Страница 91: ...Chapter 3 81 6 Place the antenna cable as shown to avoid damaging them ...
Страница 102: ...92 Chapter 3 13 Remove the Finger Print Reader board from the Upper Cover ...
Страница 104: ...94 Chapter 3 13 Remove the Launch Board from the Upper Cover ...
Страница 110: ...100 Chapter 3 13 Lift the I O Board clear of the Lower cover 14 Disconnect the I O Board cable and remove the board ...
Страница 119: ...Chapter 3 109 18 Disconnect the DC IN Cable from the Mainboard ...
Страница 121: ...Chapter 3 111 14 Lift the Thermal Module clear of the Mainboard ...
Страница 123: ...Chapter 3 113 15 Lift the CPU clear of the Mainboard ...
Страница 127: ...Chapter 3 117 14 Remove the HDMI Module as shown ...
Страница 130: ...120 Chapter 3 10 Lift up the bezel rightside first and remove it from the LCD Module ...
Страница 134: ...124 Chapter 3 11 Lift the Camera Module clear of the LCD Module ...
Страница 138: ...128 Chapter 3 12 Remove the LCD brackets by pulling away from the LCD Panel as shown ...
Страница 160: ...150 Chapter 3 ...
Страница 191: ...Chapter 6 181 ...
Страница 214: ...Appendix A 204 ...
Страница 218: ...208 Appendix B ...
Страница 220: ...210 Appendix C ...


