


2-10
System Utilities
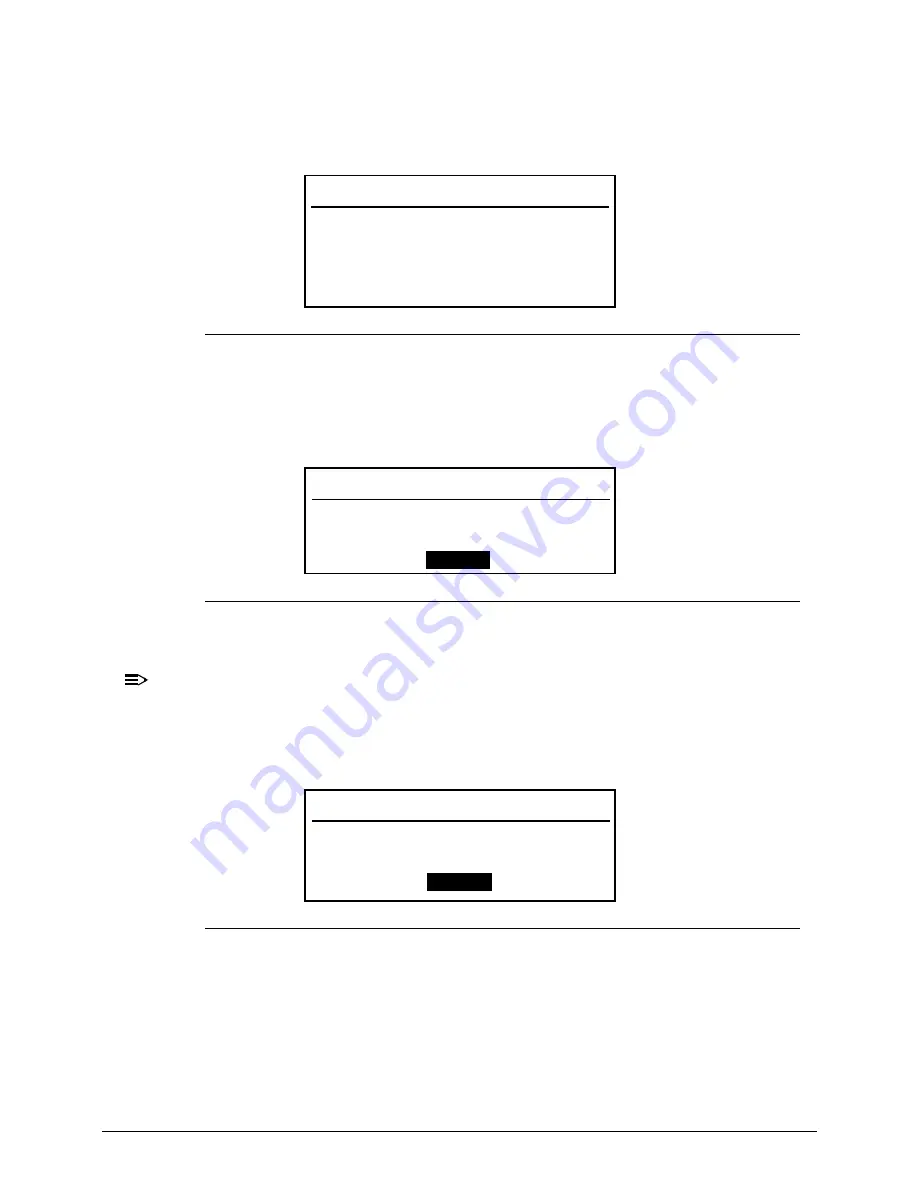
Changing a Password
0
1.
Use the
and
keys to highlight
Set Supervisor Password
and press
Enter
. The
Set Supervisor Password
dialog box appears.
Figure 2-6.
Set Supervisor Password
2.
Type the current password in
Enter Current Password
field and press
Enter
.
3.
Type the new password in
Enter New Password
field. Retype the password in
Confirm New Password
field.
Figure 2-7.
Setup Notice
4.
Press
Enter
. Computer sets
Supervisor Password
parameter to
Set
.
NOTE:
NOTE
:
Users can enable the Password on boot parameter.
5.
Press
F10
to save changes and exit
BIOS Setup Utility
.
If the verification is OK, the screen shows as follows.
Figure 2-8.
Setup Warning: Invalid Password
The password setting is complete after the user presses
Enter
.
Set Supervisor Password
Enter Current Password [
]
Enter New Password [
]
Confirm New Password [
]
Setup Notice
Changes have been saved.
[
Continue
]
Setup Warning
Invalid Password
[
Continue
]
Содержание Aspire 4743
Страница 1: ... Aspire 4743 4743G 4743Z 4743ZG SERVICEGUIDE ...
Страница 10: ...10 ...
Страница 11: ...CHAPTER 1 Hardware Specifications ...
Страница 14: ...1 4 ...
Страница 32: ...1 22 Hardware Specifications and Configurations System Block Diagram Figure 1 10 System Block Diagram ...
Страница 50: ...1 40 Hardware Specifications and Configurations ...
Страница 51: ...CHAPTER 2 System Utilities ...
Страница 70: ...2 20 System Utilities ...
Страница 71: ...CHAPTER 3 Machine Maintenance ...
Страница 74: ...3 4 ...
Страница 82: ...3 12 Machine Maintenance 4 Lift the base door to remove Figure 3 9 Base Door ...
Страница 85: ...Machine Maintenance 3 15 6 Detach the bracket from the HDD Figure 3 14 HDD Bracket ...
Страница 87: ...Machine Maintenance 3 17 4 Pull the WLAN module out of the slot Figure 3 17 WLAN Module ...
Страница 95: ...Machine Maintenance 3 25 8 Open the connector latch then detach cable to remove keyboard Figure 3 30 Keyboard ...
Страница 100: ...3 30 Machine Maintenance 6 Lift the speakers from the upper cover Figure 3 40 Speaker Cable ...
Страница 106: ...3 36 Machine Maintenance 4 Lift the USB board from the lower cover Figure 3 50 USB Board ...
Страница 113: ...Machine Maintenance 3 43 4 Remove the thermal module from the mainboard Figure 3 62 Thermal Module Screws ...
Страница 136: ...3 66 Machine Maintenance 3 Secure the bezel with the two 2 screw covers Figure 3 102 LCD Bezel Screw Covers ...
Страница 151: ...Machine Maintenance 3 81 3 Connect and lock the touchpad cable to the touchpad board Figure 3 128 Touchpad Cable ...
Страница 156: ...3 86 Machine Maintenance 5 Connect the speaker cable to the power button board Figure 3 137 Speaker Cable ...
Страница 172: ...3 102 Machine Maintenance Remove the Dummy Card 0 1 Insert the dummy card into the slot until it clicks into place ...
Страница 174: ...3 104 Machine Maintenance ...
Страница 175: ...CHAPTER 4 Troubleshooting ...
Страница 207: ...CHAPTER 5 Jumper and Connector Locations ...
Страница 208: ...2 2 Clearing Password Check and BIOS Recovery 5 5 Clearing Password Check 5 5 Performing a BIOS recovery 5 6 ...
Страница 215: ...CHAPTER 6 FRU List ...
Страница 216: ...6 2 Aspire 4743 4743G 4743Z 4743ZG Exploded Diagrams 6 4 Main Assembly 6 4 LCD Assembly 6 5 ...
Страница 234: ...6 20 FRU List ...
Страница 235: ...CHAPTER 7 Model Definition and Configuration ...
Страница 236: ...7 2 Aspire 4743 4743G 4743Z 4743ZG 7 3 ...
Страница 270: ...7 36 Model Definition and Configuration ...
Страница 338: ...7 104 Model Definition and Configuration ...
Страница 339: ...CHAPTER 8 Test Compatible Components ...
Страница 340: ...8 2 Microsoft Windows 7 Environment Test 8 4 ...
Страница 351: ...CHAPTER 9 Online Support Information ...
Страница 352: ...9 2 Introduction 9 3 ...
Страница 354: ...9 4 Online Support Information ...


