


22
System Utilities
Entering Setup
To enter Setup, press the key combination
EDA
.
IMPORTANT You must press
EDA
simultaneously while the system
is booting.
The Setup Utility main menu then appears:
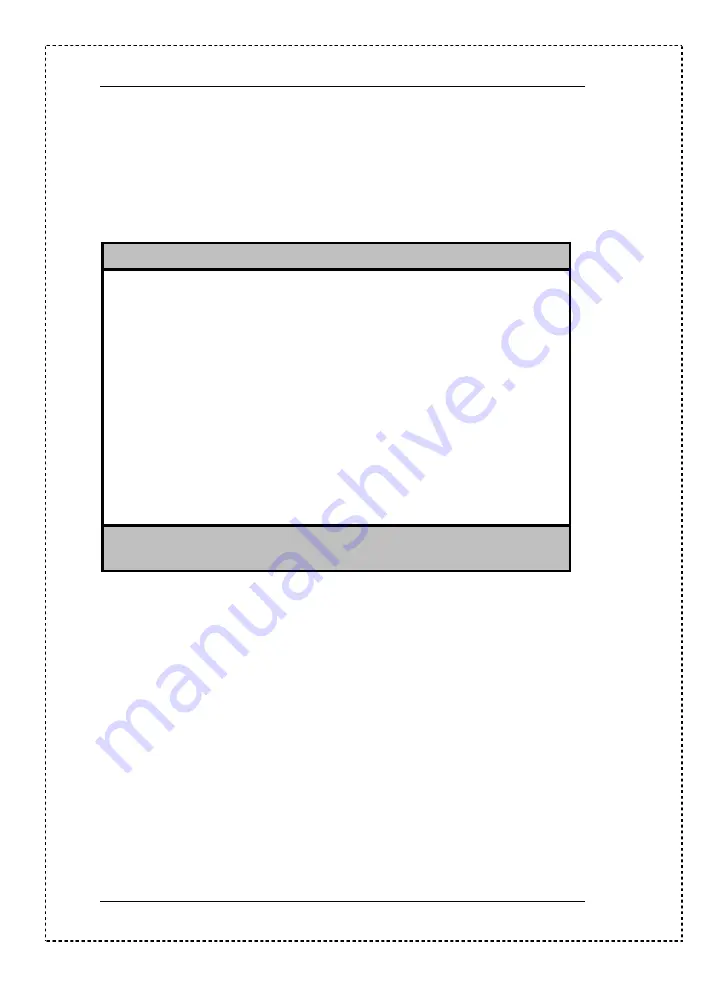
Setup Utility
System Information
Product Information
Disk Drives
Onboard Peripherals
Power Management
Boot Options
Date and Time
System Security
Load Default Settings
Abort Settings Change
↑↓
= Move highlight bar
↵
= Select
Esc = Exit
The system supports two BIOS Utility levels: Basic and Advanced. The above
screen is the BIOS Utility Basic Level screen. This allows you to view and
change only the basic configuration of your system.
If you are an advanced user, you may want to check the detailed configuration
of your system. Detailed system configurations are contained in the Basic Level
2 and Advanced Level. To view the Basic Level 2, press
V
. To view the
Advanced Level, press
D
+
R
. The following screen shows the Setup Utility
Advanced Level main menu.
Содержание Aspire 3300
Страница 70: ...62 Removal and Replacement 3 Remove the CPU ...
Страница 71: ...Chapter 3 63 Removing a Daughterboard 1 Remove two screws from the daughterboard 2 Pull up the daughterboard ...
Страница 72: ...64 Removal and Replacement ...
Страница 78: ...70 Troubleshooting ...
Страница 79: ...Chapter 5 Chapter 5 71 Jumper and Connector Information ...
Страница 92: ...84 FRU Field Replaceable Unit List ...
Страница 94: ...86 Model Number and Configurations ...
Страница 104: ...96 Test Compatible Components List ...
Страница 106: ...98 Online Support Information ...


