


6
Connecting the AC Power
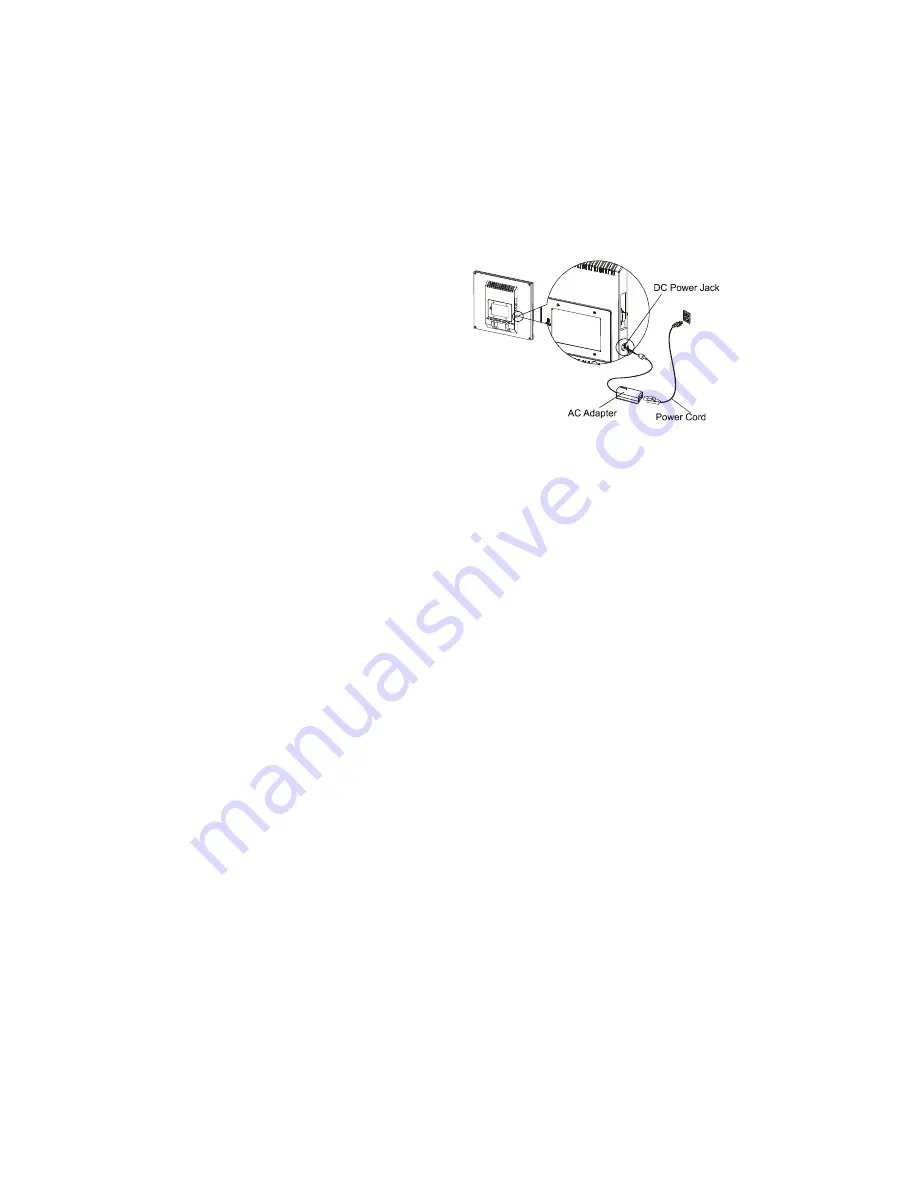
1.
Connect the power cord to the AC adapter.
(See Fig. 1-6)
2.
Connect the AC adapter's DC output
connector to the DC Power Jack of the
monitor.
3.
Connect the power cord to an AC power
source.
Figure 1-6
Warning
We recommand to install a "Surge Protector" device between the AC Adapter and the
electrical wall outlet for adding protection against power surges to prevent the effects of
sudden voltage variations from reaching the LCD Monitor. Sudden power surges may
damage your monitor.
Setting Up the LCD Monitor
1.
Make sure the AC Adapter is connected to the LCD Monitor.
2.
Turn on the LCD Monitor's power switch, located on the bezel of the monitor.
Power Management System
This LCD Monitor complies with the VESA DPMS (version 1.0) Power Management guidelines.
The VESA DPMS provides four power saving modes through detecting a horizontal or vertical
sync. signal.
When the LCD Monitor is in power saving mode, the monitor screen will be blank and the
power LED indicator will light yellow.
Содержание AL501
Страница 1: ......


