Playback
19
Playback
General information
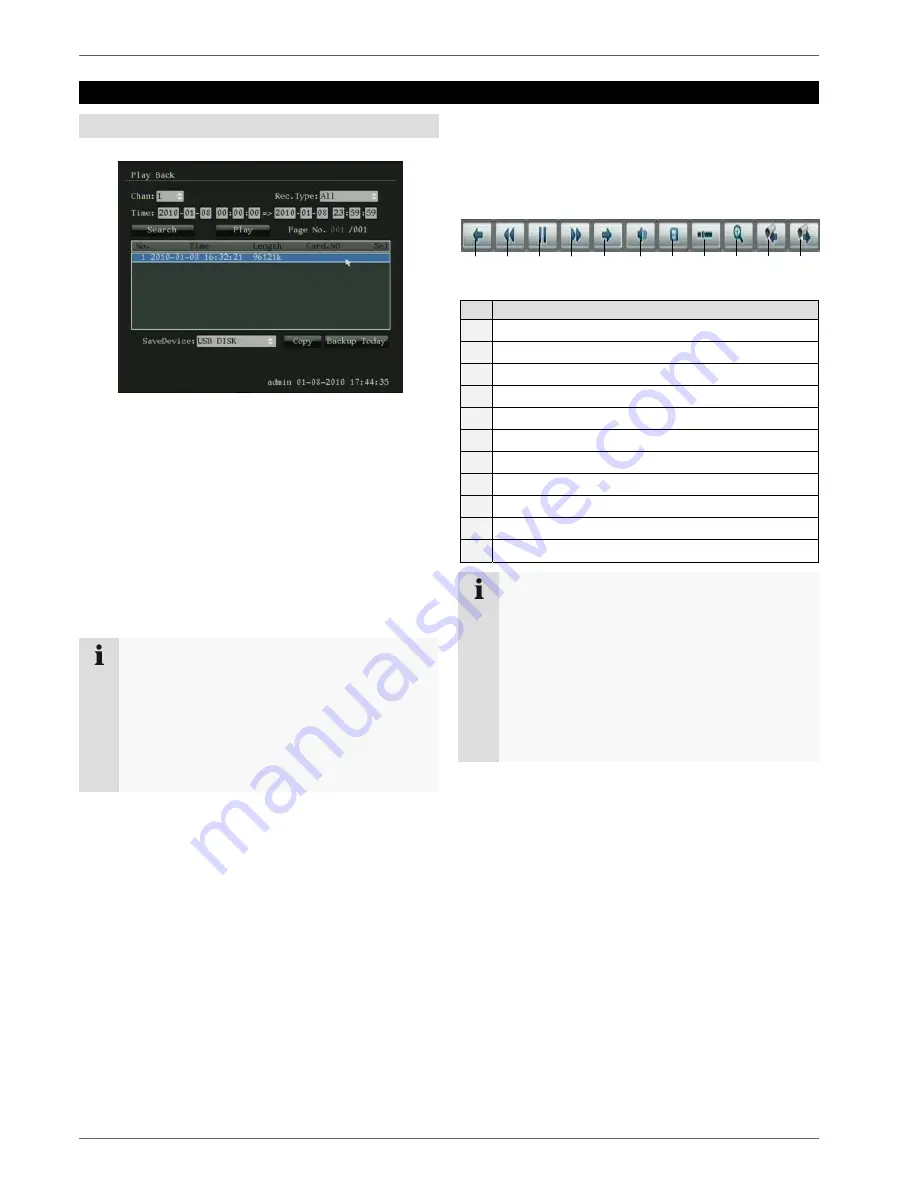
1. Select “Play” in the live view.
2. To search for existing recordings, select the camera,
recording type and time period.
3. Click on “Search” to search for relevant recordings. If
there are more than 8 search results, they are listed
on additional pages. Scroll through the pages by
pointing the mouse on the front page number and
turning the scroll wheel.
4. Select one or more entries and click on “Play” to play
them back.
5. Click on “Copy” to back up the selected entries on
USB or “Backup Today” to back up the entire day.
Note
Data backup:
After you start copying, the message “Waiting for
USB medium...” appears. Now remove the USB
mouse and connect a USB medium to back up the
data. Copying starts automatically. You can also
use the remote control supplied for the recorder at
any time.
Using the control panel
The control panel is used for controlling the running play-
back. The symbols have the following meaning:
No. Meaning/function
1
Reverses 30 seconds
2
Reduces the playback speed
3
Playback/Pause
4
Increases the playback speed
5
Advances 30 seconds
6
Switches audio playback on/off
7
Saves the recording
8
Hides the control panel
9
Digital zoom
10 Previous camera
11 Next camera
Note
Data backup:
If you press the “Save recording” button, the video
currently being shown is saved temporarily until
the button is pressed again. You can repeat this
procedure as many times as you wish. After exiting
Playback, you are prompted to back up on a USB
medium the videos saved temporarily. If the videos
are not backed up immediately after exiting Play-
back, they are deleted.
1
2
3
4
5
6
7
8
9
10
11


