Record
18
Schedule
The schedule is used to specify the recording times and
triggers (recording type) for the cameras.
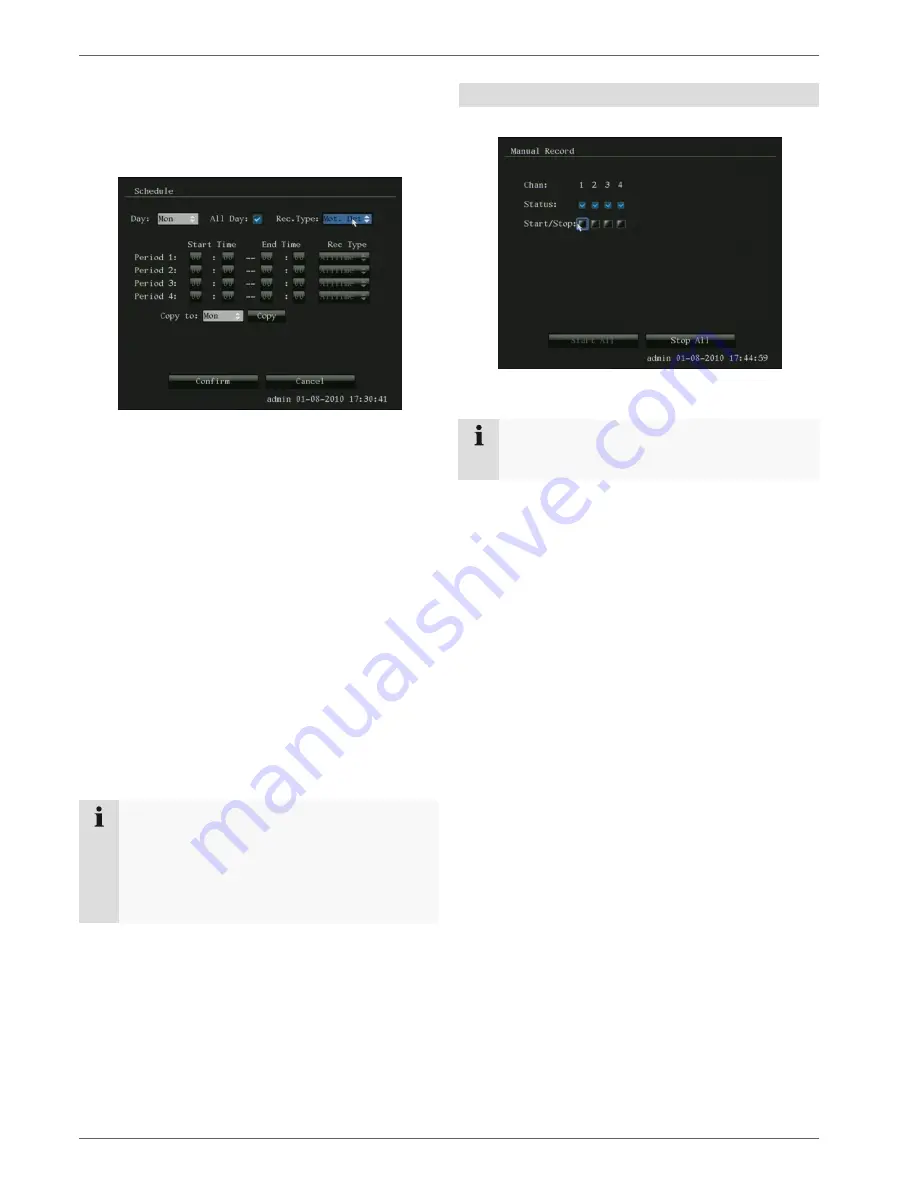
Click on Schedule:
I
1. Select the day.
2. Tick or untick the “All Day” box. When “All Day” is se-
lected, defined times cannot be entered. The re-
cording type then applies to the entire day.
3. Specify the recording type in the drop-down menu:
•
All
Day
•
Motion
detection
•
Alarm
•
Motion detection or alarm
•
Motion detection and alarm
4. To make specific time settings, untick the “All Day”
box.
5. When making a specific time setting, you can define
up to 4 time periods (each from 00:00 to 00:00). The
times in the individual periods must not overlap.
6. Select the camera under “Copy to” or select “All”,
then confirm by pressing “Copy”.
Note
With All Day, you define time windows where
there is continuous recording.
The other events (e.g. motion detection and/or
alarm) only trigger the recording after the specific
event has occurred.
Manual record
1. Select “Manual Record” in the live view:
2. Select the camera to start manual recording. Click on
“Start/Stop” to do so.
Note
Click on “Start All” or “Stop All” to start or finish re-
cording from all the connected cameras.


