INSTALLATION - TOP MOTHERBOARD
1 Place the Upper Voice Motherboard assembly
a) The upper board ships completely assembled & calibrated.
b) If the unit has original 1
½” hinged standoffs installed remove them.
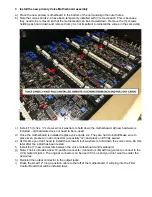
c) Install the (3) 1
” standoffs onto the brass hinges that are pre-installed on the motherboard tray:
d) Place the upper motherboard assembly above the primary motherboard and align the standoffs with
the holes in the bottom of the enclosure. Install (3) 6-32 screws and lock washers from the bottom of
the unit to attach the standoffs.
e) Do not install the screws on the right side of the tray yet. The tray swings open and it should be left
as-is until the voices are tested & verified.
2 Install Connectors
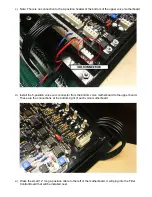
a) Install the (6) new connectors between the upper voice motherboard and the mainboard.
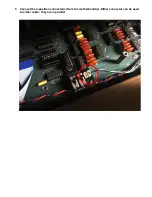
b) If upgrading from a 4-voice OB-X there may be a dummy load resistor attached to the +/-19V power
connector that goes to the upper voice motherboard. Simply unplug it from the old connector. It can
be removed but there is no problem just leaving it.
Note: the wires have been cut off in the pic below
:


