background image

步骤

3.


浏览器会询问使用者名称及密码,输入管理员名称与密码。

(如图

S-1


„


使用者名称:

admin 

密码:

admin 

„


点选【确定】


S-1  

键入使用者名称与密码


步骤

4.


进入

MH1000

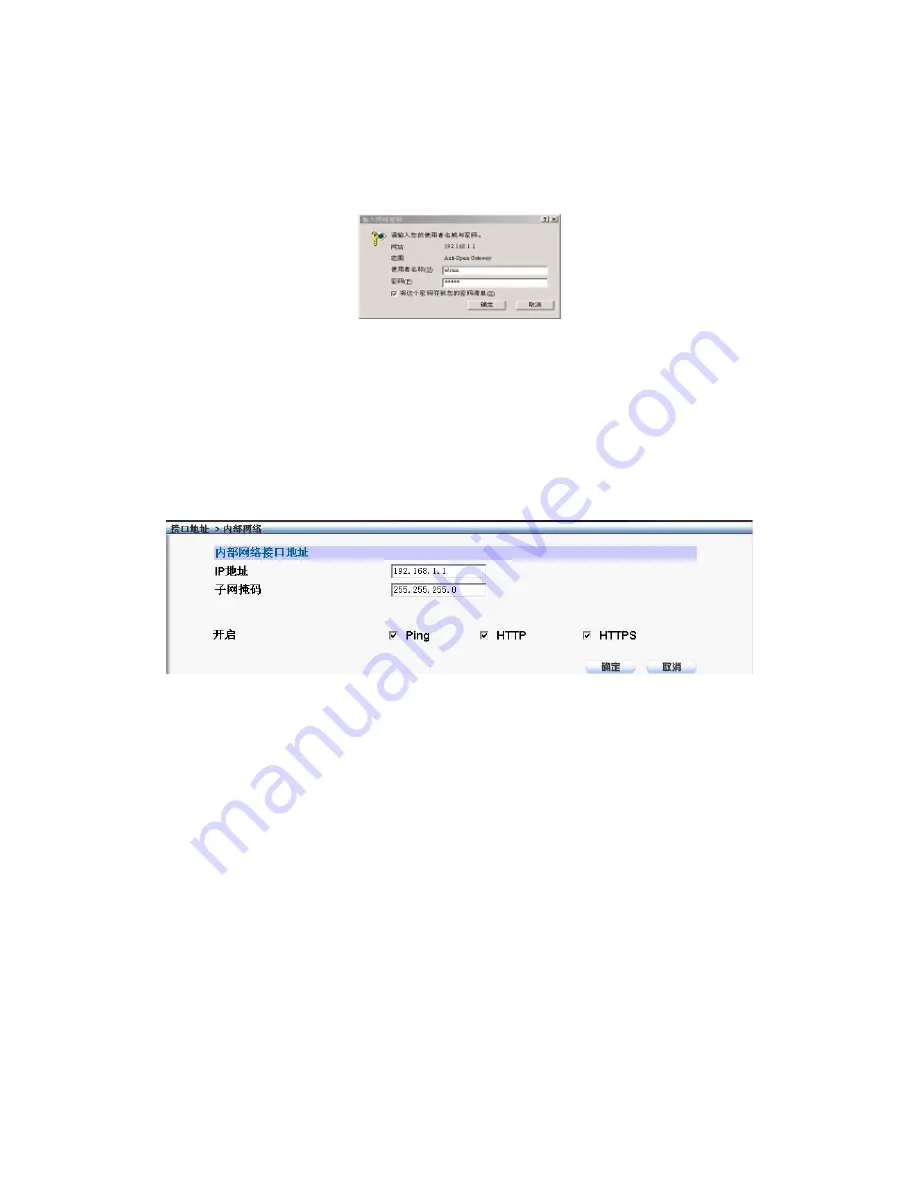
软件系统主画面后,在左方的功能选项中,点选【接

口地址】功能,再点选【内部网络】次功能选项。

(如图

S-2


„


内部网络

IP 

地址:

192.168.1.1 

子网掩码:

255.255.255.0 

„


点选【确定】


S-2  

键入内部网络

IP

地址与子网掩码


步骤

5.


如果新的内部网络接口地址不是

192.168.1.1

。在点选【

OK

】后,必

须更改系统管理员的

IP

地址与新的内部网络接口地址为同一网段。

并 在 浏 览 器 网 址 字 段 输 入 新 的 内 部 网 络 接 口 地 址 , 再 重 新 连 结

MH1000


19

Содержание MH1000

Страница 1: ...AboCom MH1000 Multi Homing Gateway Quick Install Guide...

Страница 2: ...ENGLISH QIG 2 HARDWARE CONFIGURATION 3 SOFTWARE CONFIGURATION 4 9 MH1000 10 MH1000 11 16 MH1000 17 MH1000 18...

Страница 3: ...English QIG 2...

Страница 4: ...s the system is under the status of booting Around two minutes when the LED light stop glittering it means the system is booting successful WAN 1 2 Port To connect to the external router DSL modem or...

Страница 5: ...mask of 255 255 255 0 Therefore the IP address of the Administrator PC must be in the range between 192 168 1 2 192 168 1 254 STEP 2 After the new IP of Administrator s PC take effect enable IE or Net...

Страница 6: ...STEP 4 After entering the username and password select Interface on the left menu and click on LAN FigureS 2 LAN enter IP address 192 168 1 1 Netmask 255 255 255 0 Click OK FigureS 2 IP Address and N...

Страница 7: ...terface on the left menu and click on WAN Figure S 3 FigureS 3 WAN 1 2 Interface STEP 7 WAN Interface 1 2 select the WAN 1 2 that needs to be set and click Modify Enter the IP address provided from IS...

Страница 8: ...ure STEP 9 Enter the following setting in Date Time setting Select Enable synchronize with an Internet time Server Set offset 8 hours from GMT Enter the Server IP Name 133 100 9 2 Enter Update system...

Страница 9: ...Figure S 6 STEP 12 At Add New Policy WebUI enter the following information Source Address Select Inside_Any Destination Address Select Outside_Any Action Select PERMIT Click OK Figure S 6 Add New Poli...

Страница 10: ...9...

Страница 11: ...MH1000 MH1000 H 1 MH1000 Power LED Status LED LED LED WAN 1 2 Port 1 2 LAN DMZ Console Port 9 pin MH1000 10...

Страница 12: ...pe MH1000 MH1000 IP http 192 168 1 1 IP 192 168 1 2 192 168 1 254 255 255 255 0 2 MH1000 192 168 1 0 IE Netscape http 192 168 1 1 MH1000 WebUI MH1000 IP IP 10 0 0 0 10 255 255 255 172 16 0 0 172 31 25...

Страница 13: ...3 S 1 admin admin S 1 4 MH1000 S 2 IP 192 168 1 1 255 255 255 0 S 2 IP 5 192 168 1 1 OK IP MH1000 12...

Страница 14: ...6 MH1000 S 3 S 3 1 2 7 1 2 1 2 ISP IP S 4 1 1 IP 61 11 11 11 255 255 255 0 61 11 11 254 DNS 1 168 95 1 1 S 4 IP 13...

Страница 15: ...8 9 GMT 8 133 100 9 2 360 S 5 S 5 14...

Страница 16: ...10 11 S 6 12 Inside_Any Outside_Any S 6 13 MH1000 15...

Страница 17: ...16...

Страница 18: ...MH1000 MH1000 H 1 MH1000 Power LED Status LED LED LED WAN 1 2 Port 1 2 LAN DMZ Console Port 9 pin MH1000 17...

Страница 19: ...pe MH1000 MH1000 IP http 192 168 1 1 IP 192 168 1 2 192 168 1 254 255 255 255 0 2 MH1000 192 168 1 0 IE Netscape http 192 168 1 1 MH1000 WebUI MH1000 IP IP 10 0 0 0 10 255 255 255 172 16 0 0 172 31 25...

Страница 20: ...3 S 1 admin admin S 1 4 MH1000 S 2 IP 192 168 1 1 255 255 255 0 S 2 IP 5 192 168 1 1 OK IP MH1000 19...

Страница 21: ...6 MH1000 S 3 S 3 1 2 7 1 2 1 2 ISP IP S 4 1 1 IP 61 11 11 11 255 255 255 0 61 11 11 254 DNS 1 168 95 1 1 S 4 IP 20...

Страница 22: ...8 9 GMT 8 133 100 9 2 360 S 5 S 5 21...

Страница 23: ...10 11 S 6 12 Inside_Any Outside_Any S 6 13 MH1000 22...

Отзывы: