background image


 5 

E

E

I

I

N

N

F

F

Ü

Ü

H

H

R

R

U

U

N

N

G

G

Wir bedanken uns bei Ihnen! Ihre neue Maus l

ä

sst sich leicht installieren und bietet eine Menge 

n

ü

tzlicher Funktionen. Ihre zwei R

ä

der lassen sich in alle Richtungen rollen, ganz gleich, unter 

welcher Anwendung. Mit dem vertikalen Rad rollen Sie auf- und abw

ä

rts; mit dem horizontalen Rad 

rollen Sie nach links und rechts oder zoomen ein Dokument ein oder aus. Die Maustasten k

ö

nnen 

zum Start von NetJump oder LuckyJump programmiert werden, um h

ä

ufig ausgef

ü

hrte Programme 

schnell auszuf

ü

hren. Sie k

ö

nnen sogar Ihr eigenes Befehlsmen

ü

 erstellen und mit einem Klicken alle 

Ihre Lieblingsprogramme unter den Cursor setzen! Wir ersetzten den Trackball durch einen 
optischen Sensor, der Ihre Mausfl

ä

che 1500 Mal pro Sekunde auf h

ö

chste Genauigkeit hin abtastet.  

Anschlu

ß

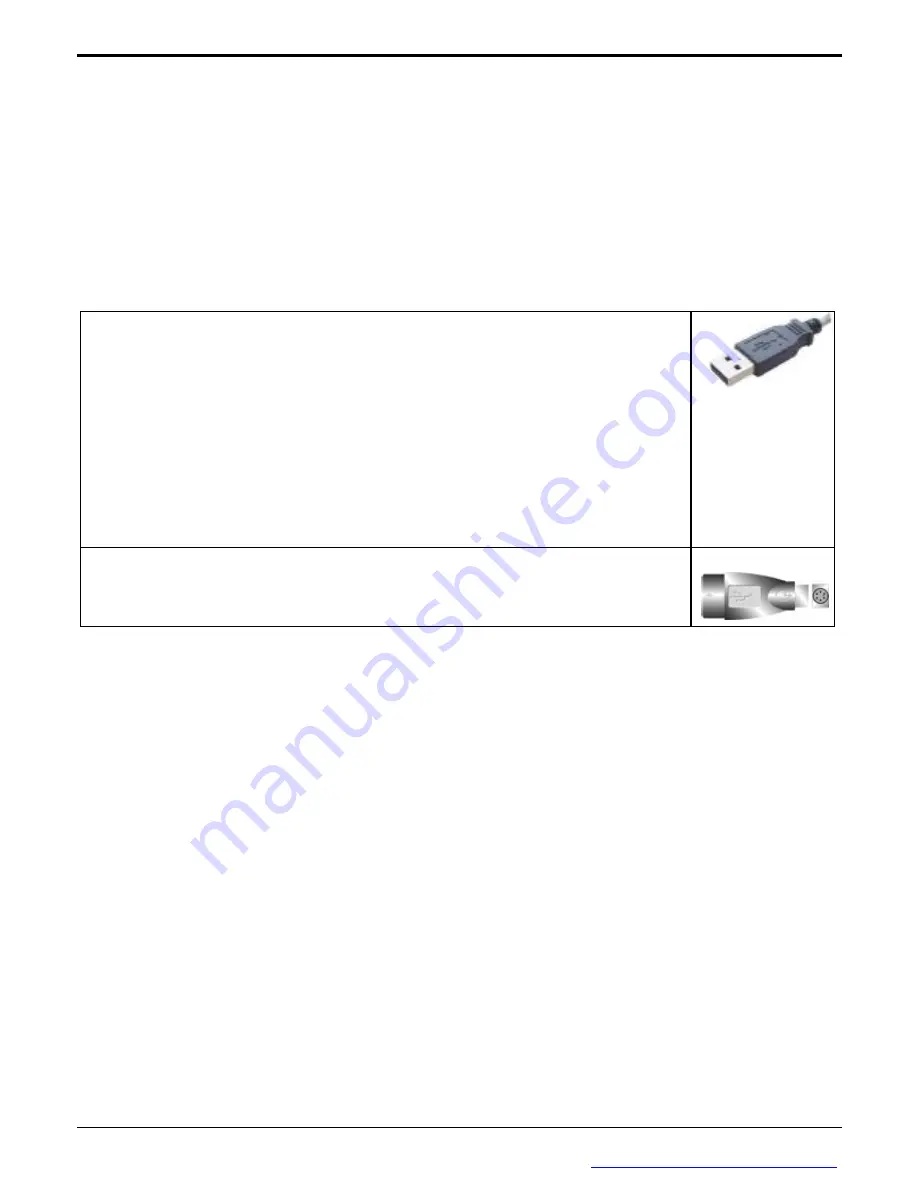
 der USB-Maus an den Rechner:  

1. 

Suchen Sie auf der Rechnerr

ü

ckseite nach der USB-Schnittstelle. 

2. 

Schlie

ß

en Sie den Stecker des Mauskabels an die USB-Schnittstelle 

an, und ziehen Sie die Schrauben fest.


Aktivieren des USB-Interrupts: 

Zum Einsatz von USB-Ger

ä

ten mu

ß


vielleicht ein Interrupt freigegeben werden. Wenn die USB-Funktion im 
BIOS deaktiviert ist, k

ö

nnen an die USB-Schnittstelle angeschlossene 

Ger

ä

te nicht richtig angesprochen werden. 

Ü

berpr

ü

fen Sie die BIOS-

Einstellungen Ihres Rechner

s. 


Zum Anschlu

ß

 der Kombinationsmaus an die PS2 Schnittstelle m

ü

ssen 

Sie einen USB-PS2 Zwischenstecker einsetzen. 


Die Maussoftware installieren 

Bevor Sie den breiten Funktionsumfang Ihrer Maus zu Ihrem Vorteil nutzen k

ö

nnen, m

ü

ssen Sie den 

Treiber installieren. Der Treiber befindet sich auf der Installationsdiskette, die Ihrer 4-Weg-Rollmaus 
beigef

ü

gt ist. 

Installation unter Windows

®

95/ 98/Me/2000/XP 

1. 

Schlie

ß

en Sie die Maus an Ihren Computer an. 

2. 

Legen Sie die Installationsdiskette in Ihr Diskettenlaufwerk. 

3. 

Klicken Sie die Schaltfl

ä

che 

Start

 und dann 

Ausf

ü

hren

 an. 

4. 

Geben Sie 

A:\setup

 im Dialogfenster 

Ausf

ü

hren

 ein, wobei 

»

A

«

 der Buchstabe Ihres 

Diskettenlaufwerks ist. 

5. 

Klicken Sie auf 

OK

 und schlie

ß

en Sie die Installation anhand der Anweisungen auf dem 

Bildschirm ab. 

PDF 

檔案以

 "FinePrint pdfFactory Pro" 

試用版建立


http://www.pdffactory.com

Содержание 4D

Страница 1: ...use User s Guide English Version 1 2 Deutsche Version 3 5 Version fran aise 6 8 Italiano 9 11 Versi n Espa ola 12 14 Nederlandstalige Versie 15 17 MN WOP 353 6C PDF FinePrint pdfFactory Pro http www p...

Страница 2: ...a particular installation If this equipment does cause harmful interference to radio or television reception which can be determined by turning the equipment off and on the user is encouraged to try...

Страница 3: ...er 2 Insert the USB mouse port connector into the USB mouse port and tighten the screws Enabled USB IRQ If you use USB devices you may Enable reserves an IRQ for the USB to work Disabled do not allow...

Страница 4: ...forward to scroll right move the wheel back AutoScroll Use AutoScroll in Office 97 compatible applications to scroll through large documents Activate AutoScroll from LuckyJump or NetJump The AutoScrol...

Страница 5: ...4 Optische 4D Maus Benutzerhandbuch PDF FinePrint pdfFactory Pro http www pdffactory com...

Страница 6: ...an und ziehen Sie die Schrauben fest Aktivieren des USB Interrupts Zum Einsatz von USB Ger ten mu vielleicht ein Interrupt freigegeben werden Wenn die USB Funktion im BIOS deaktiviert ist k nnen an di...

Страница 7: ...ie das horizontale Rad r ck w rts AutoScroll Mit AutoScroll rollen Sie in Office 97 kompatiblen Anwen dungen durch gro e Dokumente Aktiviert AutoScroll unter LuckyJump oder NetJump Das Symbol AutoScro...

Страница 8: ...7 Souris optique 4D Guide de l utilisateur PDF FinePrint pdfFactory Pro http www pdffactory com...

Страница 9: ...ordinateur 2 Ins rez le connecteur de la souris USB dans le port USB et serrez les vis Activer l IRQ pour l USB Si vous utilisez des p riph riques USB vous devez r server un IRQ pour l USB Si vous n...

Страница 10: ...olette horizontale vers l avant pour d filer vers la droite d placez la molette vers l arri re AutoScroll Utilisez AutoScroll dans les applications compatibles avec Office 97 pour d filer dans de long...

Страница 11: ...10 Mouse ottico 4D Guida dell utente PDF FinePrint pdfFactory Pro http www pdffactory com...

Страница 12: ...SB per mouse e stringere le viti Attivare un Livello di interrupt IRQ per l USB Per poter utilizzare dispositivi USB si deve riservare all USB un proprio Livello di interrupt nelle impostazioni del BI...

Страница 13: ...utomatico Per lo scorrimento di grandi documenti in applicazioni compatibili con Office 97 Attivare lo Scorrimento automatico da LuckyJump o NetJump Sulla barra di scorrimento verticale appare l icona...

Страница 14: ...13 Mouse ptico 4D Gu a del usuario PDF FinePrint pdfFactory Pro http www pdffactory com...

Страница 15: ...e posterior del equipo 2 Inserte el puerto del mouse USB en el puerto para mouse USB y apriete los tornillos N de IRQ de USB activado si utiliza dispositivos USB puede utilizar la opci n que permite r...

Страница 16: ...lazarse hacia la derecha mu vala hacia atr s Desplazamiento autom tico Utilice el desplazamiento autom tico en aplicaciones compatibles con Office 97 para desplazarse por documentos Puede activar el d...

Страница 17: ...16 Optische 4D muis Gebruikershandleiding PDF FinePrint pdfFactory Pro http www pdffactory com...

Страница 18: ...e achterkant van de computer 2 Sluit de USB stekker van de muis op de USB muispoort en draai de schroeven aan IRQ voor USB inschakelen Als u USB apparaten gebruikt moet u in het BIOS van de computer e...

Страница 19: ...chts door het wieltje naar achteren te roteren Automatisch bladeren Gebruik Automatisch bladeren in Office 97 compatibele toepassingen om door grote documenten te bladeren Activeer Automatisch bladere...

Отзывы: