background image


 17 

I

I

N

N

L

L

E

E

I

I

D

D

I

I

N

N

G

G

Gefeliciteerd met uw aanschaf! Uw nieuwe muis is eenvoudig te installeren en biedt u een groot 
aantal nieuwe mogelijkheden. De muis heeft twee wieltjes waarmee u eenvoudig in alle toepassingen 
in alle richtingen kunt bladeren. Met het verticale wieltje kunt u naar boven en naar beneden 
bladeren en met het horizontale wieltje kunt u naar links en rechts bladeren of in- of uitzoomen in 
een document. U kunt de muisknoppen programmeren en NetJump of LuckyJump gebruiken om 
veelgebruikte programma

s snel te starten. U bent zelfs in staat een eigen opdrachtenmenu maken 

zodat u met 

éé

n muisklik al uw favoriete programma

s onder bereik hebt! De muisbal hebben we 

vervangen door een optische sensor die 1500 keer per seconde zijn positie op het bureaublad bepaalt . 


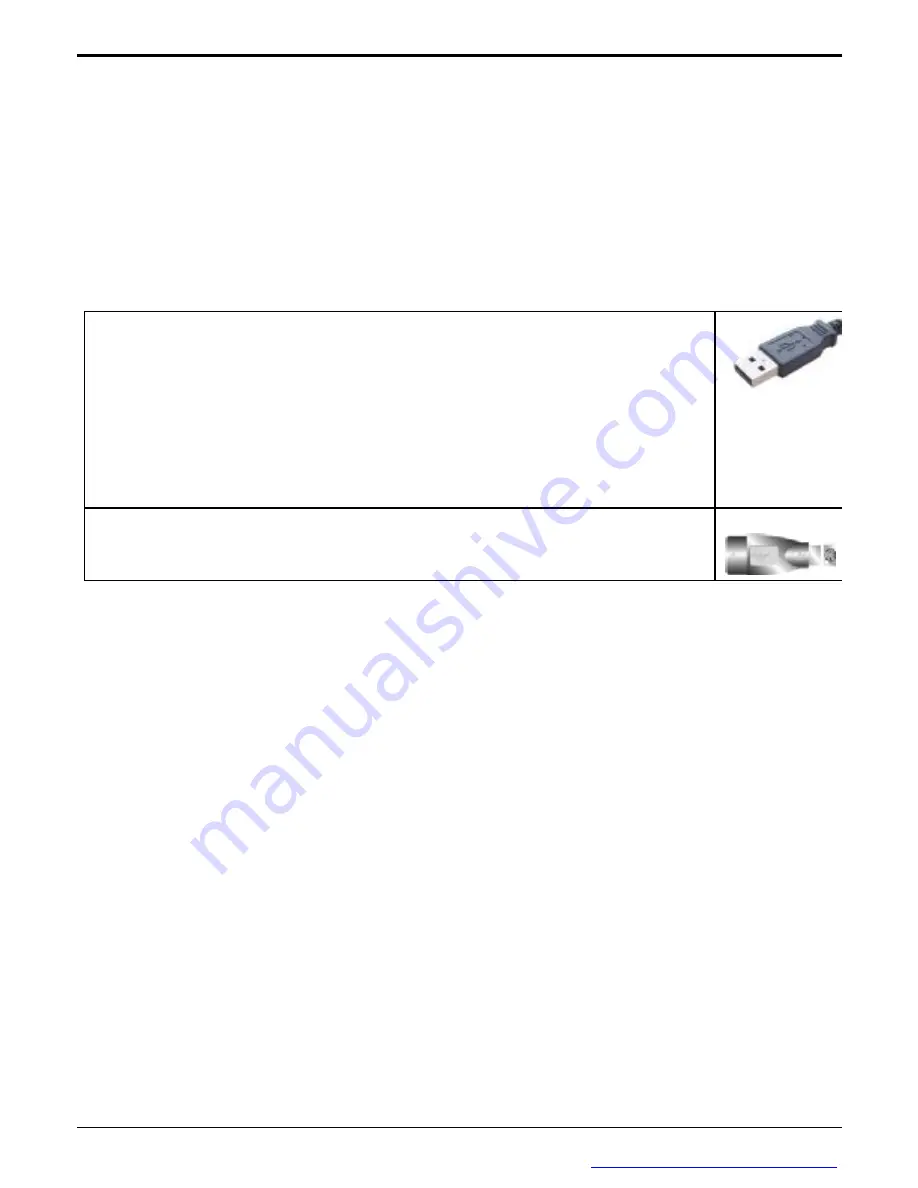
Uw USB-muis op een USB-muispoort aansluiten: 

1. 

Zoek naar een beschikbare USB-muispoort op de achterkant van de computer.  

2. 

Sluit de USB-stekker van de muis op de USB-muispoort en draai de 
schroeven aan.


IRQ voor USB inschakelen:

 Als u USB-apparaten gebruikt, moet u in het BIOS 

van de computer een IRQ voor USB-apparaten toewijzen. Als u dit nalaat, zal USB 
niet functioneren. Raadpleeg voor meer informatie de documentatie van het BIOS 
van de computer. 

Als u een combomuis op de PS2 poort van de computer wilt aansluiten, moet u een 
USB- of een  PS2-adapter gebruiken. 


De muissoftware installeren 

Voordat u gebruik kunt maken van de voordelen van de muis, moet u het stuurprogramma 
installeren. Dit doet u met de installatiediskette die met de optische muis is geleverd. 

Installatie onder Windows

®

95/98/Me/2000/XP 

1. 

Sluit de muis aan op de computer. 

2. 

Plaats de installatiediskette in het diskettestation. 

3. 

Klik op 

Start

 en kies 

Uitvoeren

4. 

Typ in het dialoogvenster 

Uitvoeren

 de opdracht 

A:\setup

, waarbij 

A

 de stationsletter van het 

diskettestation is. 

5. 

Kies 

OK

 en volg de aanwijzingen op het scherm om de installatie te voltooien. 

PDF 

檔案以

 "FinePrint pdfFactory Pro" 

試用版建立


http://www.pdffactory.com

Содержание 4D

Страница 1: ...use User s Guide English Version 1 2 Deutsche Version 3 5 Version fran aise 6 8 Italiano 9 11 Versi n Espa ola 12 14 Nederlandstalige Versie 15 17 MN WOP 353 6C PDF FinePrint pdfFactory Pro http www p...

Страница 2: ...a particular installation If this equipment does cause harmful interference to radio or television reception which can be determined by turning the equipment off and on the user is encouraged to try...

Страница 3: ...er 2 Insert the USB mouse port connector into the USB mouse port and tighten the screws Enabled USB IRQ If you use USB devices you may Enable reserves an IRQ for the USB to work Disabled do not allow...

Страница 4: ...forward to scroll right move the wheel back AutoScroll Use AutoScroll in Office 97 compatible applications to scroll through large documents Activate AutoScroll from LuckyJump or NetJump The AutoScrol...

Страница 5: ...4 Optische 4D Maus Benutzerhandbuch PDF FinePrint pdfFactory Pro http www pdffactory com...

Страница 6: ...an und ziehen Sie die Schrauben fest Aktivieren des USB Interrupts Zum Einsatz von USB Ger ten mu vielleicht ein Interrupt freigegeben werden Wenn die USB Funktion im BIOS deaktiviert ist k nnen an di...

Страница 7: ...ie das horizontale Rad r ck w rts AutoScroll Mit AutoScroll rollen Sie in Office 97 kompatiblen Anwen dungen durch gro e Dokumente Aktiviert AutoScroll unter LuckyJump oder NetJump Das Symbol AutoScro...

Страница 8: ...7 Souris optique 4D Guide de l utilisateur PDF FinePrint pdfFactory Pro http www pdffactory com...

Страница 9: ...ordinateur 2 Ins rez le connecteur de la souris USB dans le port USB et serrez les vis Activer l IRQ pour l USB Si vous utilisez des p riph riques USB vous devez r server un IRQ pour l USB Si vous n...

Страница 10: ...olette horizontale vers l avant pour d filer vers la droite d placez la molette vers l arri re AutoScroll Utilisez AutoScroll dans les applications compatibles avec Office 97 pour d filer dans de long...

Страница 11: ...10 Mouse ottico 4D Guida dell utente PDF FinePrint pdfFactory Pro http www pdffactory com...

Страница 12: ...SB per mouse e stringere le viti Attivare un Livello di interrupt IRQ per l USB Per poter utilizzare dispositivi USB si deve riservare all USB un proprio Livello di interrupt nelle impostazioni del BI...

Страница 13: ...utomatico Per lo scorrimento di grandi documenti in applicazioni compatibili con Office 97 Attivare lo Scorrimento automatico da LuckyJump o NetJump Sulla barra di scorrimento verticale appare l icona...

Страница 14: ...13 Mouse ptico 4D Gu a del usuario PDF FinePrint pdfFactory Pro http www pdffactory com...

Страница 15: ...e posterior del equipo 2 Inserte el puerto del mouse USB en el puerto para mouse USB y apriete los tornillos N de IRQ de USB activado si utiliza dispositivos USB puede utilizar la opci n que permite r...

Страница 16: ...lazarse hacia la derecha mu vala hacia atr s Desplazamiento autom tico Utilice el desplazamiento autom tico en aplicaciones compatibles con Office 97 para desplazarse por documentos Puede activar el d...

Страница 17: ...16 Optische 4D muis Gebruikershandleiding PDF FinePrint pdfFactory Pro http www pdffactory com...

Страница 18: ...e achterkant van de computer 2 Sluit de USB stekker van de muis op de USB muispoort en draai de schroeven aan IRQ voor USB inschakelen Als u USB apparaten gebruikt moet u in het BIOS van de computer e...

Страница 19: ...chts door het wieltje naar achteren te roteren Automatisch bladeren Gebruik Automatisch bladeren in Office 97 compatibele toepassingen om door grote documenten te bladeren Activeer Automatisch bladere...

Отзывы: