8
DMA8825 / DMA8813 / DMA8425 / DMA8413
English
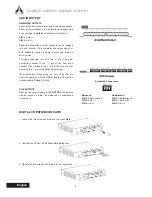
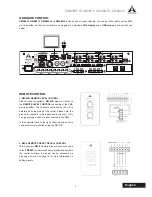
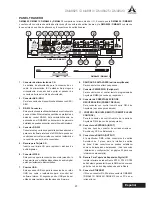
3. RM-6E PROGRAMMABLE REMOTE CONTROL
The Asystems
RM-6E
Programmable Remote Control
can be connected to the
PERIPHERAL
connector on
the rear of the DMA� The DIP switch on the RM-6E
determines which communication port the remote will
use (see configurations below). Up to 6 functions can be
programmed to be controlled remotely using the RM-6E.
See page 16 for more information�
4. WINDOWS-BASED PC
DMA8825
,
DMA8813
,
DMA8425
and
DMA8413
can be controlled via a connected Windows-based PC.
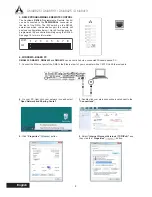
1.
Connect the Ethernet port of the DMA to the Ethernet port of your computer with a CAT5 RJ-45 Ethernet cable.
2.
On your PC, right click your network icon and select
“Open Network and Sharing Center”
�
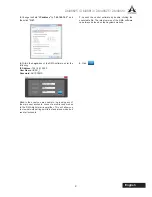
4.
Click
“Properties”
button.
3.
Double click your main connection located next to the
“Connections”.
5.
Select
“Internet Protocol Version 4
(TCP/IPv4)”
and
then click the
“Properties”
button.
PORT
DIP
1
2
3
4
5
6
7
8
Содержание DMA8413
Страница 1: ...User s Manual Manual del Usuario Digital Matrix Amplifiers DMA8825 DMA88 1 3 DMA8425 DMA84 1 3 ...
Страница 22: ......
Страница 41: ......
Страница 42: ...www asystems sys com ...


