


6
EDID Management
EDID Management
This Matrix has (7) factory defined EDID settings, (2) user-defined EDID modes and (8) copy EDID modes. You can select defined EDID
mode or copy EDID mode to input port through front panel buttons, RS-232 control or Web GUI.
ON-PANEL BUTTON OPERATION:
On the initial OLED display screen, press
“MENU”
button to enter the EDID setting interface, press
“UP (INPUT 1)/DOWN (INPUT 2)”
button to select the required EDID, and press the
“ENTER”
button. A prompt
“copy to input :”
will
appear. Then press
“UP (INPUT 1)/DOWN (INPUT 2)”
button to select the input port you need to set, and press
“ENTER”
button again
to confirm this operation.
RS-232 CONTROL OPERATION:
Connect the Matrix to PC with a serial cable, then open a Serial Command tool on PC to send ASCII
command to set EDID. For details, please refer to
“DEVICE SETTINGS”
in the ASCII command list of
“RS-232 Control Command”.
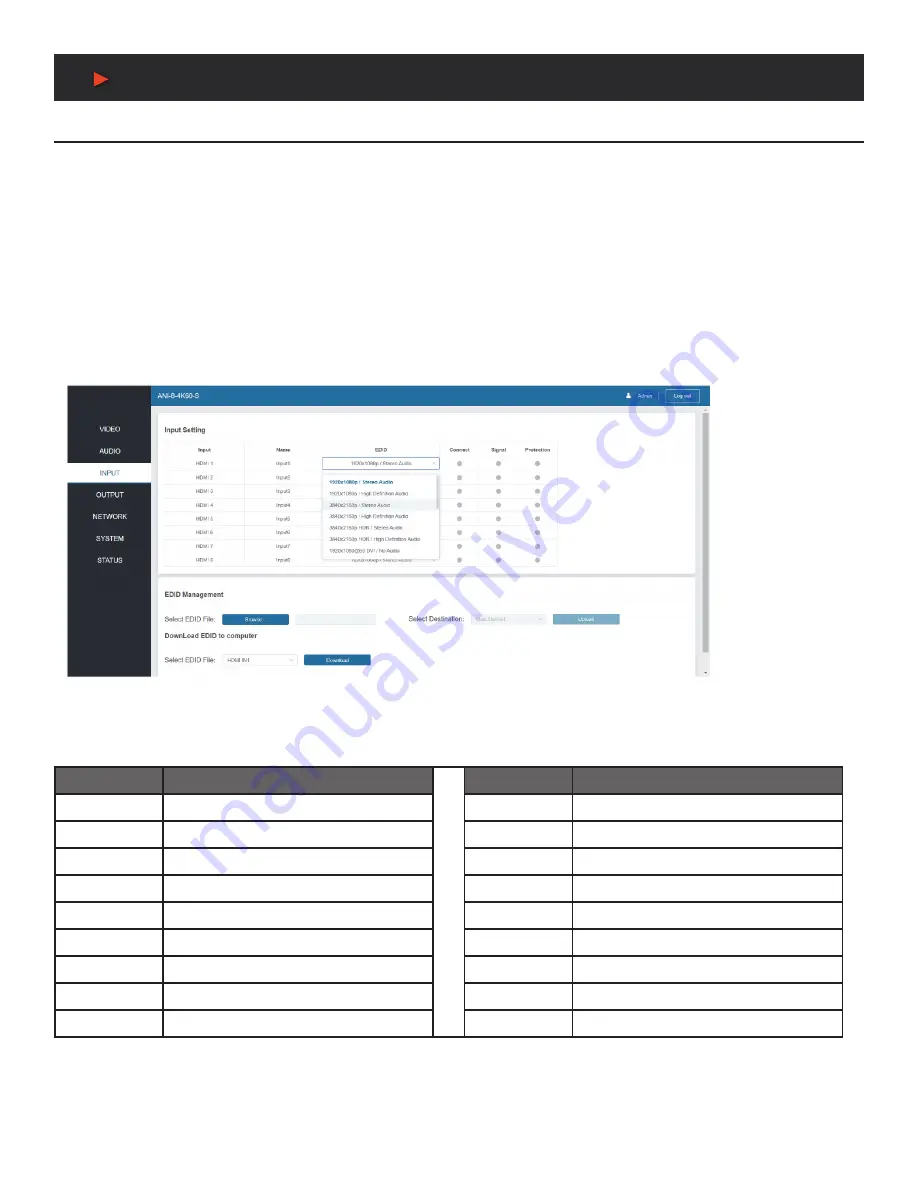
WEB GUI OPERATION:
Please check the EDID management in the
“INPUT page”
of
“Web GUI User Guide”.
The defined EDID setting list of the product is shown as below:
EDID MODE
EDID DESCRIPTION
EDID MODE
EDID DESCRIPTION
1
1920x1080p / High Definition Audio
10
Copy from Output 1
2
3840x2160p / Stereo Audio
11
Copy from Output 2
3
3840x2160p / High Definition Audio
12
Copy from Output 3
4
3840x2160p HDR / Stereo Audio
13
Copy from Output 4
5
3840x2160p HDR / High Definition Audio
14
Copy from Output 5
6
1920x1080@60 DVI / No Audio
15
Copy from Output 6
7
2560x1440@60 DVI / No Audio
16
Copy from Output 7
8
User Define 1
17
Copy from Output 8
9
User Define 2
A
NEU
VIDEO
Содержание ANI-8-4K60-S
Страница 21: ...THIS PAGE IS INTENTIONALLY LEFT BLANK ...
Страница 22: ...THIS PAGE IS INTENTIONALLY LEFT BLANK ...
Страница 23: ...THIS PAGE IS INTENTIONALLY LEFT BLANK ...