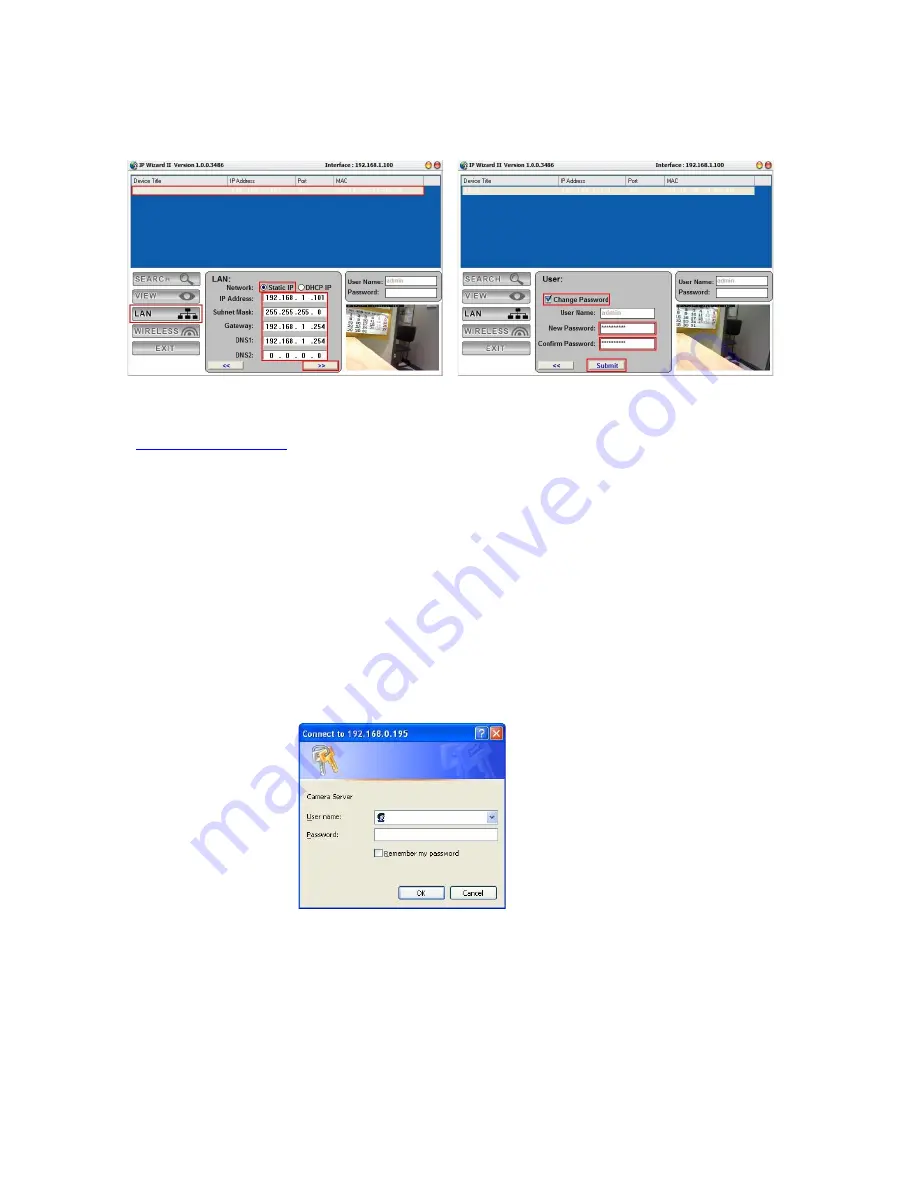
LAN
setting function:
The utility featured with “
LAN
” setting function to help user to modify the IP parameters of
the installed IP Camera devices. User can step by step to setup IP address, username and
password.
Note
1: If no IP address is assigned within 30 seconds, the IP Camera will automatically
assign 192.168.0.100. User may now open your web browser, and key in
in the address bar of you web browser to logon IP Camera’s web
configuration page.
Note 2
: Power Line Frequency
-
If you found the video image is flash, you may need to choose 50 or 60 Hz frequency
(depends on country).
-
World wide power line frequency table is inside user’s manual, Appendix
Note 3:
If you have problem when connecting the IP camera to a router, please read
user’s manual inside CD, the section “Installation to a router”.
After connected to IP Camera device, the IP Camera will prompt for User name and
Password. For the first time, please enter:
admin
as username and no password to
continue Web Management.
If difficulty is met, please refer to the following steps to establish the connection:
-
The A-Link IPC3OUT must be installed and powered ON.
-
If the A-Link IPC3OUT default IP Address (
192.168.0.100
) is already used by another device,
the other device must be turned OFF until the device is allocated a new IP Address during
configuration.
7


