


14.
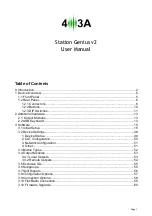
USB,
type A
female connector:
USB connection to the PC or to a USB keyboard.
Connector is protected with a dedicated protection integrated circuit.
ANALOG INPUT
and
485
jacks are not in use.
1.2.2 Buttons
Overview of the buttons on the back of the device, starting from left:
1.
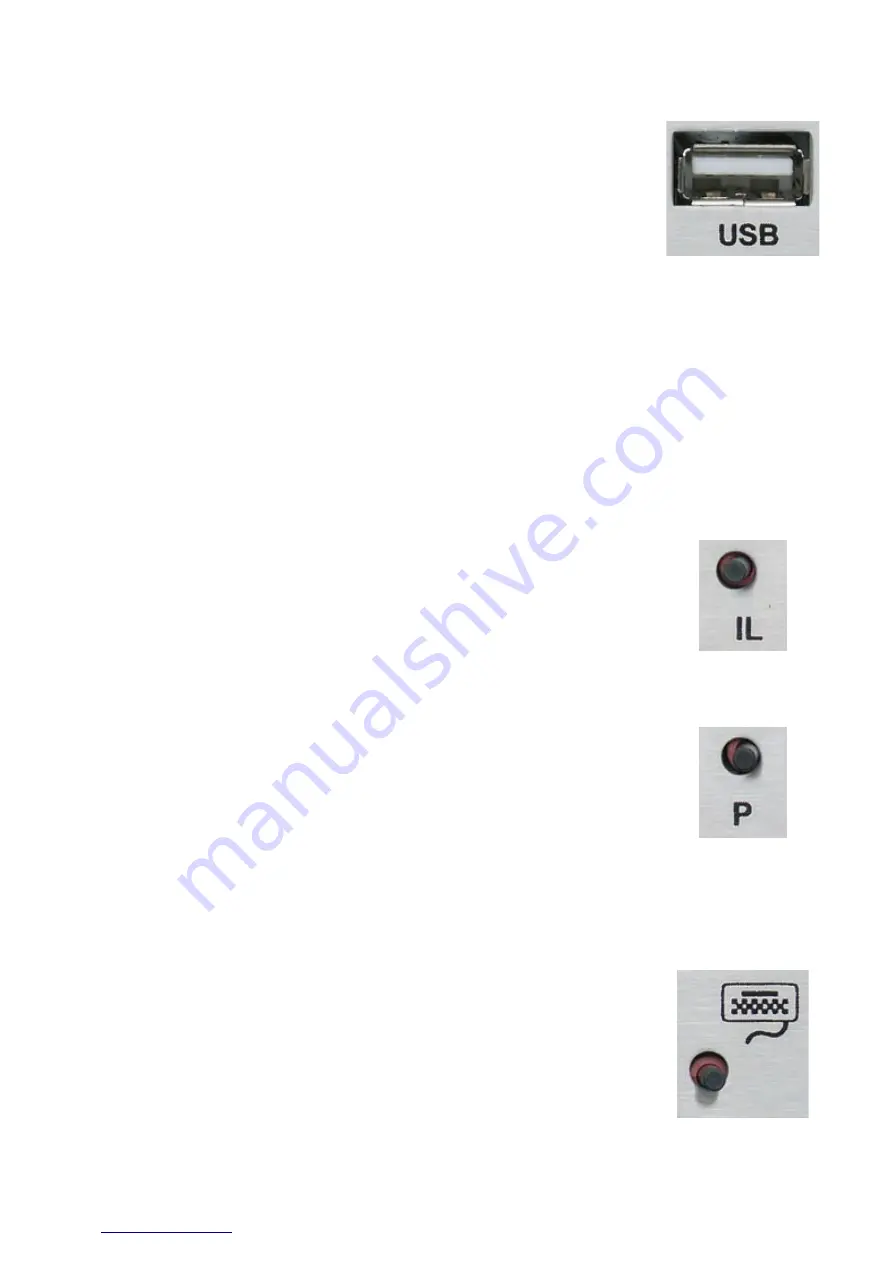
IL
button:
Interlock button. Enables the interlock function, preventing multiple
devices from transmitting at the same time.
When interlock is enabled, the front panel INT LED will glow blue.
2.
P
button:
Priority button. Devices with higher priority will take precedence over
devices devices with lower priority when it comes to interlock.
There are three priority levels. Pressing the button increments the
priority of the device. Pressing the button when maximum priority is set
will reset it back to 1.
When toggling, you can see the priority level on the front display or on
the information bar in the Win app.
KEYBOARD
button:
Keyboard / PC button. Switches between the two operation modes.
Currently active mode is displayed on the front of the device by a
glowing
KYB
or
PC
LED.
Page 9
Содержание Station Genius v2
Страница 17: ...3 1 5 Click the green plus in the top left corner to add a new antenna set Back to table of contents Page 17 ...
Страница 18: ...3 1 6 Name your antenna set and lets add a button group Back to table of contents Page 18 ...
Страница 20: ...3 1 8 We ve added the None band group for this example Let s add some bands Back to table of contents Page 20 ...
Страница 24: ...3 1 12 Add an antenna button by clicking on the green plus icon on the right Back to table of contents Page 24 ...
Страница 34: ...3 1 21 Let s add a whole new antenna set for a band decoder Back to table of contents Page 34 ...


