background image

Downloaded from Projector.com

30

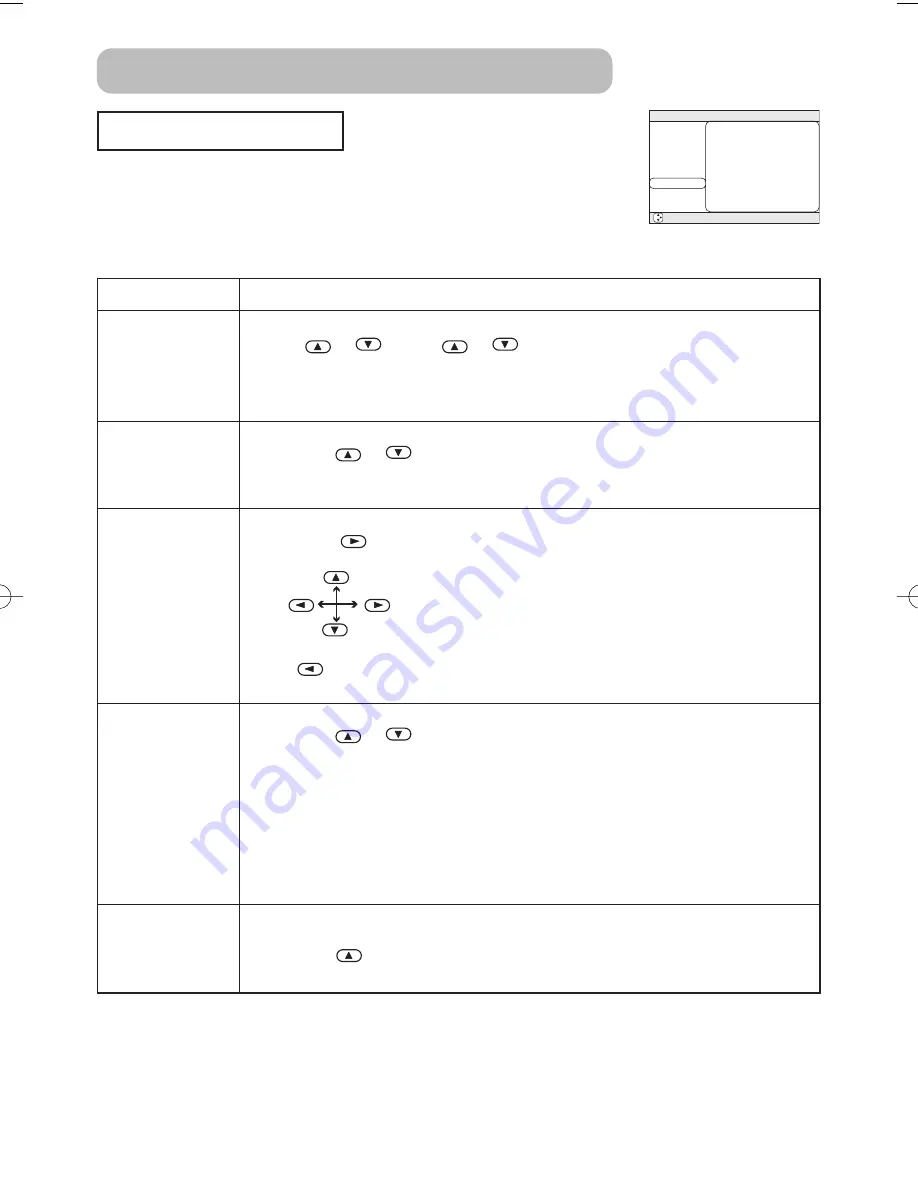
SCREEN Menu

With the SCREEN menu, the items shown in the table below can be
performed.
Perform each operation in accordance with the instructions in the
table below.

: SELECT

MENU

MAIN
PICTURE-1
PICTURE-2
INPUT
AUTO
SCREEN
OPTION

BLANK
START UP
MENU POSITION
MESSAGE
RESET

BLACK
TURN ON

TURN ON

Item

Description

BLANK

Select a Blank Screen Color:

BLUE

WHITE

BLACK

• The blank screen of selected color is displayed by pressing the BLANK

button. Please refer to the section “Temporarily Blanking The Screen” of
“Operating” about the screen blanking.

START UP

Select the Start Up Screen:

TURN ON

TURN OFF

• If the TURN ON is selected when there is no signal or the detected signal is

out of specifications, the blank screen is displayed.

MENU POSITION

Adjust a Menu Position: 

Pressing the 

or ENTER button start adjusting,

Up

Left Right

Down

• The 

button does not finish this item. When you want to return to the

previous display, please press the ESC button.

MESSAGE

Select the Message Mode:

TURN ON

TURN OFF

• When the TURN OFF is selected, the following message functions are

disabled:

The message of “AUTO IN PROGRESS”
The message of “NO INPUT IS DETECTED”
The message of “SYNC IS OUT OF RANGE”
The message while being searched for an input signal, “Searching …..”
The message when an input signal is detected, “Detecting …..”
The indication of the input signal by input change.

RESET

Reset the SCREEN Menu Items:

Selecting the EXECUTE performs this function.

EXECUTE

CANCEL

• The items of the SCREEN menu are collectively returned to the initial setting. 

Multifunctional Settings (continued)

01S10En  03.9.24 5:07 PM  ページ 30

Содержание Multimedia Projector S10

Страница 1: ...do not make any claim of copyright The copyright remains the property of their respective owners ABOUT PROJECTOR COM Projector com http www projector com is your review and buying guide resource for...

Страница 2: ...ENT VGA and XGA are registered trademarks of the International Business Machines Corporation Apple and Mac are registered trademarks of Apple Computer Inc VESA and SVGA are trademarks of the Video Ele...

Страница 3: ...stment Feature 19 Correcting Keystone Distortions 19 Using The Magnify Feature 20 Freezing The Screen 20 Signal Searching 21 Selecting The Aspect Ratio 21 Temporarily Blanking The Screen 21 Multifunct...

Страница 4: ...agnification Function Interesting parts of images can be magnified for closer viewing Keystone Distortion Correction Quick correction of distorted images electrically Preparation Please see the Quick...

Страница 5: ...equately slowly flip over the projector so that the bottom is facing up 3 Put the base on the bottom of the projector as shown in the fugure Then slide it to the back of the projector until it locks i...

Страница 6: ...ncels the adjustment in progress The adjustments of the volume etc are not reset rgb button selects the input signal of rgb port menu button opens closes the menu on off button prepares for turning th...

Страница 7: ...atio AUTO button executes automatic adjustment MAGNIFY ON OFF buttons turns on off the MAGNIFY mode In the MAGNIFY mode To move the magnified area 1 Press the POSITION button 2 Use the cursor buttons...

Страница 8: ...2 2 4 9 32 82 70 1 8 83 2 1 99 2 5 4 11 38 96 80 2 0 95 2 4 114 2 9 5 12 43 110 90 2 3 107 2 7 128 3 3 5 14 49 123 100 2 5 119 3 0 143 3 6 6 15 54 137 120 3 0 143 3 6 171 4 4 7 18 65 165 150 3 8 179...

Страница 9: ...an use the elevator feet to make adjustments if the surface on which you need to set the projector is uneven or if you otherwise need to adjust the angle of projection The adjustment range of the elev...

Страница 10: ...image output set the laptop to CRT display or to simultaneous LCD and CRT display For details on how this is done please refer to the instruction manual of the corresponding laptop computer About Plug...

Страница 11: ...ntrol 2 1 3 4 5 6 4 5 6 7 8 9 5 6 5 6 7 8 9 2 1 Connecting to a computer RGB out RGB cable D sub 15 pin Audio out Audio cable Stereo mini RS 232C port RS 232C cable Connecting to a DVD VCR player Vide...

Страница 12: ...ase adhere to the Product Safety Guide and the following Only plug the power cord into outlets rated for use with the power cord s specified voltage range Only use the power cord that came with the pr...

Страница 13: ...es with used ones When inserting batteries verify that the plus and minus terminals are aligned correctly as indicated in the remote control When you dispose the battery you should obey the law in the...

Страница 14: ...it the projector s remote sensor the remote control may cause to function Adjust the direction of the projector to keep light from directly hitting the projector s remote sensor The remote control wor...

Страница 15: ...ected to the projector and outlet 2 Set the power switch to ON 3 Press the button of the projector or the remote control The projector lamp will light up and the power indicator will begin blinking gr...

Страница 16: ...of the remote control or rgb button of the projector When the button is pressed the projector switches to the rgb port Selecting a RGB signal Press the VIDEO button of the remote control or video but...

Страница 17: ...for approximately 5 seconds 2 Press the STANDBY ON button again while Power off the message is visible The projector lamp will go off and the power indicator will begin blinking orange Then the power...

Страница 18: ...ss this to increase the volume Press this to decrease the volume 16 VOLUME 16 VOLUME VOLUME VOLUME 1 Press the MUTE button Press the MUTE button As illustrated on the right a dialog will appear on the...

Страница 19: ...g adjustment Press the POSITION button again to close the dialog and complete this operation Even if you don t do anything the dialog will automatically disappear after a few seconds This function is...

Страница 20: ...ll be incorrectly adjusted Use a bright screen when adjusting The signal type best suited for the respective input signal is selected automatically This feature is available only if VIDEO is set to AU...

Страница 21: ...ry when the magnify function is active In this case please make the magnify OFF so the correcting keystone condition will be restored NOTE The freezing function will automatically finish if either the...

Страница 22: ...K RGB SEARCH OFF ON VIDEO ASPECT MUTE KEYSTONE FREEZE MENU POSITION ENTER ESC RESET VOLUME STANBY ON MAGNIFY AUTO BLANK RGB SEARCH OFF ON VIDEO ASPECT VOLUME STANBY ON MAGNIFY AUTO BLANK RGB SEARCH ON...

Страница 23: ...ress the RESET button during the operation Note that the items whose functions are performed simultaneously with operating ex LANGUAGE WHISPER H PHASE etc are not reset When you want to return to the...

Страница 24: ...used with zoom set to WIDE whenever possible BRIGHT Adjust Brightness Light Dark CONTRAST Adjust Contrast Strong Weak ASPECT Select an Aspect Ratio At a RGB input 4 3 16 9 15 9 32 15 At a RGB input s...

Страница 25: ...Color Balance Strong Weak COLOR BAL B Adjust the Blue Color Balance Strong Weak SHARPNESS Adjust the Whole Sharpness Clear Soft This is a function for video inputs This item can t be selected only at...

Страница 26: ...LOAD4 calls the data of memory whose number corresponds and adjusts the picture automatically depending on the data The LOAD1 LOAD2 LOAD3 or LOAD4 cannot be selected when there is no memory whose numb...

Страница 27: ...elected only at a RGB input or a COMPONENT VIDEO input H SIZE Adjust the Horizontal Size Large Small When this adjustment is excessive the picture may not be displayed correctly In such a case please...

Страница 28: ...L SECAM NTSC 4 43 M PAL N PAL This item performs only at a VIDEO input or a S VIDEO input For a COMPONENT VIDEO input although this item is ineffective the signal type is identified automatically even...

Страница 29: ...RN OFF even though the screen image may lose the crisp This function may cause a certain degradation of the picture In such a case please select the TURN OFF INFORMATION Display the Information Pressi...

Страница 30: ...enu The operation of this function requires approximately 10 seconds Also please note that it may not function correctly with some input POWER OFF Set the Automatically Power Off Timer Long Max 99 min...

Страница 31: ...he detected signal is out of specifications the blank screen is displayed MENU POSITION Adjust a Menu Position Pressing the or ENTER button start adjusting Up Left Right Down The button does not finis...

Страница 32: ...perform this function unless you have replaced the lamp Perform this function every time the lamp is replaced Incorrect performing of this function causes incorrect operation of the message function P...

Страница 33: ...igh places is dangerous so ask your local dealer to have the lamp replaced even if the bulb is not broken If the indicators or a message prompts you to replace the lamp see the section Related Message...

Страница 34: ...es of switching power on 1 While the projector running press the MENU button to open the menu 2 Choose the OPTION on the menu using the button then press the button or ENTER button 3 Choose the LAMP T...

Страница 35: ...air filter If the air filter becomes clogged by dust or the like internal temperature rises and could cause malfunction The power is automatically turned off in order to prevent the projector from ov...

Страница 36: ...e filter timer 1 Turn on the projector While the projector running press the MENU button to open the menu 2 Choose the OPTION on the menu using the button then press the button or ENTER button 3 Choos...

Страница 37: ...o ensure the safe use of your projector please have it cleaned and inspected by your local dealer about once every 2 years Never try to care for the inside of the unit yourself Doing so is dangerous 1...

Страница 38: ...ange the lamp by referring to the Lamp section of this manual After you have changed the lamp please be sure to reset the lamp timer NO INPUT IS DETECTED ON There is no input signal Please confirm the...

Страница 39: ...f filter cover and the dust detecting window according to the following ATTENTION The transparent area of filter cover and the dust detecting window should be cleaned for normal operation of the optic...

Страница 40: ...ase wait Lighting in green Turned off Turned off The unit is in an ON state Ordinary operations may be performed Flashing in orange Turned off Turned off The unit is cooling down Please wait Blinking...

Страница 41: ...irmation of the following item and then resent the power to ON Is there blockage of the air passage aperture Is the air filter is dirty Does the peripheral temperature exceed 35 C Lighting in green Al...

Страница 42: ...d leave this OFF for at least 20 minutes After the unit has sufficiently cooled down turn ON the power source 14 Neither sounds nor pictures are outputted The input changeover settings are mismatched...

Страница 43: ...HT and or CONTRAST settings etc 23 The WHISPER mode is the current setting Change by releasing from the WHISPER mode Lamp is approaching the end of its product lifetime Exchange the old lamp with a ne...

Страница 44: ...orizontal x 600 vertical Lens Zoom lens F 1 6 1 8 f 16 8 20 1 mm Lamp 130W UHB Speaker 1 0W Power supply AC100 120V 2 4A AC220 240V 1 1A Power consumption 220W Temperature range 0 35 C Operating Size...

Страница 45: ...78 6969 9694 7 Adjustable height suspension 78 6969 9698 8 Shipping case 78 6969 9717 6 S Video cable 78 8118 3238 1 RS 232C control cable 78 8118 9192 4 Mac adapter 78 8118 3308 2 Soft rolling lugga...

Страница 46: ...s a day or visit our Internet Website DN00571 S10_OG_ENG Intended Use Before operating this machine please read this entire manual thoroughly The 3MTM Multimedia Projectors are designed built and test...

Страница 47: ...do not make any claim of copyright The copyright remains the property of their respective owners ABOUT PROJECTOR COM Projector com http www projector com is your review and buying guide resource for...

Отзывы: