background image

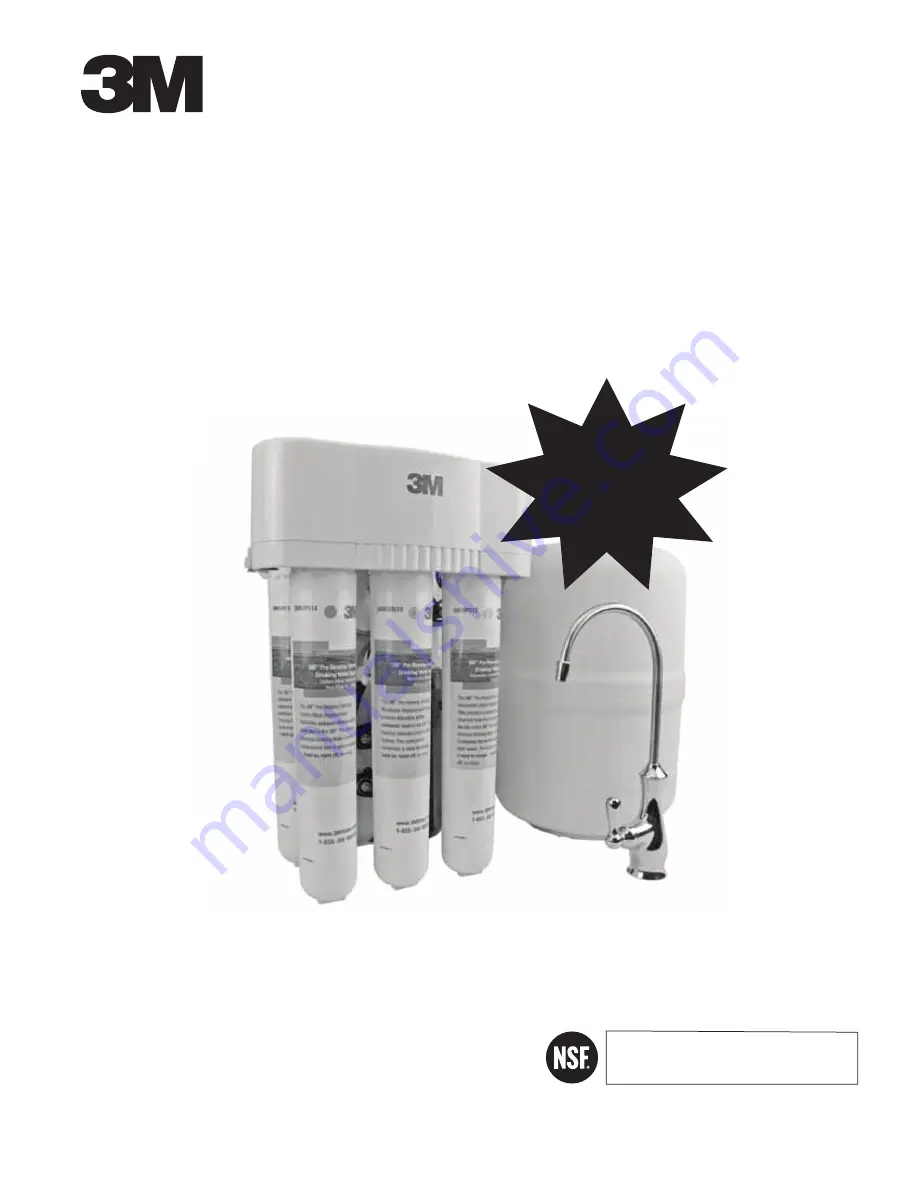
Installation and Operating Instructions For 

3M

 Pro Reverse Osmosis Drinking Water System

Model 3MRO501

Installer: Please leave manual with homeowner.
Homeowner: Please retain for operation and 

future maintenance instructions.

System tested and certifi ed by NSF International against 
NSF/ANSI Standard 42, 53 and 58 for the reduction of 
claims specifi ed on the Performance Data Sheet.

Optimized For 

Reduction Of 

Nitrates & Select 

Volatile Organic 

Compounds 

(VOCs)!*

1


Compared to the 3MRO401 reverse osmosis system, which produces up to 18.95 gpd.

* See Performance Data Sheet for additional details.

APPLICATION:


Superior Reverse Osmosis Drinking Water

1

Drinking and hydration 

 Hot and cold beverages 

 Cooking and food preparation 

 Pet hydration 

 Aquatic aquariums 

Содержание 3MRO501

Страница 1: ... against NSF ANSI Standard 42 53 and 58 for the reduction of claims specified on the Performance Data Sheet Optimized For Reduction Of Nitrates Select Volatile Organic Compounds VOCs 1 Compared to the 3MRO401 reverse osmosis system which produces up to 18 95 gpd See Performance Data Sheet for additional details APPLICATION Superior Reverse Osmosis Drinking Water1 Drinking and hydration Hot and col...

Страница 2: ...s to small parts during the installation of this product To reduce the risk associated with ingestion of contaminants Do not use with water that is microbiologically unsafe or of unknown quality without adequate disinfection before or after the system Systems certified for cyst reduction may be used on disinfected water that may contain filter able cysts EPA Establishment 070595 CT 001 To reduce t...

Страница 3: ...ystem Where a booster pump is installed on a water system you must install an appropriate pressure relief valve Pres sure relief valve must be maintained and inspected every 6 months Contact a plumbing professional if you are uncertain how select install maintain a pressure relief valve Do not use a torch or other high temperature sources near filter system cartridges plastic fittings or plastic p...

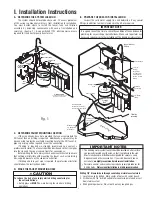
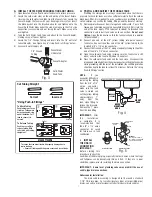
Страница 4: ...faucet mounting location 5 D Make the faucet mounting hole 5 E Mount the faucet 6 F Prepare the system for installation 6 G Install the feed water connection and tubing 7 H Prefill and sanitize the storage tank 7 I Install the drain connection 7 J Install the filtration assembly and storage tank 8 K Make the tube connections 8 L Start up the system 8 M Flush the system and check the operation 8 N ...

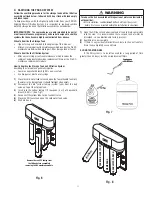
Страница 5: ...fore drilling the hole always check underneath the sink to ensure that nothing will interfere with mounting the faucet such as reinforcing ribs support brackets or the cabinet construction If drilling a hole in your sink is required the professional installer should follow the instructions below D MAKE THE FAUCET MOUNTING HOLE Drilling 7 8 diameter hole through countertop or stainless steel sink 1...

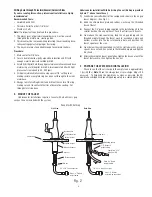
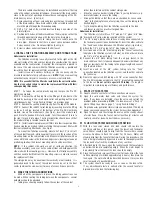
Страница 6: ...r Gap is provided by hole 1 above faucet base 1 Familiarize yourself with all of the components shown in the air gap faucet diagram See Fig 2 2 Slide the chrome base plate and rubber washer up the threaded base of faucet 3 Connect the 1 4 green tubing supplied in the installation kit to the smaller barb on the air gap faucet Push it on firmly until it seats 4 From above the sink counter top feed t...

Страница 7: ... valve and the tank valve Disconnect the orange and yellow tube from the union connector setting the tank aside while proceeding with the rest of the installation the sanitizing solution should be kept in the tank for at least 15 minutes Refer to the Using Push In Fittings section NOTE If you encounter difficulty in removing the tubing from the 3 8 x 1 4 union connector make sure the tank valve is...

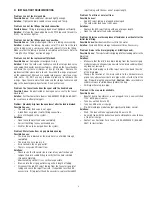
Страница 8: ...k basins for ease of access if space permits K MAKE THE TUBING CONNECTIONS With all of the components in place the tubing connections can be made When routing the tubing between the components several guidelines should be observed Tubing runs should generally follow the contour of the cabinet rather than interfere with the cabinet storage area Strive for a neat and orderly tubing flow by using fas...

Страница 9: ...le is not drilled through completely The drain line has a loop in it Air is locked in the air gap outlet There is excessive RO reject flow Solutions Check to see that the drain line is clear of any obstruction and remove the drain saddle fitting to verify that the hole is drilled through completely Shorten tubing so that it is as vertical as possible Blow air into the air gap outlet using a short ...

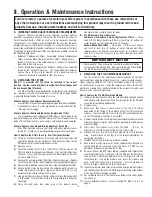
Страница 10: ...ig 6 8 Open the cold water feed valve plug in the booster pump transformer and carefully check for leaks 9 Pro RO System Flush Instructions Sediment Granulated Carbon Replacement Filters Close tank Lift the faucet handle and flush at least two 2 gallons of water through system approximately 10 minutes Carbon Block Post Filter Open tank Lift the faucet handle and flush at least two 2 gallons of wat...

Страница 11: ...on scented Eye dropper or plastic oral syringe 1 Close the cold water feed valve and open the faucet handle to empty the water in the storage tank It should feel light when empty 2 Disconnect the 3 8 yellow tubing system tank from the ball valve on top of the storage tank 3 Insert into the yellow tubing 1 2 teaspoon 3 ml of household bleach 5 25 See Fig 7 4 Reconnect the yellow tube to the tank ba...

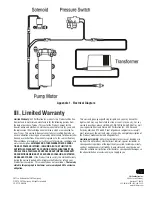
Страница 12: ...warranty period 3M will replace the Product or refund your Product purchase price This warranty does not cover labor The remedy stated in this paragraph is Customer s sole remedy and 3M s exclusive obligation This warranty gives you specific legal rights and you may have other rights which may vary from state to state or country to country For any warranty questions please call 855 3M WATER 855 36...

Отзывы: