26
3dscentral.3dsystems.com
8.5 Change the Print Head(s)
The printer checks the status of the print heads before every
build.
Do not change the print heads unless prompted to
in the
ZPrint
Printer Status
dialog.
NOTE:
After changing the print heads and before the next build,
the printer will automatically:
•
run a purge cycle (on new HP11 print heads only)
•
run an auto-alignment pattern
1.
On the Control Panel select
BUILD CHAMBER
, then
LOWER PLATFORM
. Continue holding in the Control
Knob until the build bed is about 6” below the top. Pull the
Fast Axis toward you and move it out over the build bed.
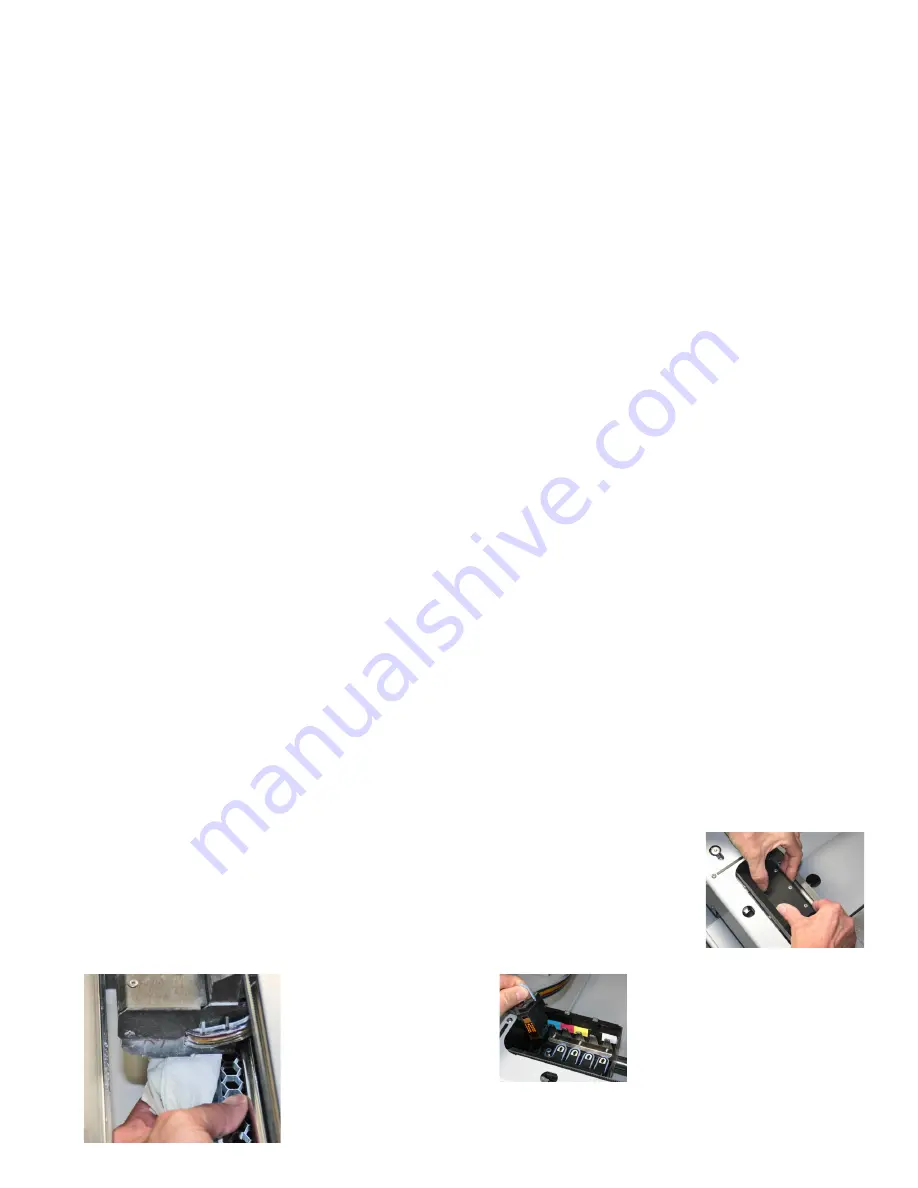
2.Wet a paper towel with
distilled water and wipe
off the alignment sensor
window on the under-
side of the Carriage.
The alignment window is
located on the front left
corner of the Carriage,
under the bundle of print
head tubes.
Note:
Don’t wipe the bottoms of the printheads.
3.
Dry with a clean paper towel.
4.
Select
PRINT HEADS
then
CHANGE PRINT HEADS
on the LCD menu. The fast axis moves to the service posi-
tion.
5.
Open the carriage cover by
releasing the two latches.
6.Lift the print heads to be replaced
out of their slots and properly recycle
or dispose of any empty cartridge(s).
7.Snap an alcohol swab (included
with your Startup Kit), and squeeze
the tube to saturate the swab.


