3.Operation
UP! 3D Printer User Manual
30
4. Printing
Please ensure the following points are taken care of before printing:
Connect the 3D printer, and set up the printing system. Load the model and place
it properly on the virtual platform of the software window. Check if there is
enough material for the model (the software will, generally, tell you if there is not
enough material when you begin the print). If not, change the reel to a new one.
For large models (over 40mm2) results can be improved by preheating the build
platform. Click the “Preheat” option on the “3D Print” menu and the printer
begins to heat the platform. For much large flat surfaces it is recommended to
preheat fot at least half an hour. In the Maintenance screen click preheat 1 hour.
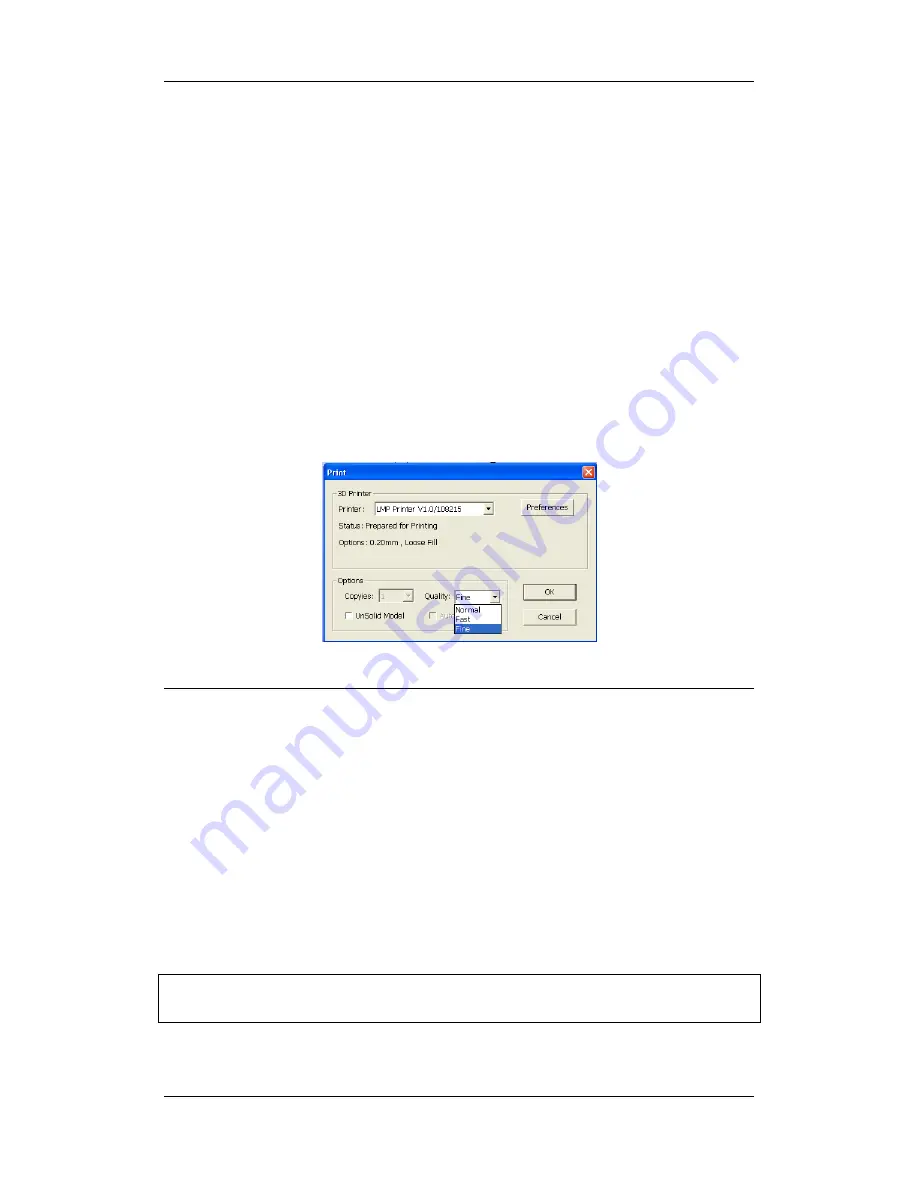
Click menu “3D Print->Print”, and the print dialog box pops up. Choose
“Preferences” to set the printing parameters. Click “OK” to begin to print.
Print Options:
Speed:
Fine, Normal or Fast. This simply determines the speed at which the printer
moves. As a general rule, the slower you print, the better the quality of the parts. For
tall parts, running at Fast speed can be problematic as the printer can vibrate to the
extent that print quality is affected. For large surface area parts, the Fine setting can be
problematic as the printer takes longer to print the part and the corners are therefore
more likely to lift a little bit.
UnSolid Model:
This function is useful for printing STl files that are not perfect. A
perfect STL file is a fully enclosed surface, with no holes in the surface skin, and no
overlapping surfaces. If your file is not perfect, this option should allow you to print it
anyway.
Tip:
Once the print has started, you can unplug the USB cable from the printer. The
print job is stored in the printer’s internal memory, so the PC is no longer required


