


3D Platform
WorkSeries Quick Reference Guide
Revision: B
Date: November 13, 2017
3DP-DOC-006 (11-2017)
www.3dplatform.com
pg. 5 of 8
From the Web Interface
1.
In the web interface, locate the “Head Movement” section.
2.
Select the axis and distance you wish to incrementally move.
Filament Extrusion/Retraction
IMPORTANT:
Nozzle must be heated for extrusion to be possible. Follow instructions in the 3D Platform WorkSeries
User Manual for working with heated components.
From the Touch Screen
1.
Select the “Extrusion” button on the touch screen.
2.
Select the speed at which you wish to extrude or retract.
Note:
Do not choose a value over 10mm/s. Attempting to extrude at a speed higher than 10 mm/s could cause a jam in the extruder.
3.
Press the button corresponding to the increment you wish to extrude or retract.
From the Web Interface
1.
Locate the extruder control section under the machine control menu on the web interface.
2.
Select the amount you wish to extrude or retract.
3.
Select the speed you wish to extrude or retract.
4.
Press the extrude or retract button.
Note:
When retracting filament completely out of the hot end it is best to retract the filament in increments of 100mm.
Running a Print
For tips on print technique and design for 3D printing visit our support page at support.3dplatform.com.
From the Touch Screen
1.
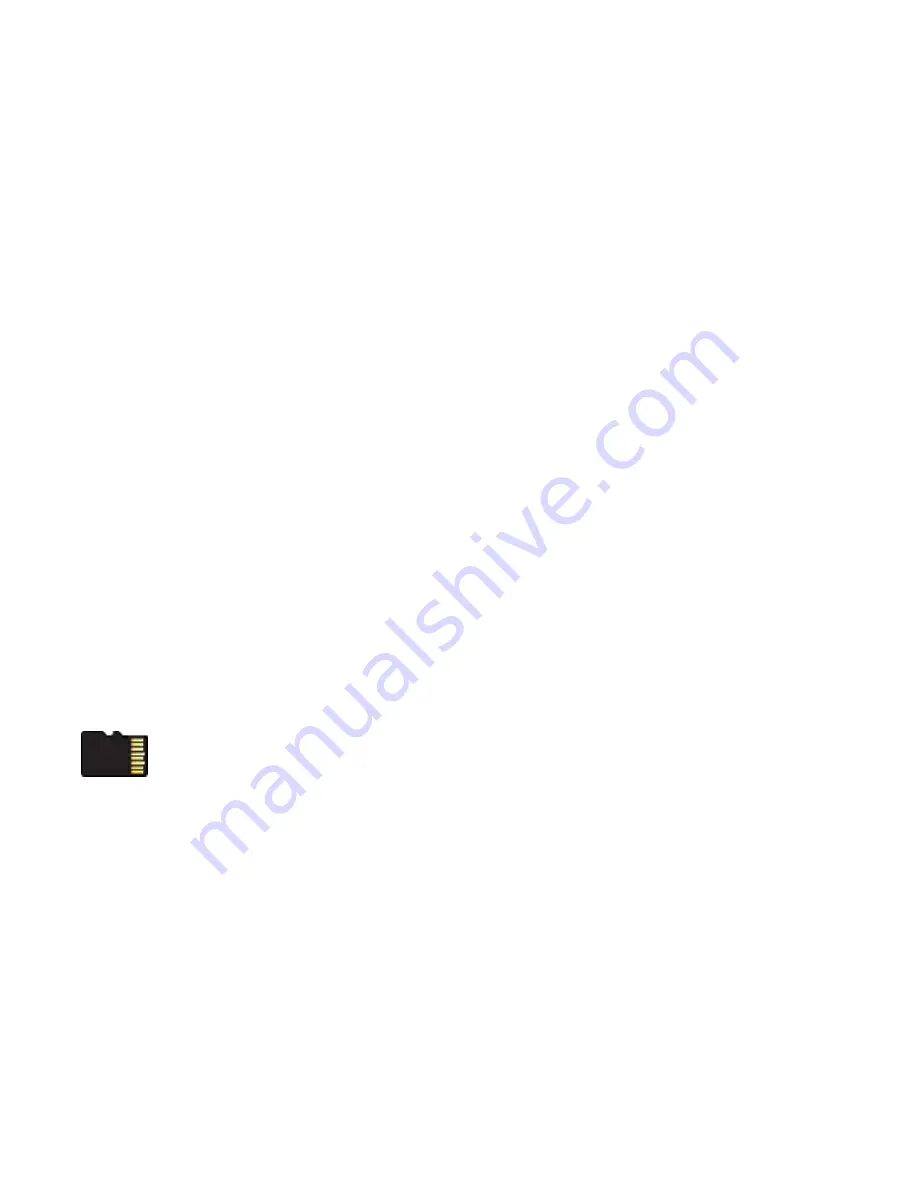
Insert an SD card containing .gcode print file into the SD card slot on front of the controller.
2.
Select the SD card icon on the left side of the touch screen.
3.
To navigate between SD cards, press the SD card icon at the upper left of the file list.
Note:
Card 0 is the internal card that contains calibration files. Card 1 user inserts into the control box.
4.
Select the file name to be printed.
Note:
File names are listed alphabetically.
5.
Verify that the file selected is correct and select “Print
.
”
6.
Monitor the start of the print to verify proper machine function.
From the Web Interface
1.
Click
the “
Upload & Print
” button from the Machine Control panel.
2.
Click “
Browse
” and select the
.gcode file to print.
3.
Click “
Start print.
”


