


3D Platform
WorkSeries Quick Reference Guide
Revision: B
Date: November 13, 2017
3DP-DOC-006 (11-2017)
www.3dplatform.com
pg. 4 of 8
From the Web Interface
1.
Once navigated to your printer’s web interface, select the drop
-down menu for the extruder that you would like to
set.
Note:
You may also type in a temperature if the drop-down menu does not have the temperature you wish to select.
2.
Once the drop-
down menu shows the temperature you wish to use, click on “Heater 1
.
”
3.
Heater 1 should then say “active (T0)
.
”
Note:
Repeat either option for the secondary extruder or the print bed.
Standby Temperature
The standby temperature is used during a dual extrusion print, and allows the second extruder to remain heated to a
temperature that will not drip when not in use. The temperature setting process is like that of the active temperature.
From the Touch Screen
1.
On the touch screen, select the Standby button for EXT1.
2.
Using the different levels, increase or decrease the temperature as necessary.
3.
Push the set button.
4.
Then click on the EXT1 symbol. Pushing the EXT1 symbol multiple times will cycle through the Active/Standby states.
Red is Active, Yellow is Standby.
From the Web Interface
1.
Once navigated to your printer’s web interface, select the Standby drop
-down menu for the extruder that you would
like to set.
Note:
You may also type in a temperature if the drop-down menu does not have the temperature you wish to select.
2.
The Standby temperature should now show your selection.
3.
Click on “
Heater 1.
” This will cycle through the Active and Standby temperature.
It will sh
ow “standby (T0)” und
er
Heater 1.
Note:
Repeat either option for the secondary extruder or the print bed.
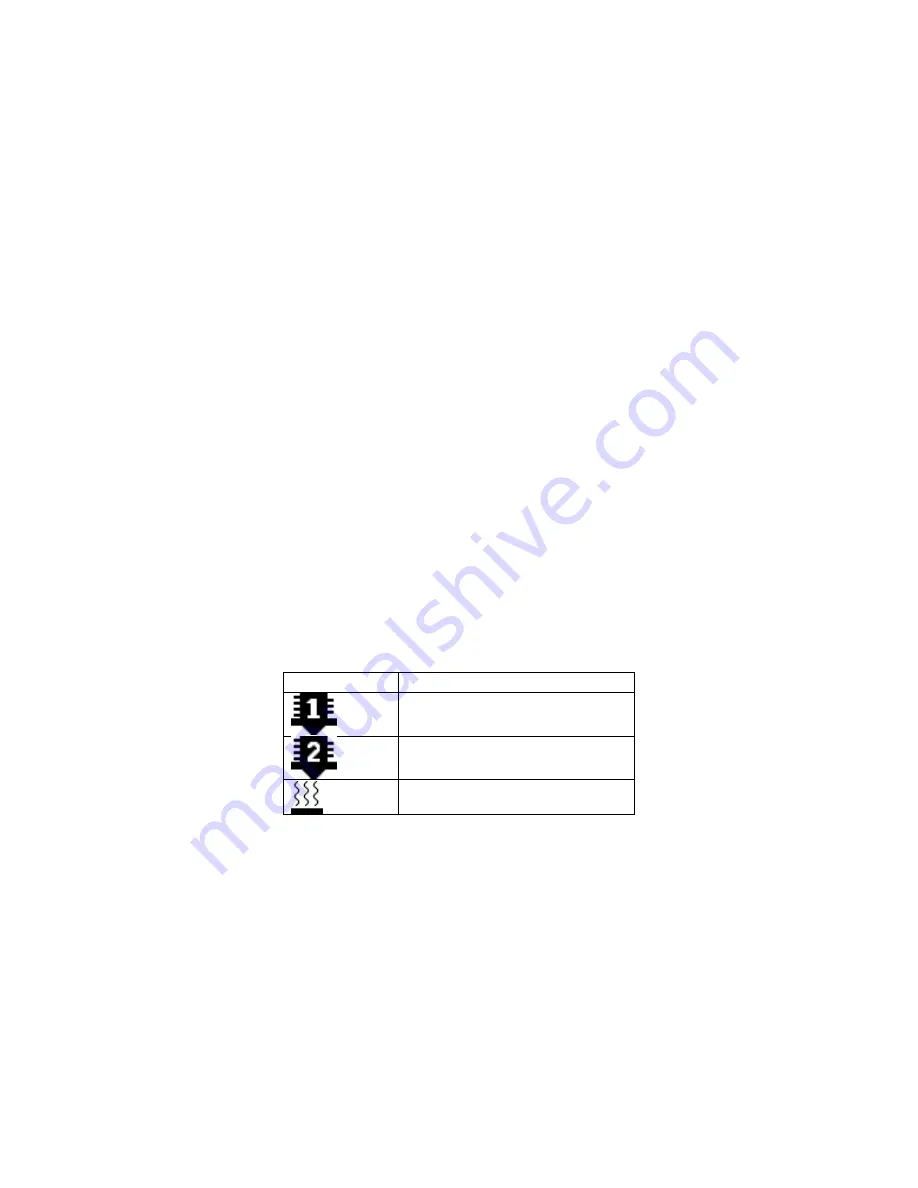
Symbol
Function
Nozzle 1 Heater
Nozzle 2 Heater
Bed Heater
Moving Axes
IMPORTANT:
When moving axes ensure that nothing will obstruct the machine motion (i.e. operator, printed part on
bed, tools, etc.).
From the Touch Screen
1.
Select the “Move” menu button.
2.
In the Move menu select the axis you wish to move.
3.
Select the button corresponding to the incremental distance to be moved and press until the distance you wish to
move has been reached.


