Installation Guide
Starting The Installation
WARNING:
Windows NT users must install the PCI card before installing the software. If you are
running Windows NT, do not proceed until you have installed the PCI Card in an available PCI slot.
If you are running Windows 95/98/Me/2000 you must install the software before installing the PCI
card. To begin the software installation, place the 3Com HomeConnect ADSL PCI Installation
CD-ROM in the CD-ROM drive. The setup program should automatically start. The software
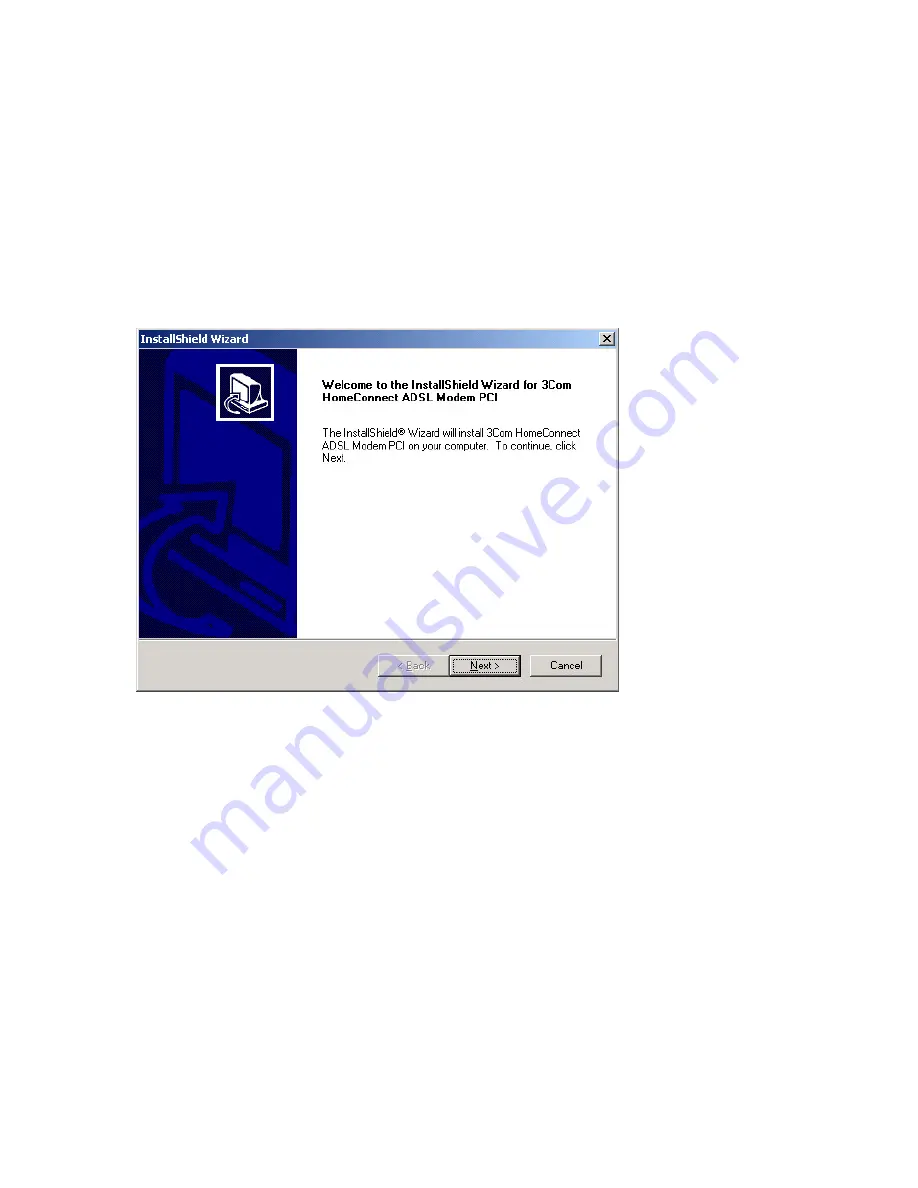
interview for all operating systems has the same look as the screen below. If the installation does
not launch automatically, click
Start, Run,
and then type
d:\setup.exe,
where d stands for the
letter of the CD-ROM drive.
Upon seeing this screen, click
Next
.
Installing Dial-up Networking
xIn Windows 95, 98 and Me, if the Dial-up Networking function hasn’t already been installed on
your computer, you will be prompted to install it. The prompts will look a little different in each
operating system.
In Windows 95, the first screen will ask if you want to install Dial-up Networking. Click to
accept and you will see a screen similar to the screen used in Windows 98 and Me,
which allows you to initiate the Windows procedure to complete the installation. Click
Finish
. Windows 95 will install Dial-up Networking. Windows 98 or Me will launch the
“Windows Add/Remove Programs” applet. Select the
Windows Setup
tab, then double
click the word
Communications
. This will open the “Communications” screen.
CAUTION:
Do not remove the check mark next to the word “Communications” and do not click
OK.
In the “Communications” screen, check the
Dial-up Networking
box by clicking to the left
of the “Dial-up Networking” icon, then click
OK
. Click
Apply,
then click
OK
when the
message reminding you to reboot appears. Finally, click
OK
to exit. Reboot in order to
establish the correct entries in the Windows registry. If the program doesn’t resume
automatically, just reinsert your CD-ROM and the install procedure will recommence. You
will find that the Dial-up Networking capability has been installed.


