


Installing the 3C905B-TX NIC
3
In most PCs, slot 1 and 2 are bus mastering slots. Use slot 1
if possible with the 3C905B-TX NIC. If you have a video PCI
card, install it in the last slot (the one farthest from slot 1).
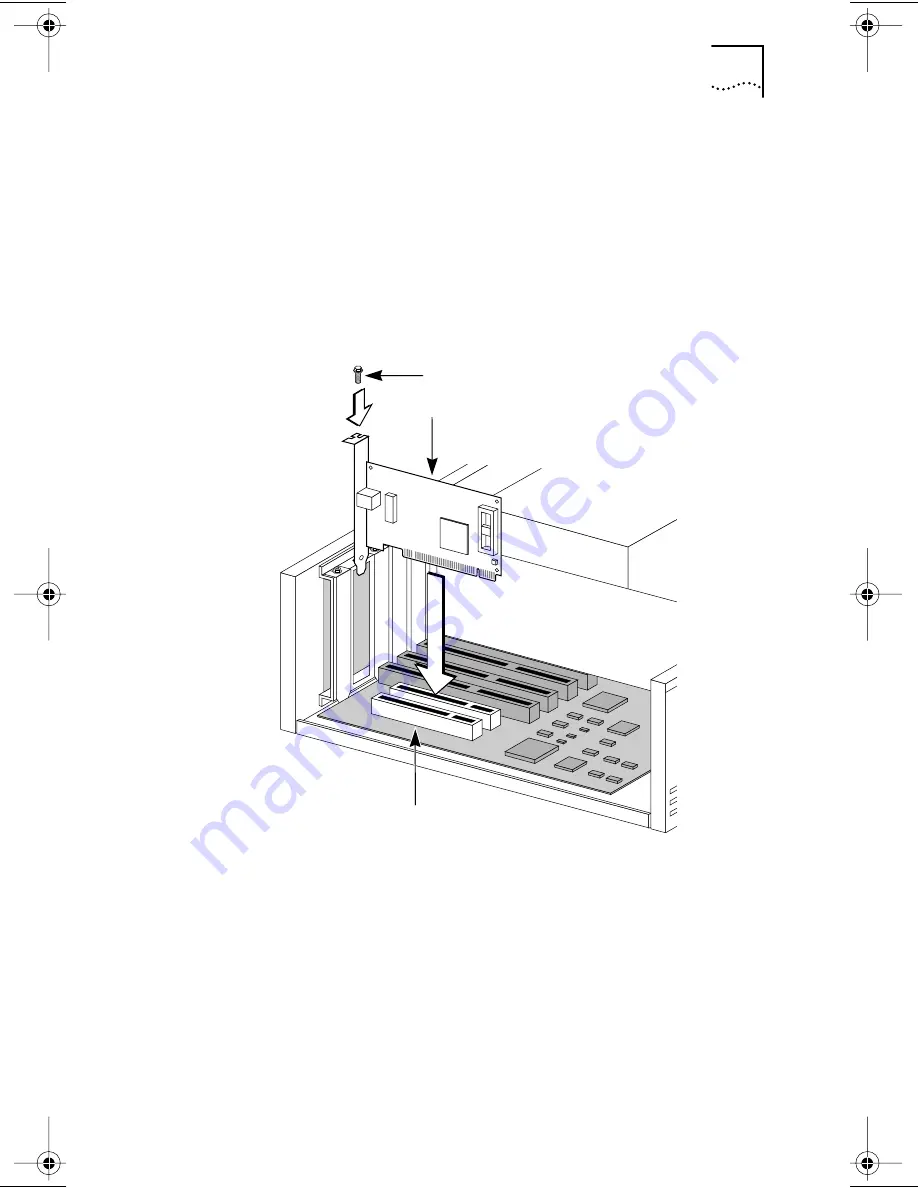
6 Unscrew the screw holding the PCI slot’s backplate
and remove it.
7 Insert the 3C905B-TX NIC into an empty PCI slot,
shown in Figure 2.
Make sure that the NIC is firmly seated in the slot.
Figure 2
Inserting the NIC
8 Secure the NIC with the screw you removed earlier.
To install the Remote Wake-Up connector, see the
user guide.
9 Replace the PC cover and reconnect all previously
connected cables.
10 Turn on the power to the PC.
11 Proceed to the next section, “Connecting to the
Network.”
PCI slot
3C905B-TX NIC
Screw
Book Page 3 Thursday, September 24, 1998 3:42 PM


