


Generating
Output
from
Planner
3Com
®
AirProtect
Planner
User
Guide
106
You
cannot
edit
the
Work
Order
Number
and
Customer
Name
fields
from
this
screen.
However,
you
can
edit
the
following
details
of
the
report:
¾
Location
Name:
Specify
the
desired
name
of
the
building
¾
Address
1,
Address
2:
Specify
the
desired
address
of
the
layout
¾
City:
Specify
the
city
where
the
layout
is
located
¾
State:
Specify
the
state
where
the
layout
is
located
¾
Postal
Code:
Specify
the
postal
code
of
the
place
where
the
layout
is
located
¾
Country:
Specify
the
country
where
the
layout
is
located
Click
<
OK
>
to
save
the
changes.
Alternately,
click
<
Cancel
>
to
discard
the
changes.
•
Report
Options
:
Select
the
options
that
you
want
Planner
to
include
in
the
Report.
¾
BoM:
Select
to
include
the
Bill
of
Material.
¾
Introduction:
Select
to
add
an
introduction
on
WLAN
to
the
overall
report.
¾
Compliance
Report:
Select
to
generate
a
compliance
report
for
devices,
mentioning
devices’
configuration.
¾
WLAN
Planning
Reports:
Select
to
include
a
complete
set
of
RF
maps.
This
enables
you
to
select
the
following
WLAN
Planning
options
in
the
report.
RF
Maps:
You
can
select
one
or
more
of
the
available
views
for
the
following:
AP
Views
Sensor
Views
Protocols
Layout
Options:
Planner
generates
a
report
for
one
of
the
below
specified
layouts:
Current
Layout
All
Layouts
Selected
Layout(s):
Select
the
checkbox
of
the
desired
layout.
Statistics
Option:
Select
to
view
the
statistics
for
the
following
options:
All
Defined
Area
Only
Selected
Area
Area
not
Covered
by
Defined
Area
Complete
Layout
•
Choose
Report
Folder:
Specify
the
path
to
the
folder,
or
click
<
Browse
>
to
navigate
to
the
folder
where
you
want
to
place
the
report
output.
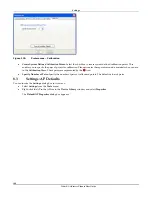
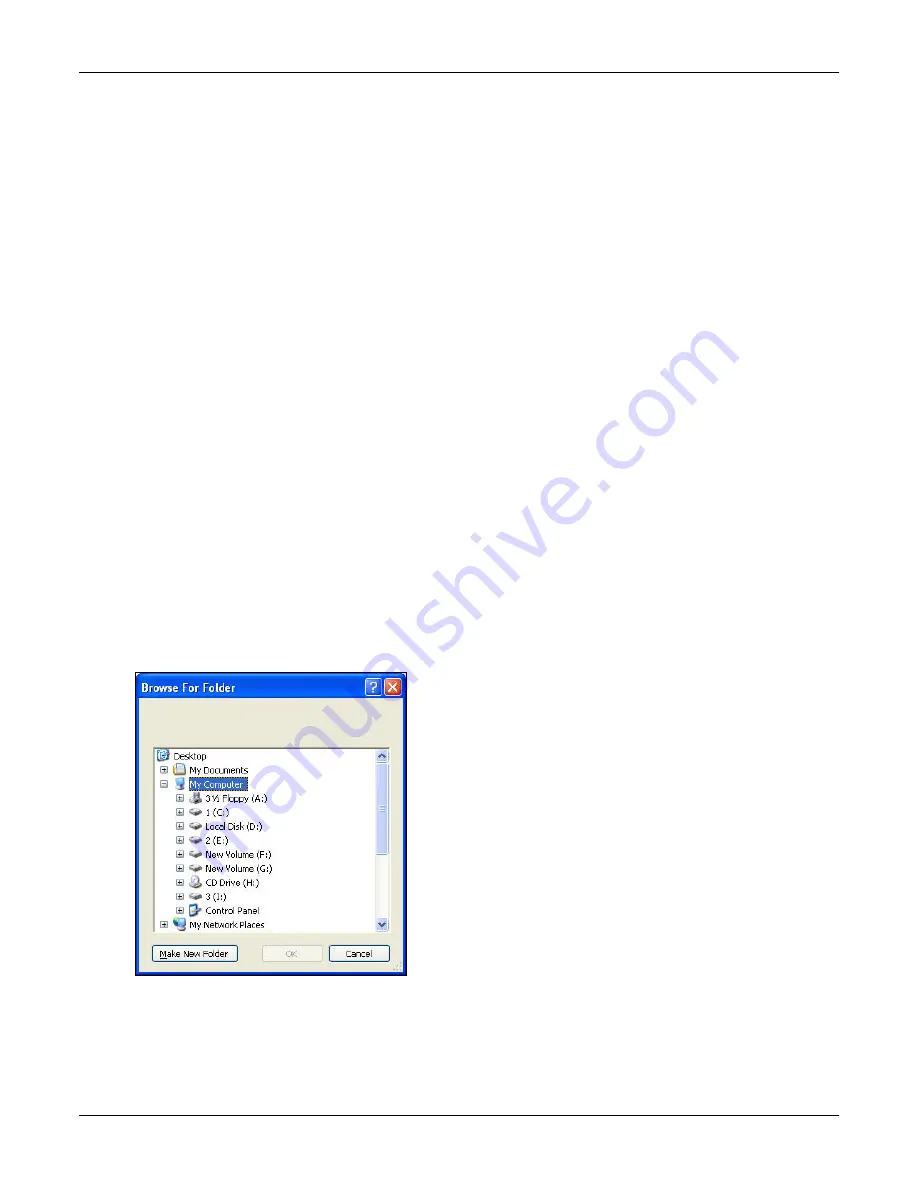
The
Browse
for
Folder
dialog
box
appears
where
you
can
navigate
to
the
desired
folder.
Figure 139.
Browsing for Folder
Click
<
Generate
Report
>
to
generate
the
report.
Alternately,
click
<
Cancel
>
to
discard
the
action.


