6
•
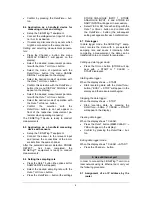
Confirm by pressing the
Date/Time
↵
but-
ton.
8.4 Application as a handheld device for
measuring current and voltage
•
Set up the 3B NET
log
™ equipment.
•
Connect the voltage/current input of chan-
nel A or B, as desired.
•
If necessary, disconnect any sensor which
might be connected to the same channel.
Setting and selecting measurement parame-
ters:
•
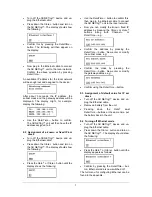
Press the
Channel
←
button (the menu
DISPLAY SIGNAL 1 will appear on the
display).
•
Select the desired measurement parame-
ter with the
Rate
↑
or
Store
↓
button.
•
Select the mode of operation with the
Date/Time
↵
button (the menu RANGE
SIGNAL 1 will appear on the display).
•
Select the desired mode of operation with
the
Rate
↑
or
Store
↓
button.
•
Confirm this selection with the
Date/Time
↵
button (the menu DISPLAY SIGNAL 2 will
appear on the display).
•
Select the desired measurement parame-
ter with the
Rate
↑
or
Store
↓
button.
•
Select the desired mode of operation with
the
Rate
↑
or
Store
↓
button.
•
Confirm the selection with the
Date/Time
↵
button (a dot will appear in
front of the respective measurement pa-
rameter when operating manually).
The 3B NET
log
™ device is ready to conduct
measurements.
8.5 Application as a handheld measuring
device with sensors
•
Set up the 3B NET
log
™ equipment.
•
Connect the sensor to the relevant input
and remove the connections of the 4-mm
sockets from the same channel.
After the automatic sensor detection PROBE
DETECT… has been completed, the
3B NET
log
™ equipment is ready to conduct
measurements.
8.6 Setting the sampling rate
•
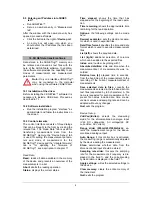
Press the
Rate
↑
button (the options list for
SAMPLE RATE will appear).
•
Select the desired sampling rate with the
Rate
↑
or
Store
↓
button.
•
Press the
Date/Time
↵
button (the settings
STORE ANALOGUE INPUT 1, STORE
ANALOGUE INPUT 2 and STORE BI-
NARY INPUTS will appear in succession).
•
Select YES or NO for each setting with the
Rate
↑
or
Store
↓
button and confirm with
the
Date/Time
↵
button (the subsequent
setting will appear after each confirmation).
8.7 Data logger
In data logger mode, the 3B NET
log
™ equip-
ment records the data with a pre-selected
sampling rate and saves it internally. After
completing a measurement, the data can be
transferred onto a computer for evaluation.
Calling up data logger mode:
•
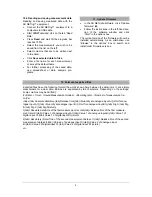
Press the
Store
↓
button (STORE will ap-
pear with
→
START
or
↑
CLEAR
→
START displayed).
Starting data logger:
When the display shows
→
START
:
•
Start recording data with the
Date/Time
↵
button (“BUSY
→
STOP” will appear in the
display and the measurement begins).
Stopping the data logger:
When the display shows
→
STOP:
•
Stop recording data by pressing the
Date/Time
↵
button (
↑
CLEAR
→
START
will appear in the display).
Clearing data logger:
When the display shows
↑
CLEAR:
•
Press the
Rate
↑
button (MEM.CLEAR?
→
YES will appear in the display).
•
Confirm by pressing the
Date/Time
↵
but-
ton.
Exiting data logger mode:
When the display shows
↑
CLEAR
→
START:
•
Press the Channel
←
button.
9. Use of Ethernet port
In order to connect the 3B NET
log™
unit into a
local network using its Ethernet port, carry out
the following procedure:
9.1 Assignment of an IP address by the
router
Содержание 3B Netlog 1000541
Страница 12: ......

