Other
4.3
48
Create Message
1.
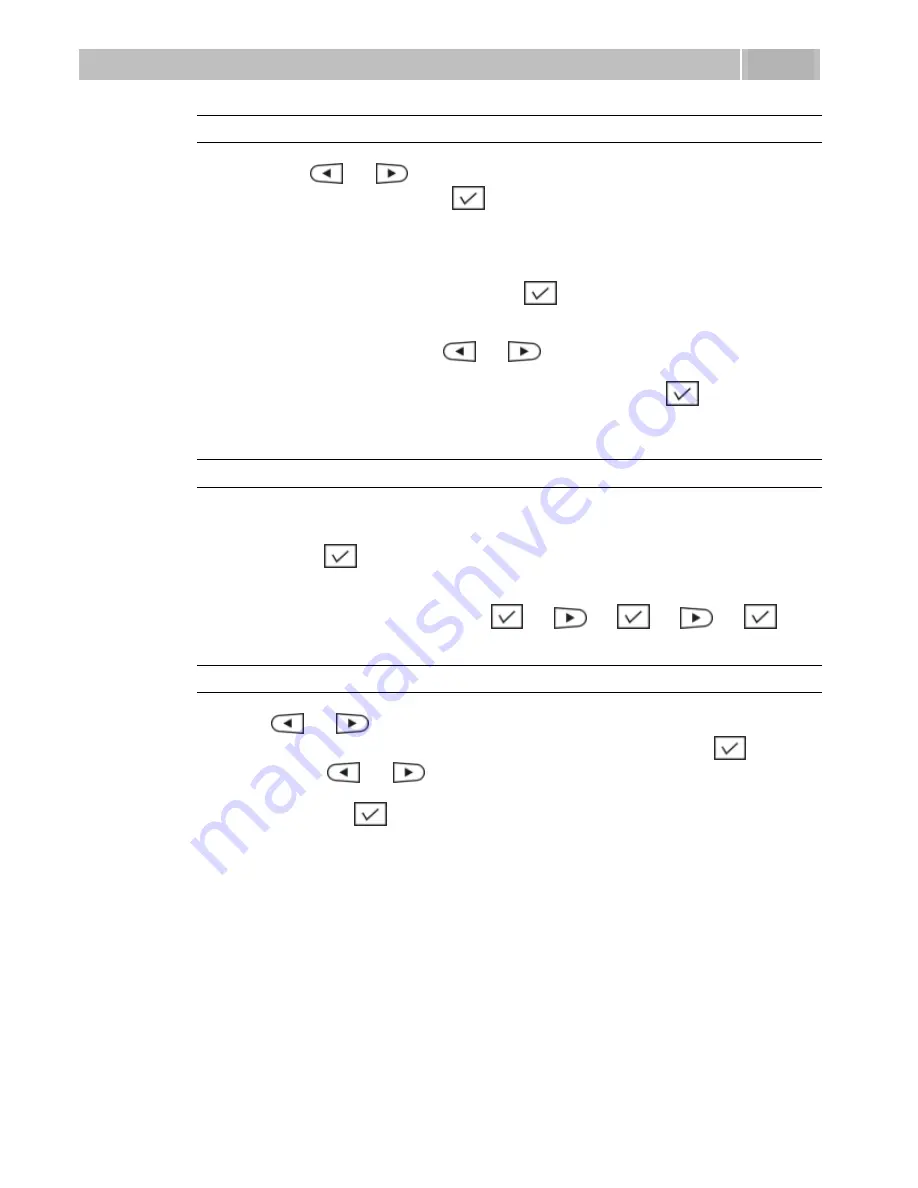
Use the
and
arrows to select the
Create message
item in the
Messages
menu and press
for confirmation.
2.
Now type any text using your numerical keypad. Press the keys repeatedly to
type different letters. Push the
#
button to switch to digits or capital letters. To
enter such special characters as *, # a + push the * button repeatedly.
Punctuation and other special symbols are available under the
1
button.
3.
Having completed the message, push
for confirmation.
4.
Now choose whether to send the message to a number, email, or a selected
telephone directory contact, or return into the editing mode. If you choose
Send to contact
, use the
and
buttons to browse through the
contacts.
5.
Having chosen a number, email address or contact, press
to send the
message.
Inbox
To read a received message:
1.
Push
while an incoming message is signalled on the display.
2.
Use the programmable button with the
Received messages
function.
3.
Or, access the messages through the telephone main menu. Enter the
following sequence at relax:
-->
-->
-->
-->
.
Message Processing Options
Press the
and
arrows to browse through the received messages. All new
messages are denoted
New
before the sender's name until read. Press
to read
the message and
and
to scroll down in long messages. In addition to a text,
a message contains some details, such as the sender's name and number, station type
and date&time. Push
again while reading your message to display the details.
Содержание StarPoint 500 Entry
Страница 1: ...1 2N StarPoint User Manual Version 3 0 0 www 2n cz...
Страница 13: ...13 2 2 Installation Here is what you can find in this section n Before Installation n Mounting...
Страница 17: ...Mounting 2 2 17 3 Connect the included mains adapter to the dedicated bottom socket for power supply...
Страница 18: ......
Страница 29: ...29 4 4 Function and Use Here is what you can find in the section n Basic functions n Advanced functions n Other...
Страница 54: ......


