INSTALLATION
COMPONENTS INSTALLATION - 1
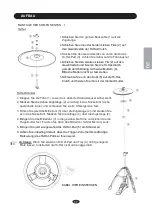
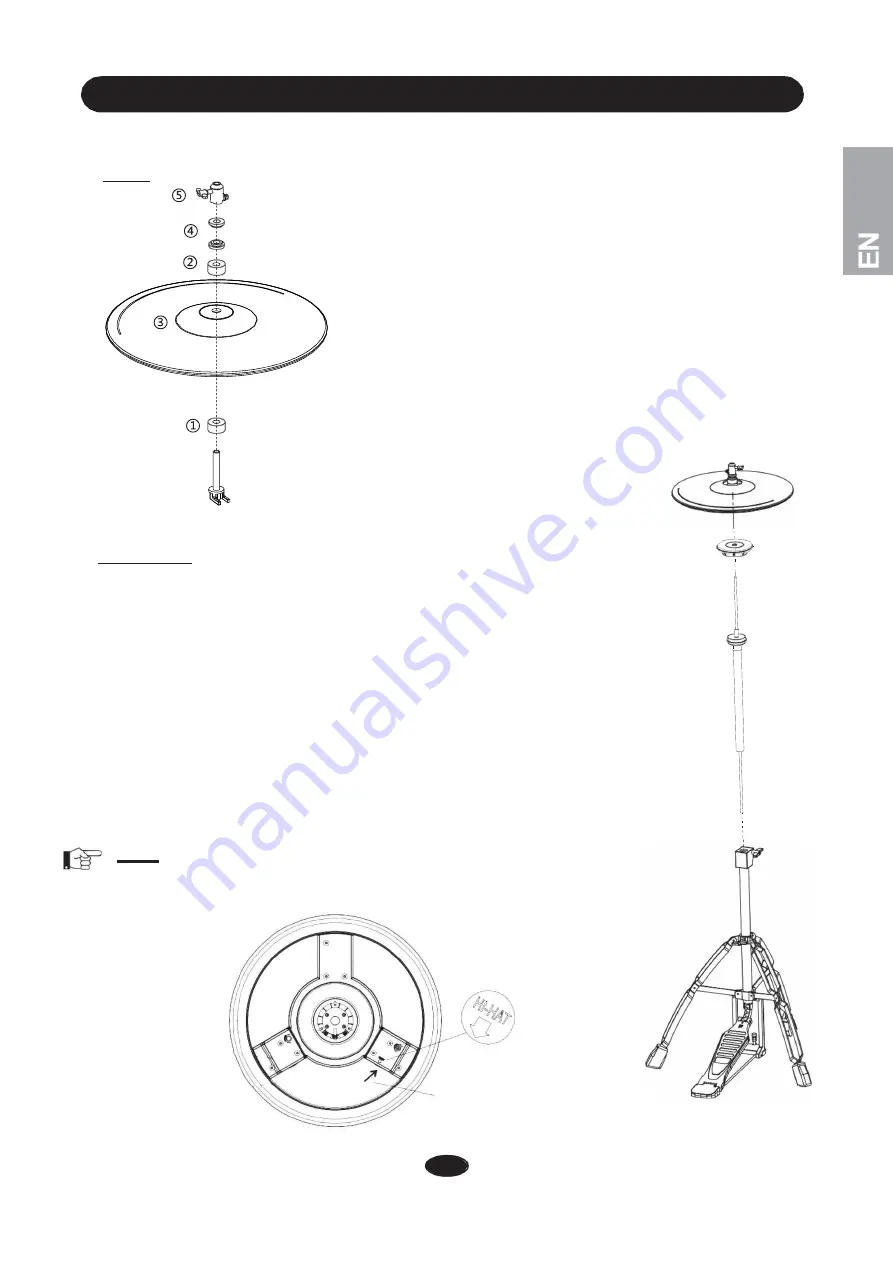
Hi-Hat
1.
Slide the large felt (1) onto the
hollow rod.
2.
Slide one of the two small felts onto the threaded
rod of the Hi-Hat clutch.
3. Insert the threaded rod from below through the
Hi-Hat pad (3). Pay attention to the guide groove.
4. Slide the second small felt onto the threaded rod
and fix the Hi-Hat clutch with both nuts (4) as
shown in the illustration. Please don’t tighten the
nuts too much.
5. Now screw the head (5) onto the Hi-Hat clutch
and fix it with the square nut.
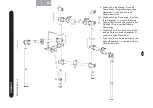
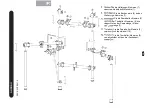
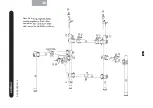
Hi-Hat Stand
1. Open the Hi-Hat stand legs (1) to a suitable position so that
they stand firm.
2.
Insert thin rod (2) into the screw thread on the bottom stand according to
dashed line and rotate it clockwise to fasten it.
3.
Place the hollow rod (3) outside the rod (2) and insert it into the bottom stand.
4.
Insert the Hi-Hat pad tray (4) onto the thin rod (2) and place it above the
hollow rod (3).
5.
Adjust the hollow rod (3) to a suitable height and fasten it. Insert the
Hi-Hat pad (5) onto the thin rod (2). Make sure there is enough space
between the pad and tray (4) and then fasten the screw holding the pad.
6.
Important: Make sure that the trigger zone (semicircle) of the Hi-Hat
pad is
directed towards you.
Note: If there is not enough space between the p
ad
and the tray (4), the
Hi-Hat pad will not react properly not respond at all.
PLUG THE CABLE HERE
7
②
①
④
⑤
③
Содержание SpeedLight Kit
Страница 1: ...SpeedLight Kit USER S MANUAL BEDIENUNGSANLEITUNG ...
Страница 2: ...CONTENTS TABLE INSTALLATION 1 PLAYING 9 AUFBAU 11 SPIELEN 19 www 2box drums com ...
Страница 24: ...V1 2 ...


