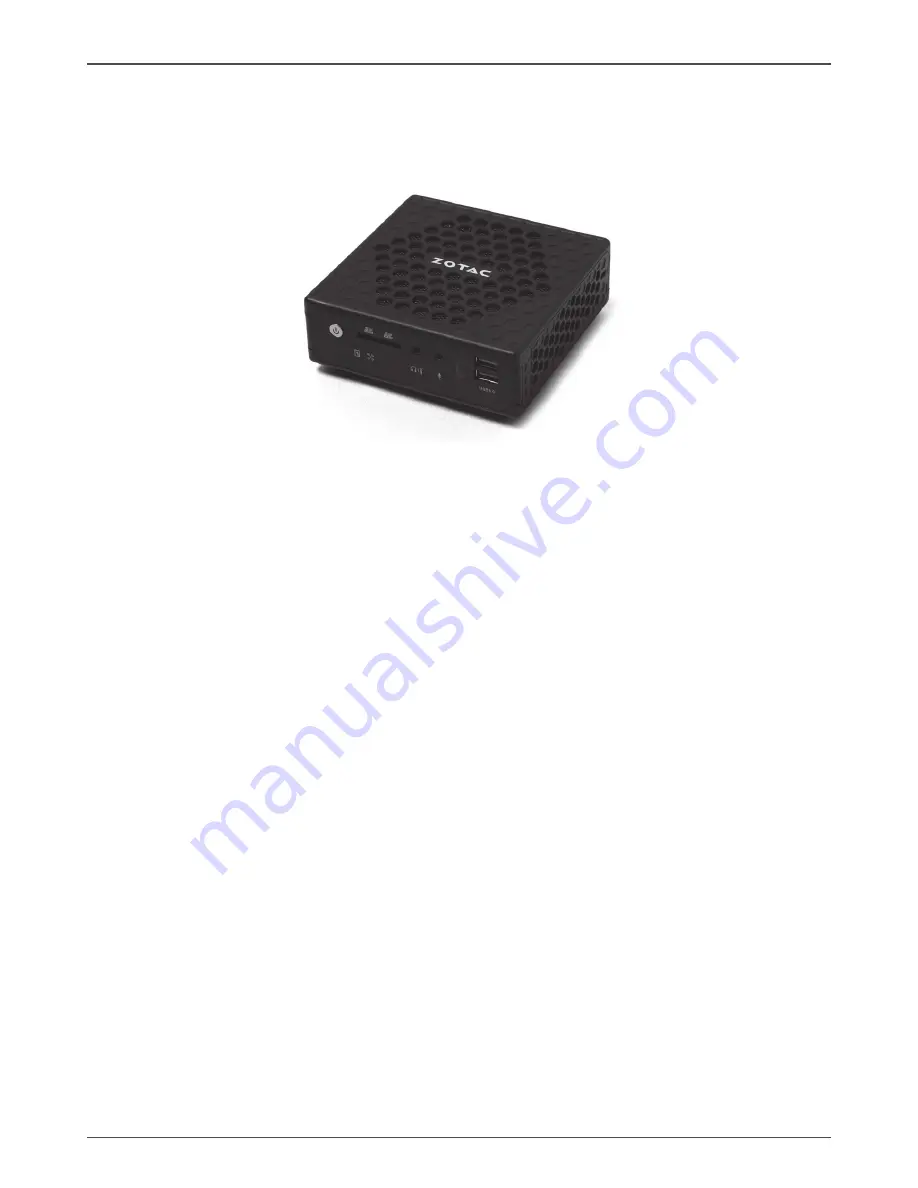
background image


1    

ZOTAC ZBOX nano

ZOTAC ZBOX nano  

User’s Manual

No part of this manual, including the products and software described in it, 

may be reproduced, transmitted, transcribed, stored in a retrieval system, 

or translated into any language in any form or by any means, except 

documentation kept by the purchaser for backup purposes, without the 

express written permission of ZOTAC.

Products and corporate names mentioned in this manual may not be 

registered trademarks or copyrights of their respective companies, and are 

used for identification purposes only. All trademarks are the property of their 

respective owners.

Every effort has been made to ensure that the contents of this manual are 

correct and up to date. However, the manufacturer makes no guarantee 

regarding the accuracy of its contents, and reserves the right to make 

changes without prior notice.

CAUTION:

Risk of explosion if the battery is replaced with an incorrect type. Batteries 

should be recycled where possible. Disposal of used batteries must be in 

accordance with local environmental regulations.

Summary of Contents for ZBOX NANO

Page 1: ... not be registered trademarks or copyrights of their respective companies and are used for identification purposes only All trademarks are the property of their respective owners Every effort has been made to ensure that the contents of this manual are correct and up to date However the manufacturer makes no guarantee regarding the accuracy of its contents and reserves the right to make changes wi...

Page 2: ...e 9 Installing a hard disk 10 Connecting a S PDIF cable 12 Setting up the ZOTAC ZBOX nano 13 Positioning the ZOTAC ZBOX nano 15 Mounting the ZOTAC ZBOX nano to an LCD monitor 15 Installing drivers and software 17 Installing an operating system 17 Installing system drivers 17 Using your ZOTAC ZBOX nano 18 Configuring wireless connection 18 Configuring wired connection 18 Using a static IP 18 Using ...

Page 3: ...f memory USB ports 4 USB 3 0 ports 1 USB 2 0 port Storage support SATA 6 0 Gb s transfer rates Supports one 2 5 inch SATA HDD SSD 9 5mm max height Network support Dual Gigabit 10 100 1000Mbps LAN IEEE 802 3 compatible Wi Fi support 802 11ac Wi Fi dual band Bluetooth 4 0 Audio Digital 8 Channel Audio LPCM bitstream via HDMI SPDIF output Operating System support Windows 7 32bit 64bit Windows 8 32bit...

Page 4: ...e this product in environments with ambient temperatures between 0 and 35 If you use an extension cord please use the UL listed cord and make sure that the total ampere rating of the devices plugged into the extension cord does not exceed its ampere rating Care during use Do not walk on the power cord or allow anything to rest on it Do not spill water or any other liquids on your system When the s...

Page 5: ...he package contents of your new ZOTAC ZBOX nano Please contact your retailer If any of the below items are damaged or missed Package contents 1 x ZOTAC ZBOX nano 1 x ZOTAC VESA mount 4 x Mount screws 1 x AC Adapter 1 x Power Cord 1 x Headphone SPDIF adapter 1 x WiFi antenna 1 x User Manual 1 x Quick Start Guide 1 x Support DVD ...

Page 6: ... mini Optical S PDIF output 3 5mm is used to connect the system s audio out signal to amplified speakers or headphones It also supports SPDIF output with the headphone SPDIF adapter included in the package The optical SPDIF output enables connecting the ZBOX nano to digital audio receivers and speakers for crystal clear digital audio and surround sound from compatible soundtracks 6 Microphone inpu...

Page 7: ...2560x1600 60Hz 4 Ethernet ports The eight pin RJ 45 LAN port supports standard Ethernet cable for connection to a local area network LAN with speeds of 10 100 1000Mbps 5 USB 3 0 ports The USB 3 0 ports support the SuperSpeed USB 3 0 devices and are backwards compatible with USB 2 0 1 1 devices Use the ports for USB 3 0 devices for maximum performance with USB 3 0 compatible devices 6 USB 2 0 port ...

Page 8: ...omizing the ZOTAC ZBOX nano Before installing hardware please follow the instructions below to remove the cover of your ZOTAC ZBOX nano 1 Remove the four screws securing the bottom cover into place 2 Remove the bottom cover ...

Page 9: ...alling a memory module 1 Locate the SO DIMM memory slot and insert a SO DIMM memory module into the slot at a 45 degree angle 2 Gently press down on the memory module until it locks into place by the arms of the memory slot ...

Page 10: ...nano 2 Install the hard disk bracket onto a 2 5 inch SATA hard disk with 2 screws Installing a hard disk 1 Locate the hard disk bracket remove the 2 screws and remove the hard disk bracket as shown in the image below ...

Page 11: ...11 ZOTAC ZBOX nano 4 Reinstall the screws for the hard disk bracket 3 Insert the hard disk into the socket and gently slide into the connector ...

Page 12: ... ZBOX nano Connecting a S PDIF cable 1 Connect the S PDIF cable to the mini Optical S PDIF adapter 2 Locate the front panel and connect the mini Optical S PDIF adapter to the headphone mini Optical S PDIF jack ...

Page 13: ...n the system rear panel and the other end to a HDMI compatible display such as an HDTV or monitor When both the HDMI and the DP are connected the audio output is from HDMI by default 2 Connecting USB 3 0 device Connect USB 3 0 devices such as external hard drives SSDs and flash drives to the USB 3 0 port 3 Connecting the WiFi antenna module Connect the included WiFi antenna to the WiFi antenna con...

Page 14: ...6 Connecting to USB 2 0 devices Connect USB devices like wired wireless keyboards varying with areas mouse devices and printers to the USB ports on the system rear panel 7 Turning on the system Connect the supplied AC adapter to the DC IN jack on the system rear panel and then press the power switch on the front panel to turn on the system Note When your ZOTAC ZBOX nano is not in use unplug the po...

Page 15: ...s and cables in appropriate sizes to avoid interference Mounting the ZOTAC ZBOX nano to an LCD monitor You can attach your ZOTAC ZBOX nano to the back of a VESA75 100 compliant monitor 1 Secure the VESA mount to the LCD monitor using 4 screws not included Disclaimer ZOTAC cannot be held liable for damages resulting from an improper installation 2 Align the ZOTAC ZBOX nano mounting holes to the VES...

Page 16: ...16 ZOTAC ZBOX nano 3 Connect the ZOTAC ZBOX nano to your LCD monitor with an HDMI DP cable ...

Page 17: ...dware and features Installing system drivers Before you can use the full features of the ZOTAC ZBOX nano the system drivers must be installed The following types of operating systems are supported by the ZOTAC ZBOX nano driver DVD Windows 7 Windows 8 Windows 8 1 Follow the instructions below to install the system drivers 1 Insert the ZOTAC ZBOX nano driver DVD If autorun is enabled the driver inst...

Page 18: ...Right click the network icon in the notification area and select Open Network Connections 2 Right click Local Area Connection and select Properties 3 Highlight Internet Protocol TCP IP and click Properties 4 Select Use the following IP address 5 Enter your IP address subnet mask and Default gateway 6 Enter the preferred DNS server address if necessary 7 After entering all of the related values cli...

Page 19: ...ck Next 10 Click Finish to finish the configuration 11 Enter your user name and password Click Connect to connect to the internet Note Contact your internet Service Provider ISP if you have problems connecting to the network Configuring audio output via an HDMI device Follow the steps below to enable audio output via HDMI when connecting the ZOTAC ZBOX nano to a TV or receiver via HDMI 1 Access th...

Page 20: ...20 ZOTAC ZBOX nano 291 MB246 03 ...

Reviews: