Zenoah EXZ2610DL, Owner'S Manual
The Zenoah EXZ2610DL is a sturdy and reliable outdoor power tool designed for efficient pruning and cutting. Maximize your understanding of its features and ensure safe operation by accessing the comprehensive Owner's Manual. Download this manual for free from our website, manualshive.com, offering a hassle-free user experience.
Share
Download


Reviews:
No comments
Related manuals for EXZ2610DL

K
Brand: maimin Pages: 20

ZI-FS115
Brand: Zipper Mowers Pages: 28

AU-01-1455
Brand: Accessories Unlimited Pages: 19

RY26500
Brand: Ryobi Pages: 6

CG-MC
Brand: Hitachi Pages: 44
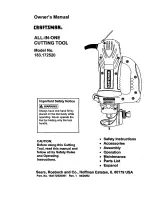
183.172520
Brand: Craftsman Pages: 26
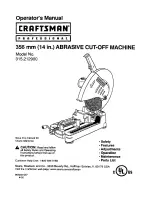
315.212900
Brand: Craftsman Pages: 26
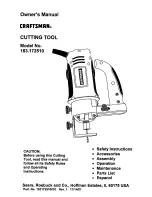
183.172510
Brand: Craftsman Pages: 23

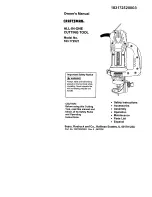
183.17253
Brand: Craftsman Pages: 18

183.172540
Brand: Craftsman Pages: 37

183.172500
Brand: Craftsman Pages: 47
183.172521
Brand: Craftsman Pages: 52
GPC1820L
Brand: Black & Decker Pages: 116

CG-30
Brand: Unimig Pages: 27

M18 HCC
Brand: Milwaukee Pages: 28

THBCATT
Brand: The Handy Pages: 8

11377
Brand: Karl Dahm Pages: 2

6533
Brand: Dahle Pages: 9


