

Subject to change without notice. Published in U.S.A.
1078337-URG-A-1213
Copyright
©
2013 by Johnson Controls, Inc. All rights reserved.
Supersedes: 879338-URG-A-0812
York International Corp., 5005 York Drive, Norman, OK 73069
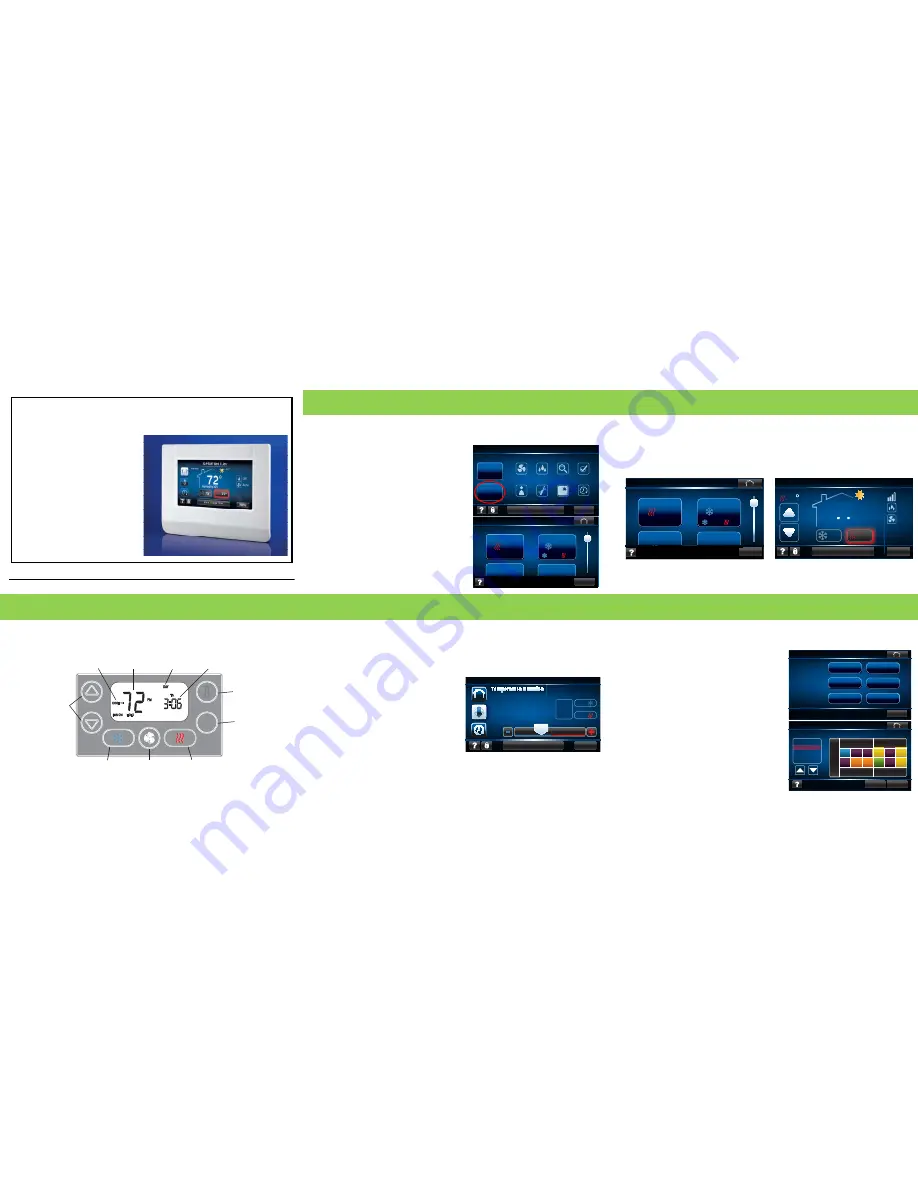
QUICK REFERENCE GUIDE
TOUCH SCREEN ZONING COMMUNICATING CONTROL
Model Number: S1-TCZCB
- High Definition Colors
- Touch Screen
- 4 Wire Connections
- Auto Configuration
- Advanced Trouble Shooting
A Zone Display Sensor allows the user to make simple changes from the
installed location and provides the flexibility to be viewed / updated from any
installed Touch Screen Communicating Control
To make changes to the zone from the Display Sensor, reference the graphic below.
To make changes to a zone containing a Zone Display Sensor from a Touch Screen Com-
municating Control. Access the zone containing the Zone Display Sensor from the "Manage
Zones" feature.
Cancel
Hold
Outdoor
Current Zone
Mode
Current Zone
Temperature
Current
Schedule Event
Current
Day & Time
Outdoor
Temperature
Button
Cancel
Hold
Button
Heat Mode Button
Fan Button
Cool Mode Button
Zone
Temperature
Adjustment
Button
In a Communicating Zoning System, any zone containing a Touch Screen
Communicating Control can be used to make changes in any other zone in
the house.
To view/update other zones from your Touch
Screen Communicating Control, select the "Man-
age Zones" button from your Menu screen.
The Manage Zones screen provides an overview
of each zone's current temperature and set
points.
Once a zone is selected, you will be able to make
changes to the zone based on the sensor type
installed in the zone.
Schedule
Emergency
Heat
Close
Alert: Change Filter
Status
Humidity
Fan
Settings
Dealer
Tools
Clean
Manage
Zones
Living Room
Living Room
/ Manage Zones
72°
Living Room
Kitchen
Master Bedroom
Basement
72°
Cancel
Override
68°
68°
70°
72°
Managing Multiple Zones
Zone Sensor Usability
A Zone Sensor offers whole home control in a small, functional package.
Change the set points and continuous fan of the Zone Sensor using the Touch Screen Com-
municating Control's "Manage Zones" feature.
Select the zone that contains your Zone Sensor and a screen will be displayed that will
allow you to make changes to that zone. The zone name is displayed in the upper left cor-
ner of the screen to remind you of the zone being viewed.
Living Room
/ Manage Zones
72°
Living Room
Kitchen
Master Bedroom
Basement
72°
Cancel
Override
68°
68°
70°
72°
72°
Menu
Auto
ON
71
°
30%
Humidity
72°
11:07AM Thu 21 Jul
55°
Alert: Change Filter
72
Menu
71
72°
11:07AM Thu 21 Jul
55°
Alert: Change Filter
°
Humidity 30%
ON
Auto
Zone Display Sensor Usability
Touch Screen Sensor Mode
Usability
Schedule Setting for Multiple Zones
If you have a Touch Screen Communicating Control installed in Sensor mode,
you have full access to all zones and can make changes to temperature set
points in any zone of the house.
While some of the touch screens communicating control's features are limited in Sensor
mode, using one to control a zone enables features that are not available with the other
sensor types.
As with the Master Touch Screen, a Touch
Screen Communicating Control installed in
Sensor mode contains the "Manage Zones"
feature.
The Touch Screen Communicating Control
contains a Humidity sensor that allows for
more comfort settings and control in its
installed zone, even when in Sensor mode.
Menu
Alert: Change Filter
75
°
50°
85°
11:07AM Thu 21 Jul
70°
Pick
Duration
Quick
Quick
The Communicating Zoning System allows different schedules to be applied
to different zones. This allows maximum comfort in all areas of the home at
any given time of day.
After defining your desired schedules, you can
assign them separately to each zone by pressing
the "Assign to Calendar" button.
Simply select the zone you would like to apply the
schedule to, press "OK" and you will be directed
to select schedules and assign months for the
previously selected zones.
Be sure to repeat for all zones to ensure that the
desired schedules and months are selected and
that your zones are properly programmed.
Living Room
OK
Select Zone
Kitchen
Bedroom 1
Dining Room
Den
Apply to
Schedule:
Master
Bedroom
Cancel
Done
Living Room / Schedule
Energy Saver
Schedule 1
Schedule 2
Schedule 3
Select Schedule:
Assign to Calendar
Dec Jan
Feb Mar
Spring
Fall
Summer
Winter
All Year
Apr May
June July Aug Sep Oct Nov


