


Model: SGD7C-
AMAA
-
7C
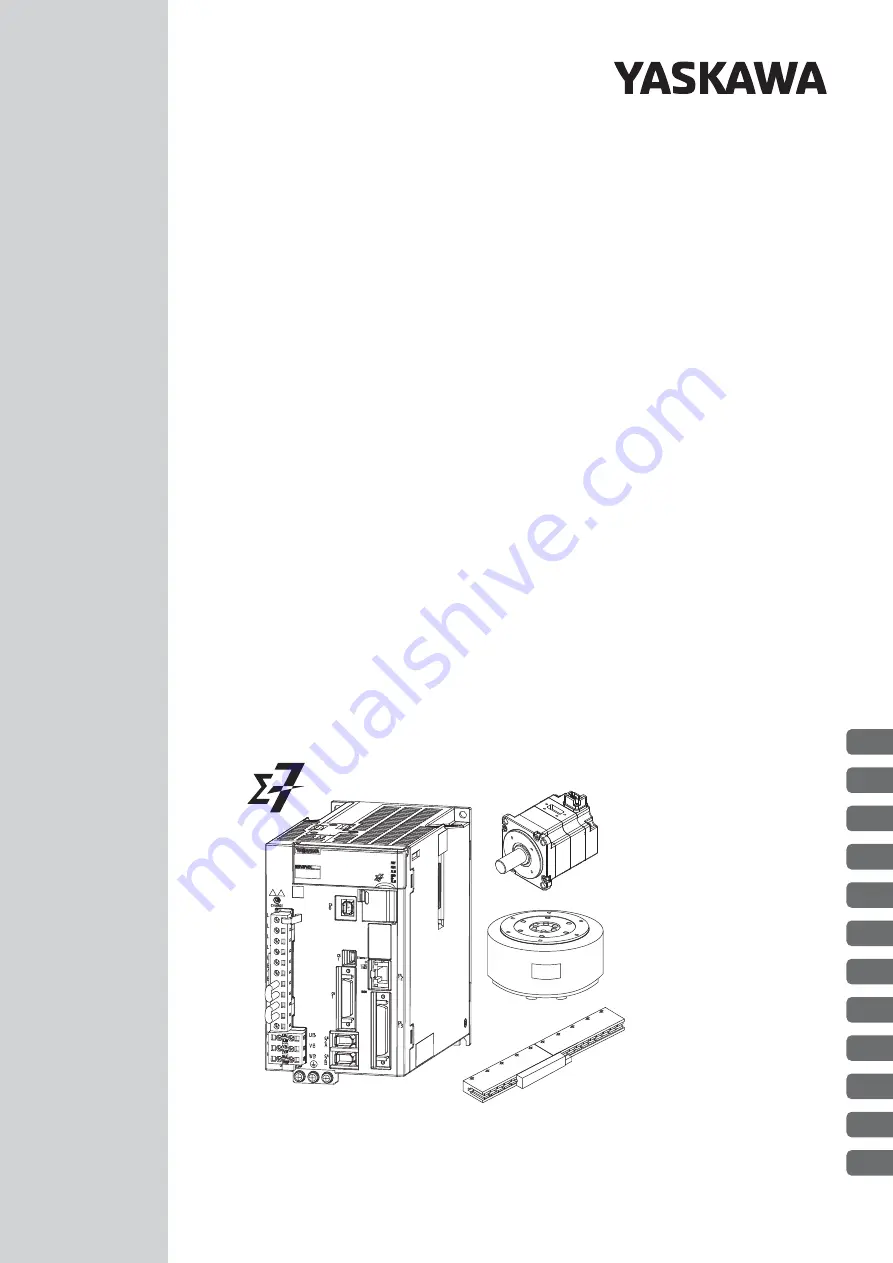
SERVOPACK
-7-Series AC Servo Drive
Product Manual
MANUAL NO. SIEP S800002 04B
1
2
3
4
5
6
7
8
9
10
11
12
Installation
Wiring and Connections
Preparations
Device-Specific Settings
Trial Operation
Creating User Programs
Tuning
Monitoring
Maintenance
Parameter Lists
Basic Information on
SERVOPACKs
Functions of the
Controller Section


