background image


Please read these instructions carefully before using this product, and save this manual for future use. 
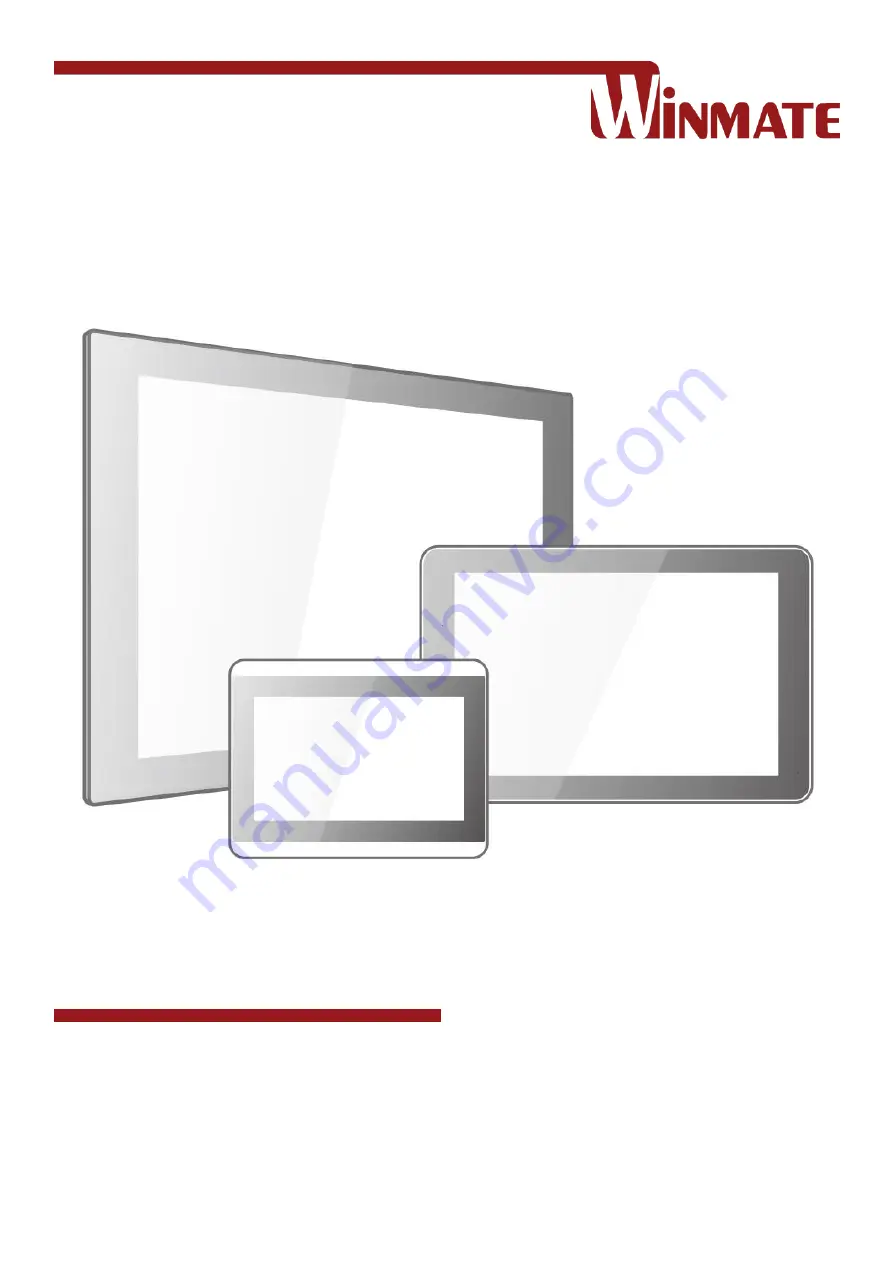


7~15” G-WIN 

GC-Series Panel PC


Arm Cortex® A72 up to 2.0 GHz+ Quad-core Cortex®-A53 up to 1.5 GHz 


Tailor Made for Your Heavy Duty Needs 

.


Model No

 W07RK3S-GCT1 

W07RK3S-GCO1HB 

W10RK3S-GCH1(HB) 

 R10RK3S-GCT2(HB 

R12RK3S-GCM2(HB) 

R15RK3S-GCC3(HB) 


Quick Start Guide


Document Version 1.0 
Document Part No.


91521110104L


Summary of Contents for G-WIN GC Series

Page 1: ...e 7 15 G WIN GC Series Panel PC Arm Cortex A72 up to 2 0 GHz Quad core Cortex A53 up to 1 5 GHz Tailor Made for Your Heavy Duty Needs Model No W07RK3S GCT1 W07RK3S GCO1HB W10RK3S GCH1 HB R10RK3S GCT2 HB R12RK3S GCM2 HB R15RK3S GCC3 HB Quick Start Guide Document Version 1 0 Document Part No 91521110104L ...

Page 2: ...CHAPTER 2 GETTING STARTED 17 2 1 POWERING ON 18 2 2 CONNECTOR DESCRIPTION 19 2 3 CONFIGURING SERIAL PORT SETTING 22 CHAPTER 3 MOUNTING 24 3 1 CABLE MOUNTING CONSIDERATIONS 25 3 2 SAFETY PRECAUTIONS 25 3 3 MOUNTING GUIDE 25 CHAPTER 4 OPERATING THE DEVICE 29 4 1 HOME SCREEN 30 4 2 QUICK SETTINGS 31 4 3 ETHERNET 31 4 4 WINMATE HOME MANAGER WHM 33 APPENDIX 38 APPENDIX A PRODUCT SPECIFICATIONS 38 ...

Page 3: ...If the customer discovers a defect we will at his her option repair or replace the defective product at no charge to the customer provide it is returned during the warranty period of one year with transportation charges prepaid The returned product must be properly packaged in its original packaging to obtain warranty service If the serial number and the product shipping data differ by over 30 day...

Page 4: ... experienced electronics personnel should open the PC chassis Toujours débrancher le cordon d alimentation du chassis lorsque vous travaillez sur celui ci Ne pas brancher de connections lorsque l alimentation est présente Des composantes électroniques sensibles peuvent être endommagées par des sauts d alimentation Seulement du personnel expérimenté devrait ouvrir ces chassis Caution Attention Alwa...

Page 5: ...nt For safety reasons only qualified service personnel should open the equipment All cautions and warnings on the equipment should be noted Let service personnel to check the equipment in case any of the following problems appear o The power cord or plug is damaged o Liquid has penetrated into the equipment o The equipment has been exposed to moisture o The equipment does not work well or you cann...

Page 6: ...ound to comply with the limits for a class B digital device pursuant to part 15 of the FCC rules These limits are designed to provide reasonable protection against harmful interference when the equipment is operated in a commercial environment This equipment generates uses and can radiate radio frequency energy and if not installed and used in accordance with the instruction manual may cause harmf...

Page 7: ...Introduction This chapter gives you product overview describes features and hardware specification You will find all accessories that come with the panel PC in the packing list Mechanical dimensions and drawings included in this chapter ...

Page 8: ... capacitive multi touch P CAP technology and front IP65 rating against water and dust will allow the device to meet your computing expectations in harsh and severe environments 1 2 Product Features Winmate G WIN GC Series Panel PC features 7 10 1 10 4 12 1 15 inch panel Projected capacitive multitouch screen Arm Cortex A72 Quad core Cortex A53 Android 7 1 operating system 1 x RS 232 422 485 1 x US...

Page 9: ... Manual Varies by product specifications Part No 91521110104L Part No 9171111I1249 AC Adapter 12V 50W Power Cord 3 pin Terminal Block to DC Jack Part No 922D050W12VA Varies by country Part No 94J602G030K0 Package may include optional accessories based on your order VESA Desk Stand PCVS V1 VESA Desk Stand LA 100 VESA Wall Mount Bracket LA 106 Part No 99KK00A0000E Part No 9B0000000128 Part No 9B0000...

Page 10: ...plified drawing and some components are not marked in detail Please contact our sales representative if you need further product information 7 inch W07RK3S GCT1 Unit mm Dimensions 154 6 x 145 4 x 39 8 Description Description Giga LAN PoE Micro SD Card Slot 3 Pin Terminal Block 12V DC In Micro HDMI RS 232 422 485 OSD Control Panel 1 x USB 3 0 1 x USB 2 0 1 Watt Speaker USB OTG Wi Fi BT Antenna Opti...

Page 11: ...HB Unit mm Dimensions 154 6 x 145 4 x 39 8 Description Description Giga LAN PoE Micro SD Card Slot 3 Pin Terminal Block 12V DC In Micro HDMI RS 232 422 485 OSD Control Panel 1 x USB 3 0 1 x USB 2 0 1 Watt Speaker USB OTG Wi Fi BT Antenna Optional ...

Page 12: ...0RK3S GCH1 HB Unit mm Dimensions 263 28 x 176 28 x 40 2 Description Description Giga LAN PoE Micro SD Card Slot 3 Pin Terminal Block 12V DC In Micro HDMI RS 232 422 485 OSD Control Panel 1 x USB 3 0 1 x USB 2 0 1 Watt Speaker USB OTG Wi Fi BT Antenna Optional ...

Page 13: ...2 HB Unit mm Dimensions 252 4 x 197 8 x 36 4 Description Description Giga LAN PoE Micro SD Card Slot 3 Pin Terminal Block 12V DC In Micro HDMI RS 232 422 485 OSD Control Panel 1 x USB 3 0 1 x USB 2 0 1 Watt Speaker USB OTG Wi Fi BT Antenna Optional ...

Page 14: ...12RK3S GCM2 HB Unit mm Dimensions 296 2 x 226 7 x 45 5 Description Description Giga LAN PoE Micro SD Card Slot 3 Pin Terminal Block 12V DC In Micro HDMI RS 232 422 485 OSD Control Panel 1 x USB 3 0 1 x USB 2 0 1 Watt Speaker USB OTG Wi Fi BT Antenna Optional ...

Page 15: ... HB Unit mm Dimensions 363 4 x 277 86 x 44 5 Description Description Giga LAN PoE Micro SD Card Slot 3 Pin Terminal Block 12V DC In Micro HDMI RS 232 422 485 OSD Control Panel 1 x USB 3 0 1 x USB 2 0 1 Watt Speaker USB OTG Wi Fi BT Antenna Optional ...

Page 16: ...ogether with data Terminal Block Provides power to the panel PC accepts 12V DC Example AC cord or DC power supply If both are provided choose only one RS 232 422 485 Connects external devices to the panel PC Example A barcode reader or scanner to HMI device USB 3 0 USB 2 0 Connects USB 3 0 USB 2 0 compatible devices to the panel PC Example A printer to HMI device Micro HDMI Transmits video from th...

Page 17: ...17 Chapter 2 Getting Started Chapter 2 Getting Started This chapter tells you important information on power supply adapter and precautions tips Pay attention to power considerations ...

Page 18: ...AC adapter included in your package Rating Output 12 V 6 6A Using other AC adapters may damage the device Utiliser seulement le convertisseur AC avec votre appareil Puissance Sortie 12 V 6 6A Utilizer d autres convertisseurs pourraient endommager l appareil AC Adapter Power Cord 3 Pin Terminal Block to DC Jack Alternating Current Mise à le terre This product must be grounded Use only a grounded AC...

Page 19: ...e will boot automatically 2 2 Connector Description 2 2 1 Power Input Connector The DC power source input of the panel PC is a 3 pin terminal block connector that supports 12V DC power input Pin assignment and connector description of terminal block connector Note Based on the model terminal block connector may be located either on the bottom or on the rear side of the panel PC Note Power cords va...

Page 20: ...escription of serial port connector Default setting RS 232 2 2 4 USB Connector The G WIN GC Series Panel PC has one USB 2 0 and one USB 3 0 connectors Use USB 2 0 and USB 3 0 connector to connect your HMI device to other USB 2 0 USB 3 0 compatible devices Pin assignment and connector description of USB connector Pin Signal Name Pin Signal Name 1 TX1 2 TX1 3 TX2 4 TX2 5 TX3 6 TX3 7 TX4 8 TX4 Pin RS...

Page 21: ...nnector description of USB OTG connector Refer to Ch 5 of this user manual for more details on how to install software 2 2 7 Micro SD Card Slot Insert microSD card to microSD card slot to extend the memory of your G WIN GC Series Panel PC Pin assignment and connector description of micro SD card slot Pin Signal Name Pin Signal Name 1 HP_DET_OUT 2 NC 3 HDMI_D2P 4 GND 5 HDMI_D2M 6 HDMI_D1P 7 GND 8 H...

Page 22: ...iguring Serial Port Setting Serial port setting can be configured for RS 232 RS 422 or RS 485 Winmate provide serial port settings application for Android OS To configure serial port settings 1 Settings Accessibility 2 Accessibility System Comport Setting ...

Page 23: ...23 Chapter 2 Getting Started 3 Comport Setting Comport 1 Comport 2 Comport 3 Select Comport 1 Comport 2 Comport 3 that you want to configure 4 Comport 1 RS232 RS422 RS485 Configure Comport 1 settings ...

Page 24: ...24 7 15 GC Series Panel PC Quick Start Guide Chapter 3 Mounting This chapter provides mounting guide for all available mounting options Pay attention to cautions and warning to avoid any damages ...

Page 25: ... to the interface Wires that share similar electrical characteristics must be bundled together Do not bundle input wiring with output wiring Keep them separate When necessary it is strongly advised that you label wiring to all devices in the system 3 3 Mounting Guide G WIN GC Series Panel PC devices come with different mounting options suitable for most of the industrial and commercial application...

Page 26: ...Panel PC Quick Start Guide 3 3 1 RAM Mount Notice that only 7 model support RAM Mounting to fit any vehicle application The picture is for demonstration purposes only RAM Mounting accessories are not supplied by Winmate ...

Page 27: ...tions to fit any industrial use or vehicle Size VESA Plate 7 10 1 10 4 12 1 75x75 mm 10 4 15 100x100 mm Mounting Instruction Use Philips M4x5 screws to fix the desk stand to VESA holes on the back cover of the device The picture is for demonstration purposes only VESA Mounting accessories are not supplied by Winmate ...

Page 28: ...t mm Screw Hole Diameter mm 7 174 4 x 130 4 M4x4 10 1 249 x 157 6 M4x5 10 4 227 x 174 5 M4x5 12 1 281 x 206 M4x5 15 345 4 x 260 M6x4 Mounting Instruction 1 Prepare a fixture for the specific dimensions of the device 2 Cut a hole on a sub frame or panel according to the cutout dimensions 3 Install the device properly onto the cutout area of the sub frame or panel with the sides of the front bezel 4...

Page 29: ...29 Chapter 4 Operating the Device Chapter 4 Operating the Device In this chapter you will find instructions on how to operate the G WIN GC Series Panel PC ...

Page 30: ...the list swipe it left or right or touch the X Your apps To see all your apps touch in the Favorites tray on any Home screen This is where you can see all your apps including those that come with your phone or tablet and those you downloaded on Google Play You can move app icons to any of your Home screens The apps you ve used most recently appear in the first row Some apps hide these buttons temp...

Page 31: ...wn from the top of the screen with two fingers To change a setting just touch the icon Display brightness Slide to lower or increase the brightness of your screen Wi Fi network Turn Wi Fi on or off or open the Wi Fi settings menu Bluetooth settings Turn Bluetooth on or off or open the Bluetooth settings menu Auto rotate Lock your device s orientation in portrait or landscape mode Open the main Set...

Page 32: ...ernet Go to All Apps Ethernet Configure Ethernet Ethernet OFF is set by default Swipe Ethernet ON to activate Ethernet connection Connection Type Setting Description DHCP The device automatically capture IP address from the router Static IP Allows to manually set up IP address DNS Network and Gateway ...

Page 33: ... of the desktop 4 4 Winmate Home Manager WHM Winmate G WIN GC Series Panel PC comes with preinstalled APP called Winmate Home Manager WHM which let the device manager to lock the launcher then the user can only use one application assigned by the device manager 4 4 1 How to Lock Applications To lock applications 1 In the main APPS window select the Home Manager APP and tap it to open ...

Page 34: ...er Set which app you want to run up automatically after booting Password Manager Set the WHM password Default password is 0000 About Displays information about Home Manager 2 Go to Application Selector and choose the app which you want to run up automatically after booting ...

Page 35: ...lt Home 4 Select Restrict Home and Always and then restart the computer to enable these settings The system will automatically start the application which you selected and lock it Any time user presses home key or back key the system will go back to the same application which you have selected ...

Page 36: ...o Unlock Applications Follow the instruction below to reset Home Manager 1 If you want to reset the home manager pull down the left side to open the status bar and open HomeManager 2 System will request the password to login Touch OK Default password is 0000 ...

Page 37: ... you will go back to the normal Launcher 4 5 3 How to Change Password To change the password 1 Go to Password Manager and set your own password for this APP 2 The default password is 0000 Enter a new password in New Password field and then tap Change Password ...

Page 38: ...GB eMMC Micro SD Card 16 GB eMMC Micro SD Card OS Android 7 1 Android 7 1 Android 7 1 Android 7 1 Android 7 1 Android 7 1 Audio Speaker 1 x 1 Watt Speaker 1 x 1 Watt Speaker 1 x 1 Watt Speaker 1 x 1 Watt Speaker 1 x 1 Watt Speaker 1 x 1 Watt Speaker User Controls OSD Panel 5 buttons 5 buttons 5 buttons 5 buttons 5 buttons 5 buttons Input Output Connectors Power 3 pinTerminal Block 3 pin Terminal B...

Page 39: ...t VESA 75x75 Front Mount Panel mount VESA 100x100 Panel mount VESA 100x100 Cooling Fanless Fanless Fanless Fanless Fanless Fanless Environment Considerations Operating Temp 15 C to 55 C 15 C to 55 C 15 C to 55 C 15 C to 55 C 15 C to 55 C 15 C to 55 C Humidity 10 to 95 non condensing 10 to 95 non condensing 10 to 95 non condensing 10 to 95 non condensing 10 to 95 non condensing 10 to 95 non condens...

Page 40: ...Winmate Inc 9F No 111 6 Shing De Rd San Chung District New Taipei City 24158 Taiwan R O C www winmate com Copyright Winmate Inc All rights reserved ...

Reviews: