
SET PROGRAM: PHOTOCELL COUNTDOWN TIMER
The first setting is
“PROG 1 ON”
. Set the desired day of the week program by
pressing the
“+”
or
“-”
buttons. You can select each day individually, Monday
to Friday, Saturday/Sunday, or an entire week. To have your timer turn On and
Dusk and Off at the same time every day of the week, be sure to push
“+”
until
all 7 days of the week are lit up for both PROG 1 ON and PROG 1 OFF.
Press
“MANU”
to enter the hour setting. Press the
“+”
or
“-”
to set:
You may now either press the
“PROG”
button to enter additional programs (up
to 8), or press the
“TIME”
button (or wait 15 seconds) to store your program.
Your timer will now show the current set time and is ready for use.
SET PROGRAM: DIGITAL TIMER + PHOTOCELL
The first setting is
“PROG 1 OFF”
. Set the desired day of the week program by
pressing the
“+”
or
“-”
buttons. You can select each day individually, Monday to
Friday, Saturday/Sunday, or an entire week. To have your timer turn On and Dusk
and Off at the same time every day of the week, be sure to push
“+”
until all 7
days of the week are lit up for both PROG 1 ON and PROG 1 OFF.
Press the
“MANU”
button to enter the
“OFF”
time hour setting. Press the
“+”
or
“-”
to set. Be sure to cycle through until AM or PM appears correctly.
Press the “MANU” button to enter the
“OFF”
time minute setting. Press the
“+”
or
“-”
to set.
You may now either press the
“PROG”
button to enter additional programs (up
to 8), or press the
“TIME”
button (or wait 15 seconds) to store your program.
Your timer will now show the current set time and be ready for use.
MANUAL OVERRIDE:
Press the
“MANU”
button to choose the timer status:
RESET:
Press the
“+”
and
“-”
buttons at the same time to reset your timer. This will clear
all programmed settings.
SET CURRENT TIME:
Press and hold the
“TIME”
button to enter the current time. First, set the day
of the week: press
“+”
or
“-”
button to set today’s day.
Press the
“TIME”
button to enter the hour setting. Press the
“+”
or
“-”
buttons
to set the current hour. Be sure that AM or PM appears correctly.
Press the
“TIME”
button to enter the minute setting, Press the
“+”
or
“-”
buttons to set the current minute.
Press the
“TIME”
button to finish setting the current time and return
to normal display.
SET MODE:
Press & hold the
“MODE”
button to scroll between the different Mode settings:
SET PROGRAM:
After choosing your mode, set the timer program by holding the
“PROG”
button
for 3 seconds, and then follow the appropriate section below.
SET PROGRAM: DIGITAL TIMER
The first setting is
“PROG 1 ON”
which should appear on the screen. Set the
desired day of the week setting for your timer using the
“+”
or
“-”
button to
scroll between choices. You can select each day individually, Monday to
Friday, Saturday/Sunday, or the entire week. To have your timer turn On/Off
at the same times every day of the week, be sure to push
“+”
until all 7 days
of the week are lit up for both PROG 1 ON and PROG 1 OFF.
Press
“MANU”
to enter the
“PROG 1 ON”
hour setting. Press the
“+”
or
“-”
to choose the desired hour for your timer to turn ON. Be sure to cycle through
until AM or PM appears correctly.
Press
“MANU”
to enter the
“PROG 1 ON”
minute setting. Press the
“+”
or
“-”
to choose the desired minute for your timer to go on.
Press the
“PROG”
button to enter the
“PROG 1 OFF”
setting. Repeat steps
2 & 3 to set your desired Off time.
You may now either press the
“PROG”
button to enter additional programs
(up to 8), or press the
“TIME”
button (or wait 15 seconds) to store your
program. Your timer will now show the current set time and is ready for use.
INITIAL USE:
Before initial use, please plug in your timer for at least 1 hour to charge the
internal battery. After the LCD display appears, your unit will be ready for
programming.
3-Wire Grounded Outlet and Plug
6 in
(15cm)
AWG 14/3 SJT vinyl cord
Rated: 125V/15A/1875W Tungsten
60Hz
Customer Service Assistance:
Toll Free 1-800-730-3707
SAVE THESE INSTRUCTIONS!
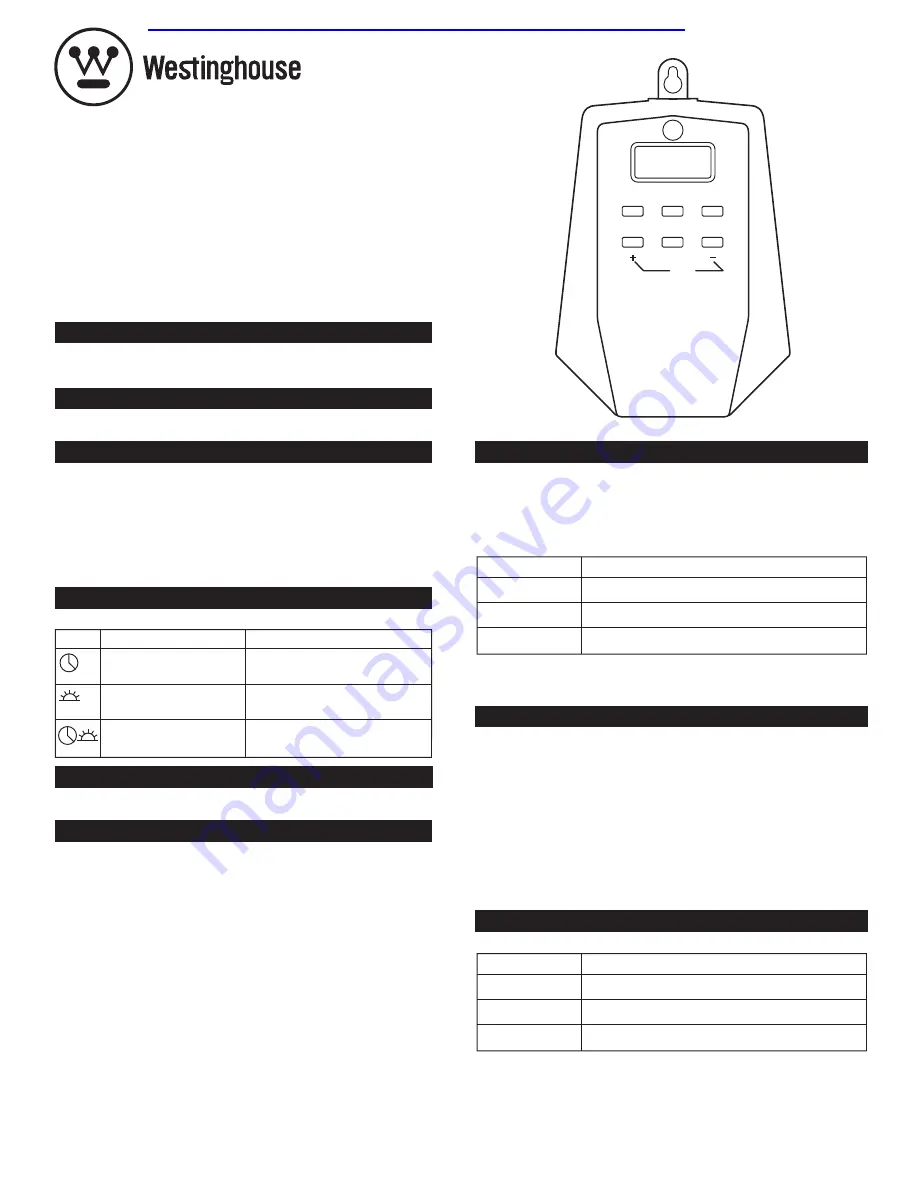
TIME
RESET
MANU
MODE
PROG
Display Mode
Digital Timer
Photocell Countdown Timer
Digital Timer + Photocell
Explanation
On/Off at your exact
programmed times
On at Dusk or On immediately,
Off after 1-12 hours
On at Dusk, Off at your exact
programmed times
Display
d
d:01 to d:12
S:01 to S:12
Explanation
Dusk to Dawn – On at sundown, Off at sunrise
On at Dusk, Off 1 to 12 hours later
On immediately, Off 1 to 12 hours later
Display
ON
OFF
AUTO
Explanation
Continuously ON
Continuously OFF
Timer will turn On/Off according to program settings
3-Outlet Photocell
HEAVY DUTY OUTDOOR TIMER
Tri-Mode Digital Timer
Manufactured and Distributed by:
The NCC Brooklyn, NY 11220 • 1.800.730.3707 • www.thencc.com
Made in China
Westinghouse , and “You can be sure... if it's Westinghouse“
are trademarks of
Westinghouse Electric Corporation and are used under license by The NCC
http://waterheatertimer.org/Woods-timers-and-manuals.html#Westingh


