VM TEK Biomasse PIKO, Instruction Manual
The VM TEK Biomasse PIKO is an innovative and efficient biomass heating system. To ensure maximum convenience, we offer a comprehensive Instruction Manual that can be easily downloaded for free from our website. Discover the full potential of this product by accessing the user manual at manualshive.com.
Share
Download


Reviews:
No comments
Related manuals for TEK Biomasse PIKO

F400
Brand: IDEAL Pages: 60

SERIES WV-DV
Brand: PEERLESS Pages: 24

Vitodens 100-W B1HA
Brand: Viessmann Pages: 48

DIVA SLIM
Brand: klover Pages: 52

WBS Active seried
Brand: Sun System Pages: 16

UTICA BOILERS MAC-150
Brand: ECR International Pages: 92

ARCEUS 12 kW MT
Brand: E.C.A. Pages: 38
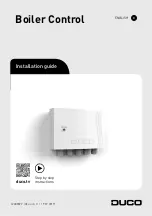
DucoBox Eco Boiler Control
Brand: Duco Pages: 12

VACB20
Brand: Vulcan-Hart Pages: 2

iXinox 24C
Brand: Lamborghini Caloreclima Pages: 52

Concord CX-100
Brand: IDEAL Pages: 36

CG-A 30
Brand: New Yorker Pages: 28

THI 5-25c
Brand: Cranborne Pages: 66

THI 10-50c
Brand: Cranborne Pages: 66
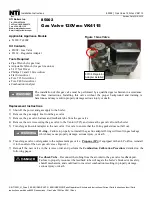
85002
Brand: NTI Pages: 4

Alpha 240XE
Brand: Alpha Pages: 44

EFTC-140W
Brand: Kiturami Pages: 89

G-100 MES
Brand: Astra Pages: 19


