manualshive.com logo in svg
background image

Part Number: 631-0081-00

   July 2010

ViVOtech, Inc. 451 El Camino Real, Santa Clara, CA 95050 Ph: (408) 248-7001

Email: [email protected] URL: www.vivotech.com
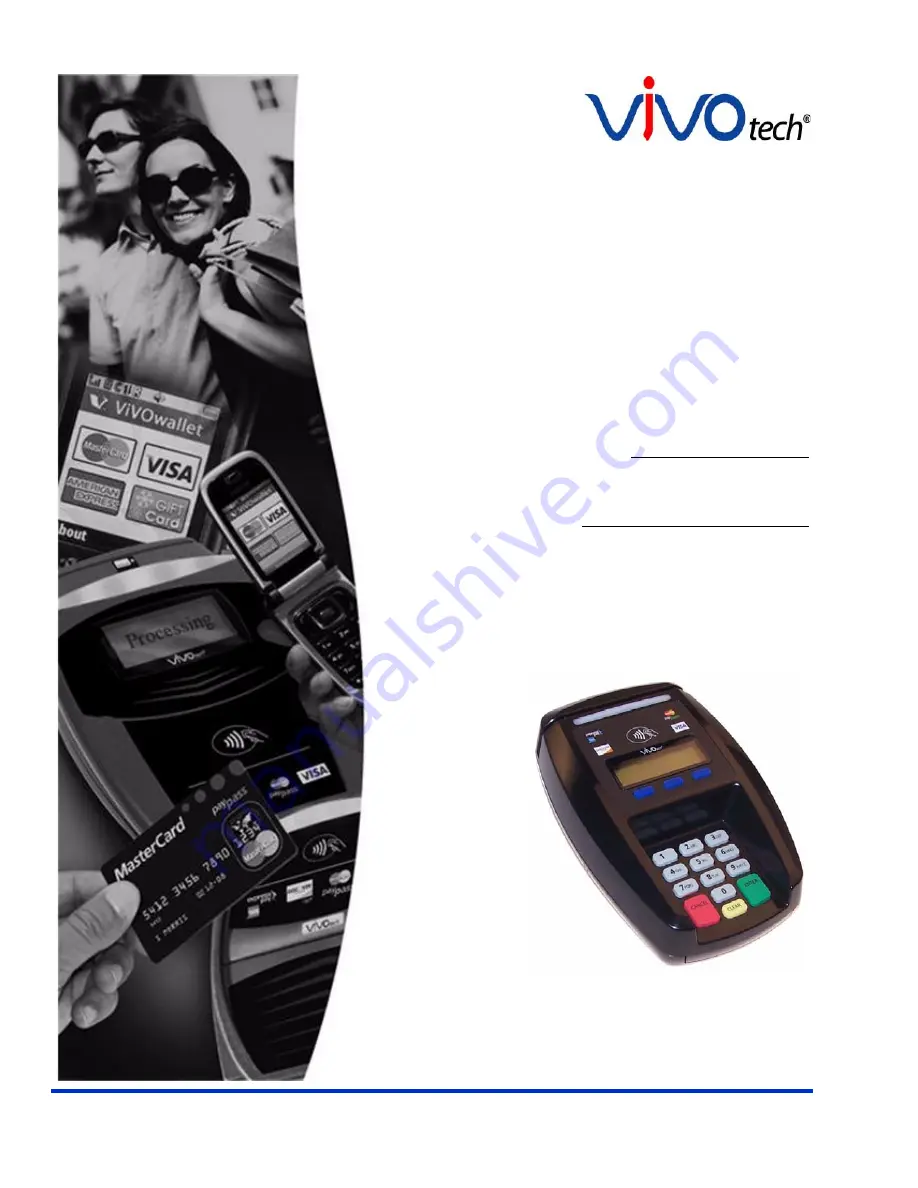
   

ViVOpay

®

8100 User Guide

Revision 1.0

Содержание VIVOpay 8100

Страница 1: ...Part Number 631 0081 00 July 2010 ViVOtech Inc 451 El Camino Real Santa Clara CA 95050 Ph 408 248 7001 Email info vivotech com URL www vivotech com ViVOpay 8100 User Guide Revision 1 0 ...

Страница 2: ...or transmitted by electronic mechanical recorded or any other method or translated into another language or language form without the express written consent of ViVOtech Inc ViVOtech ViVOwallet ViVOnfc ViVOcard ViVOpay ViVOpersona and ViVOgiftcard are trademarks or registered trademarks of ViVOtech Inc Warranty Disclaimer The services and hardware are provided as is and as available and the use of...

Страница 3: ...VOpay 8100 7 Connecting the ViVOpay 8100 7 Accessing the Connectors 7 Connecting Power and Data 9 Mounting the ViVOpay 8100 to a Surface 11 Mounting the Wedge Bracket 13 Testing the Installation 14 Testing a Contactless Read 14 Testing a Magnetic Stripe Card Read 15 Testing a Transaction 15 Chapter 3 Troubleshooting and Maintenance 16 Troubleshooting 16 Onboard Diagnostics 17 Accessing the OBD Tes...

Страница 4: ... Maintenance 22 Upgrading the Firmware 22 Appendix A Specifications 24 ViVOpay 8100 Specifications 24 Regulatory Compliance 25 FCC Part 15 Class B Equipment 25 FCC Information for User 25 Industry Canada Class B Equipment 25 Industry Canada Information for User 25 Glossary 26 ...

Страница 5: ...y 8100 supports the following contactless payment applications PayPass ISO IEC 144443 MasterCard M Stripe Visa MSD American Express ExpressPay Discover Zip Mifare ePurse Passthrough ViVOcard 1 2 ViVOpay 8100 also supports debit and credit magnetic stripe applications This document assumes that users are familiar with their host POS systems and all related functions Features The following features ...

Страница 6: ...signed to meet FCC requirements If you are using other cables or power supply you must install ferrites available from ViVOtech For your free ferrite core kit with installation instructions please contact ViVOtech support Accessories The following accessories are available for the ViVOpay 8100 ViVOpay 8100 P N 540 0703 01 Data cable varies by POS and length Serial Data Cable P N 220 2463 0X requir...

Страница 7: ...Opay 8100 has design elements such as a recessed keypad that meet some of these requirements However to fully implement PCI 2 1 make sure you consider the following 1 The ViVOpay 8100 must be in a location that will NOT force a customer to enter a PIN that can be viewed by a third party for example a customer must tilt or rotate the device for better accessibility due to objects blocking a card sw...

Страница 8: ...top α Angle between the horizontal plane through the 5 key and the virtual line which connects the 5 key and an observer s eye β Horizontal position of an observer relative to the user s position γ Horizontal range which is to be covered by the privacy screen δ Angle between the keypad plane and the horizontal plane tilt angle α Observer s line of sight to the 5 key Vertical protection angle α 35 ...

Страница 9: ... ranges visual observation of the keypad is partially blocked by the cardholder The protection angle α shall be at least 35 Please note that the front end of the privacy screen must be higher if the ViVOpay 8100 is tilted α 35 90 β 270 The protection angle shall be at least 40 The display side of the privacy screen may be lowered as the PED is tilted against the horizontal plane α 40 γ Horizontal ...

Страница 10: ...o view the keypad Can Another Customer View the PIN While one person stands at the ViVOpay 8100 with their hand positioned to enter the PIN the other tester should try to observe the keypad from behind and beside the first person Can the Cashier View the PIN While one person stands at the ViVOpay 8100 with their hand positioned to enter the PIN the other tester should stand behind the counter and ...

Страница 11: ... requires that you reposition the ViVOpay 8100 and retest until PIN entry is secure from observation Radio Frequency Interference To perform contactless transactions the ViVOpay 8100 uses a radio frequency antenna The range reading distance and performance of the reader can be affected by other radio frequency emitters and proximity to metal For best performance adhere to the following guidelines ...

Страница 12: ...wer and POS Mount if required Test the installation Connecting the ViVOpay 8100 Accessing the Connectors The ViVOpay 8100 connectors are beneath a cover on the bottom of the reader To access the connectors 1 Turn over the ViVOpay 8100 so that the connector cover is visible 2 Use a Phillips 1 screwdriver to remove the captive screw that holds the connector cover in place ...

Страница 13: ...a SAM card in your application insert the SAM card as shown by the SAM card icon Warning Do not insert or remove a SAM card while the ViVOpay 8100 is powered This will cause permanent damage to the SAM card Connecting Power and Data There are connectors for data and power inside the connector cover There is also access to the SAM card slot if you are using this option To connect the ViVOpay 8100 1...

Страница 14: ...ViVOpay 8100 User Guide 10 Installing the ViVOpay 8100 2 Insert the power cable into the power connector 3 Insert the data cable into the 10 pin RJ45 connector directly beside the power socket ...

Страница 15: ... 8100 may take up to 30 seconds to finish booting The ViVOpay 8100 displays the opening set of screens before it displays the Welcome screen The opening screens include ViVOtech screen Copyright screen Firmware version screen The reader should then display Welcome or Please present card or similar wording depending upon the POS application If the reader fails to power up try reseating the power co...

Страница 16: ...ned To mount the ViVOpay 8100 1 Drill four 3 5mm 9 64 inch holes in the surface where the ViVOpay 8600 will be mounted Use the hole spacing shown in Figure 4 Figure 4 Mounting hole locations 2 Position the ViVOpay 8100 over the mounting holes and use four M3 screws not supplied long enough to secure the ViVOpay 8100 to the mounting surface Mounting Holes x4 76 20 mm 3 0 inches 76 20 mm 3 0 inches ...

Страница 17: ...other 11 for greater privacy The wedge bracket is fastened to the ViVOpay 8100 with the four mounting holes To mount the wedge bracket 1 Align the mounting bracket over the mounting holes with the thickest end over the connector cover 2 Fasten in place with four M3 screws as shown in Figure 5 Figure 5 Attaching the wedge bracket ...

Страница 18: ...d the POS are communicating correctly by performing a sample transaction Testing a Contactless Read Present the contactless card fob phone flat against the touch screen and so that maximum surface area is parallel to the screen When a card fob phone has been successfully read the ViVOpay 8100 beeps and illuminates all four green LEDs For an alternate test see RFID and Antenna Test on page 21 ...

Страница 19: ...pears on the ViVOpay 8100 depends on the POS application To test a transaction 1 Ring up a transaction on the POS The ViVOpay 8100 may show Welcome or similar wording 2 Present a card fob phone in close proximity to the reader or swipe a magnetic stripe card 3 A single beep and LED flash indicates that the card has been validated The ViVOpay 8100 may display Processing or similar wording while the...

Страница 20: ...rrect firmware is loaded local support representative only Verify that power is on and correct voltage and current are present Verify that power cable plug is fully inserted Replace the reader Some cards fobs phones read but not all Wrong firmware contact your local support representative Possible bad card fob phone Unsupported card used Verify that correct firmware is loaded on reader local suppo...

Страница 21: ... Parity none Stop bit 8 Flow control none 3 Connect the BD 9 end of the data cable to the COM port of a computer running a terminal emulation program To enter the Onboard Diagnostics 1 Power off the ViVOpay 8100 by removing the power supply from the power receptacle 2 Plug the power supply back into the power receptacle 3 Press the 3 key and hold it down until the the main ViVOpay AR Diagnostics s...

Страница 22: ...All runs the entire test sequence and displays the results 1 Press 1 when the ViVOpay AR Diagnostics screen is displayed All of the tests are run in sequence and the results are displayed See each individual test for information LCD Test The LCD test turns the pixels on off and checks screen clarity to verify that the LCD screen is working properly The results will be displayed on the LCD ViVOpay ...

Страница 23: ... otherwise press CANCEL to fail the test The AR LCD Test screen is displayed 8 Press CANCEL to exit back to the main menu Touch Screen Test The Touch Screen test does not apply to the ViVOpay 8100 If you are running Test All press CANCEL to abort this test Keypad Test This test asks you to enter each of the keys in sequence to verify that the keypad is working correctly The results will be display...

Страница 24: ...rify that the buzzer is audible The results will be displayed on the LCD 1 Press 6 on the ViVOpay AR Diagnostics screen The Tone Test screen is displayed 2 Listen for the tones and make sure they ramp up and then down 3 Press ENTER if you hear the tones otherwise press CANCEL to indicate that the tones did not ramp up and down Magstripe Test This test asks you to swipe a magstripe card through the...

Страница 25: ... screen to verify that the antenna is able to detect a contactless card The results will be displayed on the LCD 1 Press 8 on the ViVOpay AR Diagnostics screen The RFID Test screen is displayed 2 Present the card fob phone in close proximity to the reader and so that maximum surface area is parallel to the touch screen The screen indicates if a card phone fob has been detected 3 Press any key to r...

Страница 26: ...pay download utility USB data cable You also need a PC with a USB port The PC should have the required USB driver USBSER SYS and HID DLL files If not they are available for download from Microsoft s website To upgrade the firmware 1 Make sure you have the USBSER SYS and HID DLL files installed on the PC 2 Copy the firmware image and ViVO download utility to the PC you are using for the upgrade 3 C...

Страница 27: ...en prompted locate and select the firmware hex file to download and click OK A progress bar indicates the status of the download It will take approximately eight minutes to complete the download 9 When the download is complete disconnect the ViVOpay 8100 from the PC and power The new firmware will be active next time you apply power to the ViVOpay 8100 10 Connect the ViVOpay 8100 to the POS with t...

Страница 28: ...A B Physical Length 190 5 mm 7 5 in Width 129 45 mm 5 1 in maximum Depth 47 63 mm 1 875 in Weight 0 4 Kg 0 9 lbs Environmental Operating Temp 0 to 40 C 32 to 104 F Storage Temp 10 to 70 C 14 to 158 F Operating Humidity 10 to 85 non condensing Operating Environment Indoor only Power Voltage 9 12 Vdc regulated 10 Consumption 13 5 W maximum ...

Страница 29: ...pment into an outlet on a circuit different from that to which the receiver is connected Consult the dealer or an experienced radio TV technician for help FCC Information for User The users manual or instruction manual for an intentional or unintentional radiator shall caution the user that changes or modifications not expressly approved by the party responsible for compliance could void the user ...

Страница 30: ...ne Near Field Communications NFC phone A technology that enables communication between a secure element in a mobile device and a contactless reader to make credit debit payments Also see UICC PCI 2 0 The Payment Card Industry Security Standards Council PCI SSC mission is to enhance payment account data security PCI 2 0 is a set of standards created by PCI SSC to increase the security of card data ...

Отзывы: