Vivitar DVR 558HD-V1, User Manual
The Vivitar DVR 558HD-V1 is a high-definition digital video recorder equipped with impressive features. Capture stunning footage and relive your memories with this sleek device. Easily access the User Manual for free download at manualshive.com, providing step-by-step instructions and valuable insights to enhance your user experience.
Share
Download


Reviews:
No comments
Related manuals for DVR 558HD-V1

iQ-SPEED
Brand: ElectrIQ Pages: 19
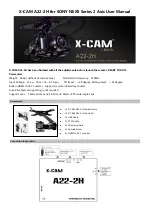
A22-2H
Brand: X-cam Pages: 4

1200 ContourHD
Brand: Twenty20 Corporation Pages: 14

EOS C100
Brand: Canon Pages: 2
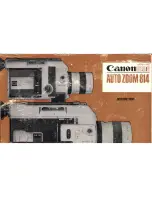
Auto Zoom 814
Brand: Canon Pages: 39
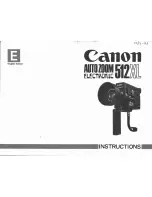
AutoZoom Electronic 512XL
Brand: Canon Pages: 24

ELURA 100 - Camcorder - 1.3 MP
Brand: Canon Pages: 100
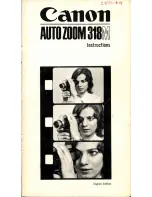
Auto Zoom 318 M
Brand: Canon Pages: 28

Auto Zoom 518
Brand: Canon Pages: 36

Digital Camcorders
Brand: Canon Pages: 16

DC10 - TC Converter
Brand: Canon Pages: 2

DC100 - WL Remote Control
Brand: Canon Pages: 2

Auto Zoom 518 SV
Brand: Canon Pages: 20

DC420
Brand: Canon Pages: 2

DC411
Brand: Canon Pages: 95

DC420
Brand: Canon Pages: 103

Elura 100
Brand: Canon Pages: 132

ELURA 2
Brand: Canon Pages: 147


