Canon ELURA 2, Instruction Manual
The Canon ELURA 2 is a versatile and high-quality camcorder that delivers exceptional performance. With its advanced features and user-friendly interface, capturing special moments has never been easier. Explore its specifications and discover its full potential by downloading the free user manual from our website, manualshive.com.
Share
Download


Reviews:
No comments
Related manuals for ELURA 2

9710
Brand: Earth Networks Pages: 35

DC20 E
Brand: Canon Pages: 200
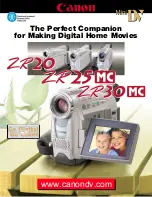
ZR20
Brand: Canon Pages: 6

ZR60
Brand: Canon Pages: 6

ZR400
Brand: Canon Pages: 2

ZR100
Brand: Canon Pages: 2

ZR500
Brand: Canon Pages: 2
TL-43
Brand: Canon Pages: 2
MA-300
Brand: Canon Pages: 2
VL-3
Brand: Canon Pages: 2
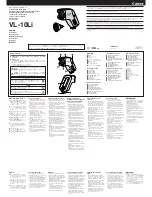
VL-10Li
Brand: Canon Pages: 2

WD-58
Brand: Canon Pages: 2

ZR-1000
Brand: Canon Pages: 2

ZR500
Brand: Canon Pages: 92

ZR100
Brand: Canon Pages: 103

ZR20
Brand: Canon Pages: 114

ZR25 MC
Brand: Canon Pages: 146

zr10.
Brand: Canon Pages: 113


