U-Reach MT Series, User Manual
The Siemens MT Series technical instructions manual provides comprehensive guidelines and insights for operating and troubleshooting your Siemens MT product. Get access to this valuable resource free of charge by downloading it from our website, ensuring you have all the necessary information to optimize your product's performance.
Share
Download


Reviews:
No comments
Related manuals for MT Series
CF Series
Brand: U-Reach Pages: 15
CD121
Brand: LaCie Pages: 39
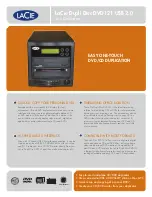
107756 - Dupli Disc DVD121
Brand: LaCie Pages: 2
TD2u
Brand: Tableau Pages: 71
Hybrid Series
Brand: U-Reach Pages: 32
Carry Flash Series
Brand: U-Reach Pages: 23
RZ2xx Series
Brand: Riso Pages: 374
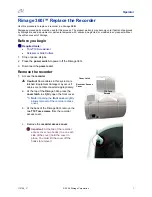
PF-2 PrintFactory
Brand: MicroBoards Technology Pages: 41
Desktop 360i
Brand: Rimage Pages: 5

V8000 Series
Brand: Riso Pages: 362
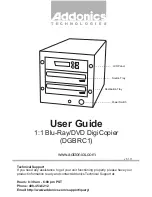
DGBRC1
Brand: Addonics Technologies Pages: 2
MantraJet 1050
Brand: Yurex Pages: 21
T-3000
Brand: Tascam Pages: 8
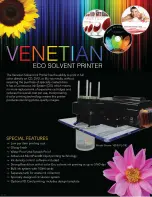
VENSOLPTR
Brand: Vinpower Pages: 2

NexStar NST-DP100S3
Brand: Vantec Pages: 29
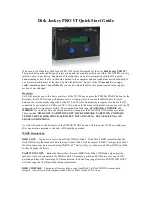
Disk Jockey PRO IT
Brand: Diskology Pages: 3
CD-D1X4
Brand: Tascam Pages: 22
Flash Duplicator
Brand: Disc Makers Pages: 26


