

Musashi 3 Upgrade
Tadao 1.1 Matrix Board
Features
•
Built on the Musashi code base (hybrid debounce scheme)
•
Includes three fire modes: uncapped semi-auto, capped semi-auto, and
modified NXL/PSP
•
Continuously monitors the trigger switch through the entire firing cycle
•
ABS programming prevents first shot drop off
•
AMB algorithms help to eliminate mechanical bounce
•
Power efficient software lengthens battery life
•
Programming mode allows changes to debounce, dwell, loader delay,
and fire mode
•
All settings are stored in non-volatile memory so they are not lost when
power is disconnected
•
One-touch startup enables the marker to fire instantly
•
Automatic 15-minute idle power down saves batteries
•
Force shot allows the marker to be fired when the eyes are enabled but
no object is present in the breech
Installation
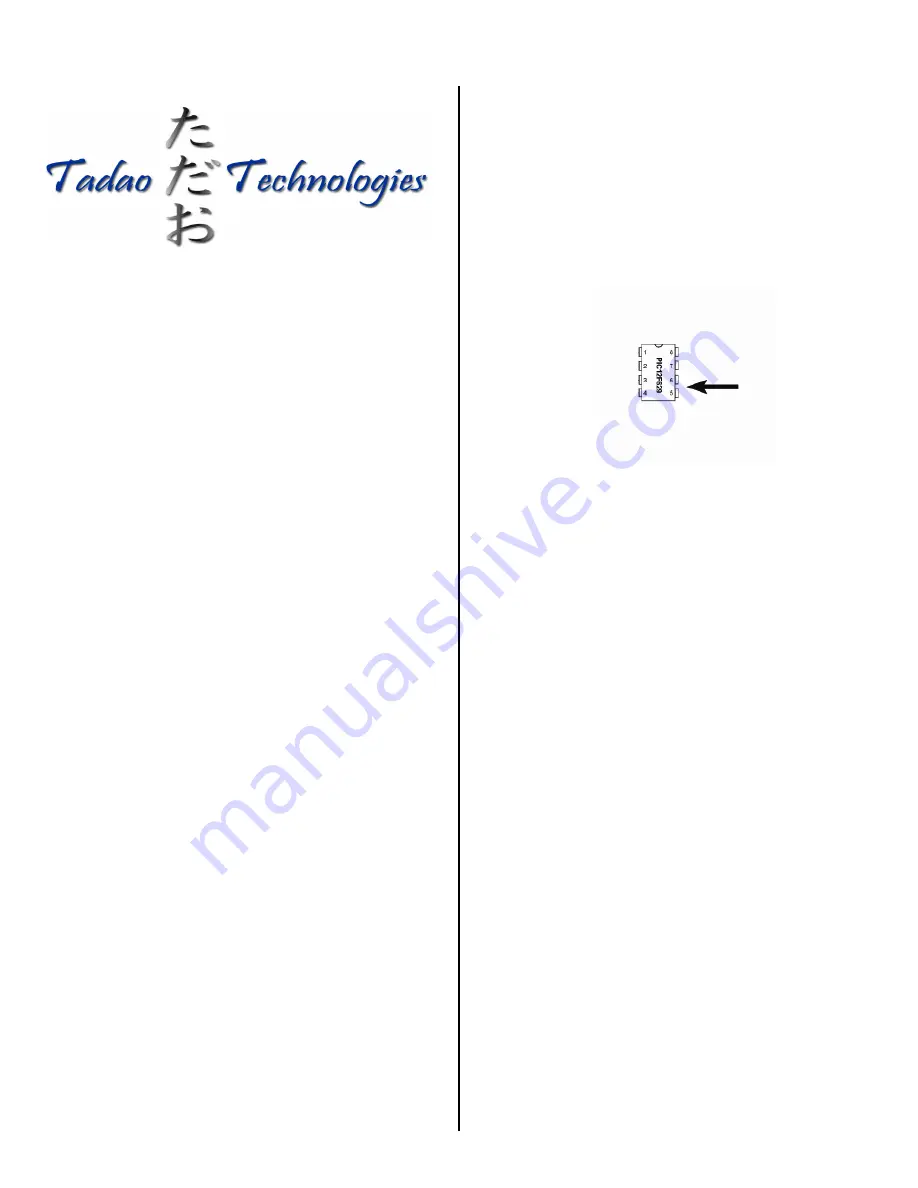
Upgrade Chip Installation
– Removal
and installation of the chip on a Tadao 1.1,
Matrix board must be carefully done to ensure the chip and the electronics are not
damaged. Begin by removing the grips from the left side of the marker. This will
expose the entire circuit board. The chip is located in a socket near the bottom of
the grip frame. To remove, gently pry under each end with a small flathead screw
driver. Alternate sides until it is far enough out to remove with your fingers. Insert
the new chip, making sure it is aligned properly. A notch in one end of the chip
lines up with a notch in the socket and the white drawing on the surface of the
board. If the marker will not turn on and it is not due to a low battery or broken
battery harness, you may have installed the chip backwards.
LED Indicator
The single color LED that shines out the back of the grip panels shows which
mode of operation the marker is currently in:
Solid
Eyes
enabled
Slow Blinking
Eyes disabled, rate of fire limited to 20 balls per
second
in
mode
1;
otherwise capped at 15 balls
per second for fire modes 2 and 3
Power and Eye Operation
Pressing and releasing the power button turns the marker on. It will show a solid
color LED in the grip frame to indicate that the marker is ready to be used.
The eyes are enabled when the marker is first turned on. To disable the eyes press
and hold the power button for 1 second. The LED will start slowly blinking to
indicate the eyes are turned off.
To turn the marker off, press and hold the power button for 1 second again. The
marker will power down.
Power Button Sequence
1.
Press and release power button.
2.
LED lights solid to indicate the eyes are on.
3.
To disable eye system, press and hold power button for 1 second.
4.
Eye system turns off, LED slowly blinks to indicate eyes off mode.
5.
To turn off, press and hold power button for 1 second.
6.
Marker turns off.
Note that the eye logic can tell the difference between paint being fired and an
object constantly blocking the eyes. The eyes watch for the bolt to return every
shot, so if this does not happen, it will slow down the maximum rate of fire to
prevent additional ball breakage.
Programming
The user may enter programming mode by shorting the lower right pins on the
chip while the marker is off. A conductive object such as a hex wrench must be
used.
When pins 5 and 6 are shorted together, the board will boot into programming
mode, which is indicated by a rapidly flashing LED.
Pulling and releasing the trigger quickly will toggle between the different
programming modes:
One Pulse
Debounce
Two
Pulses
Dwell
Three Pulses Loader Delay
Four
Pulses
Fire
Mode
When the LED is pulsing for the desired setting, press and hold the trigger until
the LED goes out. When you release the trigger, the LED will blink to show the
current setting. For example, if the current setting for debounce is 5, the LED will
blink 5 times. Once the LED stops blinking, you have 3 seconds to begin entering
the new setting.
To enter the new setting, pull the trigger the desired number of times. For example,
to set the debounce to 2, you must pull the trigger 2 times. Every time you pull the
trigger the LED will light. After all settings have been changed, turn the marker
off, using the power button.
Programming Example
If you want to set the dwell to 20, you should:
Make sure the marker is powered off.
Ground pins 5 and 6 on the microcontroller.
The LED will blink rapidly to indicate the board is in programming mode.
After blinking, the LED will pulse once every second. This indicates that you
are in the debounce mode.
Quickly pull and release the trigger one time to switch to the dwell mode.
The LED will now pulse two times every second.
Pull and HOLD the trigger until the LED turns off.
Release the trigger. The LED will blink out the current setting.
When the LED stops blinking, enter the new setting by pulling the trigger
20 times.
Wait until the LED flashes rapidly to confirm the new setting.
Turn the marker off.
Settings
Debounce
– The Musashi software features a hybrid debounce scheme that uses
microcontroller cycles to debounce the pull of the trigger and ½ ms time
increments to debounce the release. This results in a very effective debounce
algorithm that does not hinder the user at any setting. At low debounce settings,
1


