Super SC505, User Manual
The Super SC505 user manual is available for download free of cost on our website. This comprehensive manual provides step-by-step instructions and essential information to maximize the potential of your SC505. Easily access and download the manual from our website and enhance your experience with this incredible product.
Share
Download


Reviews:
No comments
Related manuals for SC505

M1G1ACE
Brand: Garland Pages: 23
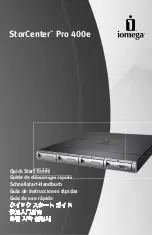
StorCenter Pro 400e
Brand: Iomega Pages: 16

OV-MCR116
Brand: AirLive Pages: 12

ipe-2200ax-T
Brand: Extreme Networks Pages: 6

BlackDiamond X8 Series
Brand: Extreme Networks Pages: 9
System x iDataPlex dx360 M4 7912
Brand: IBM Pages: 400

PXI NI PXI-1052
Brand: National Instruments Pages: 70

ION001-A
Brand: Lantronix Pages: 11
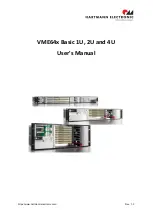
HARTMANN ELECTRONIC VME64x Basic 1U
Brand: Phoenix Mecano Pages: 35
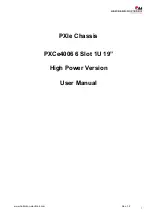
HARTMANN ELECTRONIC PXCe4006 Series
Brand: Phoenix Mecano Pages: 36

KIMBA 2231
Brand: Otto Bock Pages: 20

Modular Matrix 38250
Brand: Lindy Pages: 8

BANDIT II C2C
Brand: Encore Networks Pages: 8

J2012-01
Brand: AIC Pages: 96


