


JEI Drilling & Cutting Solutions Ltd
Unit 21 Empire Business Park, Enterprise Way, Burnley, Lancashire,
BB12 6LT. Tel: 01706 229490 Fax: 01706 507347
Email: [email protected]
OPERATOR’S MANUAL
P
P
B
B
2
2
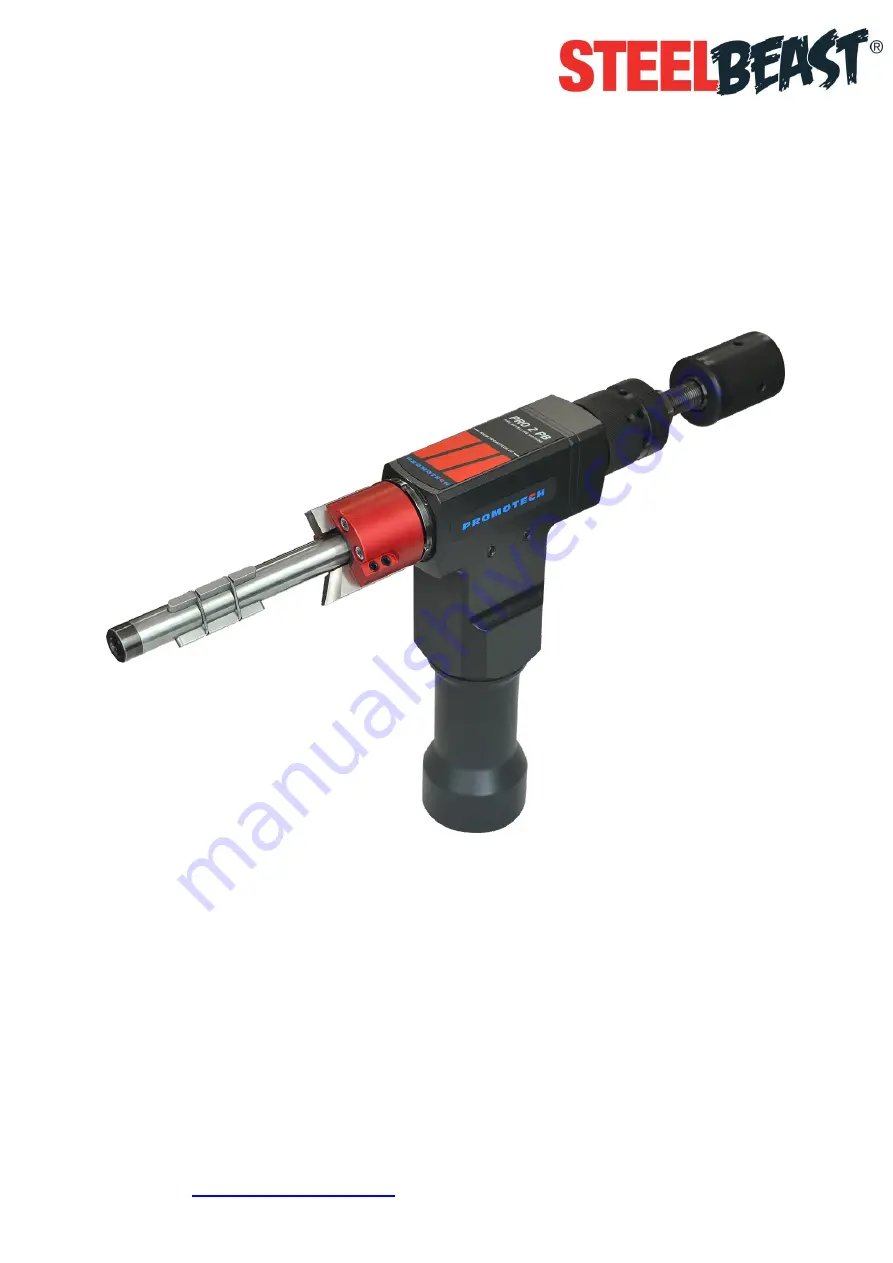
PIPE BEVELLING MACHINE
Introducing the SteelBeast PRO 2 PB Series Operator's Manual, your essential guide to master this cutting-edge product. With this comprehensive manual available for free download on our website, you can effortlessly learn how to operate and maximize the untapped potential of this powerful equipment.
JEI Drilling & Cutting Solutions Ltd
Unit 21 Empire Business Park, Enterprise Way, Burnley, Lancashire,
BB12 6LT. Tel: 01706 229490 Fax: 01706 507347
Email: [email protected]
OPERATOR’S MANUAL
P
P
B
B
2
2
PIPE BEVELLING MACHINE


