


Page 1
PM1115UW(EU/GB) Setup Guide
Updated: May 2021
Preface
The PM1115UW can be installed using two distinct methods from its factory default state. If the print
server has been previously used it's recommended to
Method 1:
For a streamlined installation, follow the steps listed in
. Please
note that this method is only available in Windows.
Method 2:
For other operating systems or for a more advanced setup in Windows, start by
Manually Setting Up the Print Server
Once the print server has been installed, you can add the networked printer to any computers within
the subnet by following either
Setting Up a Printer in Windows
or
Software Installation
1.
With an Ethernet cable connect the print server to an available Ethernet port on the network
(i.e. router or switch). Allow ~40 seconds for the boot up sequence to complete. The printer
does not need to be connected to the print server yet.
2.
Install the PS Wizard application on the computer that needs to be able to print. This computer
can be connected to the network using either Wi-Fi or an Ethernet cable. Ensure the computer
already has the proper driver for the printer installed. It’s a good idea to confirm the printer
works while directly connected to the computer with a USB cable before continuing.
3.
Right-click the PS Wizard shortcut and choose
Run as Administrator
, choose
Yes
to allow the
software to run.
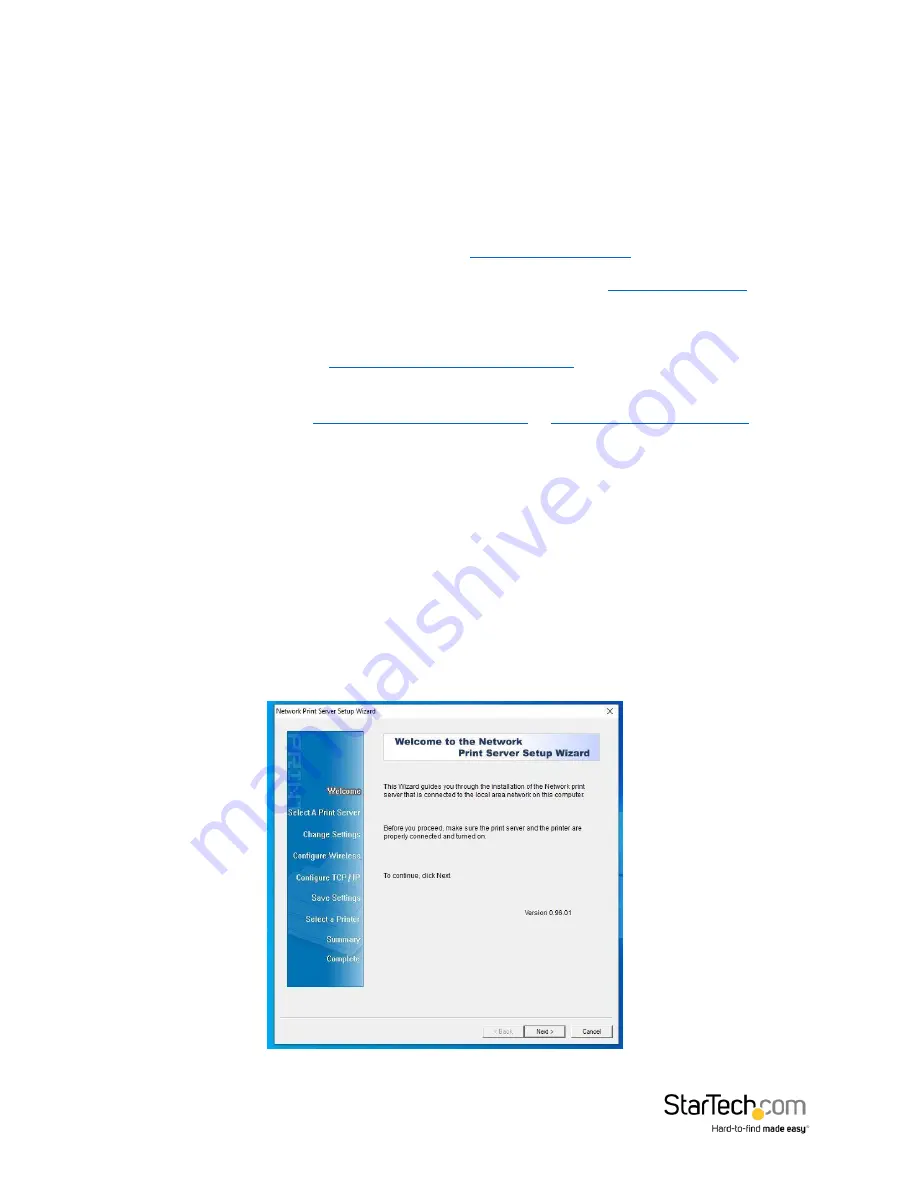
4.
At the Welcome screen, select
Next
to begin.


